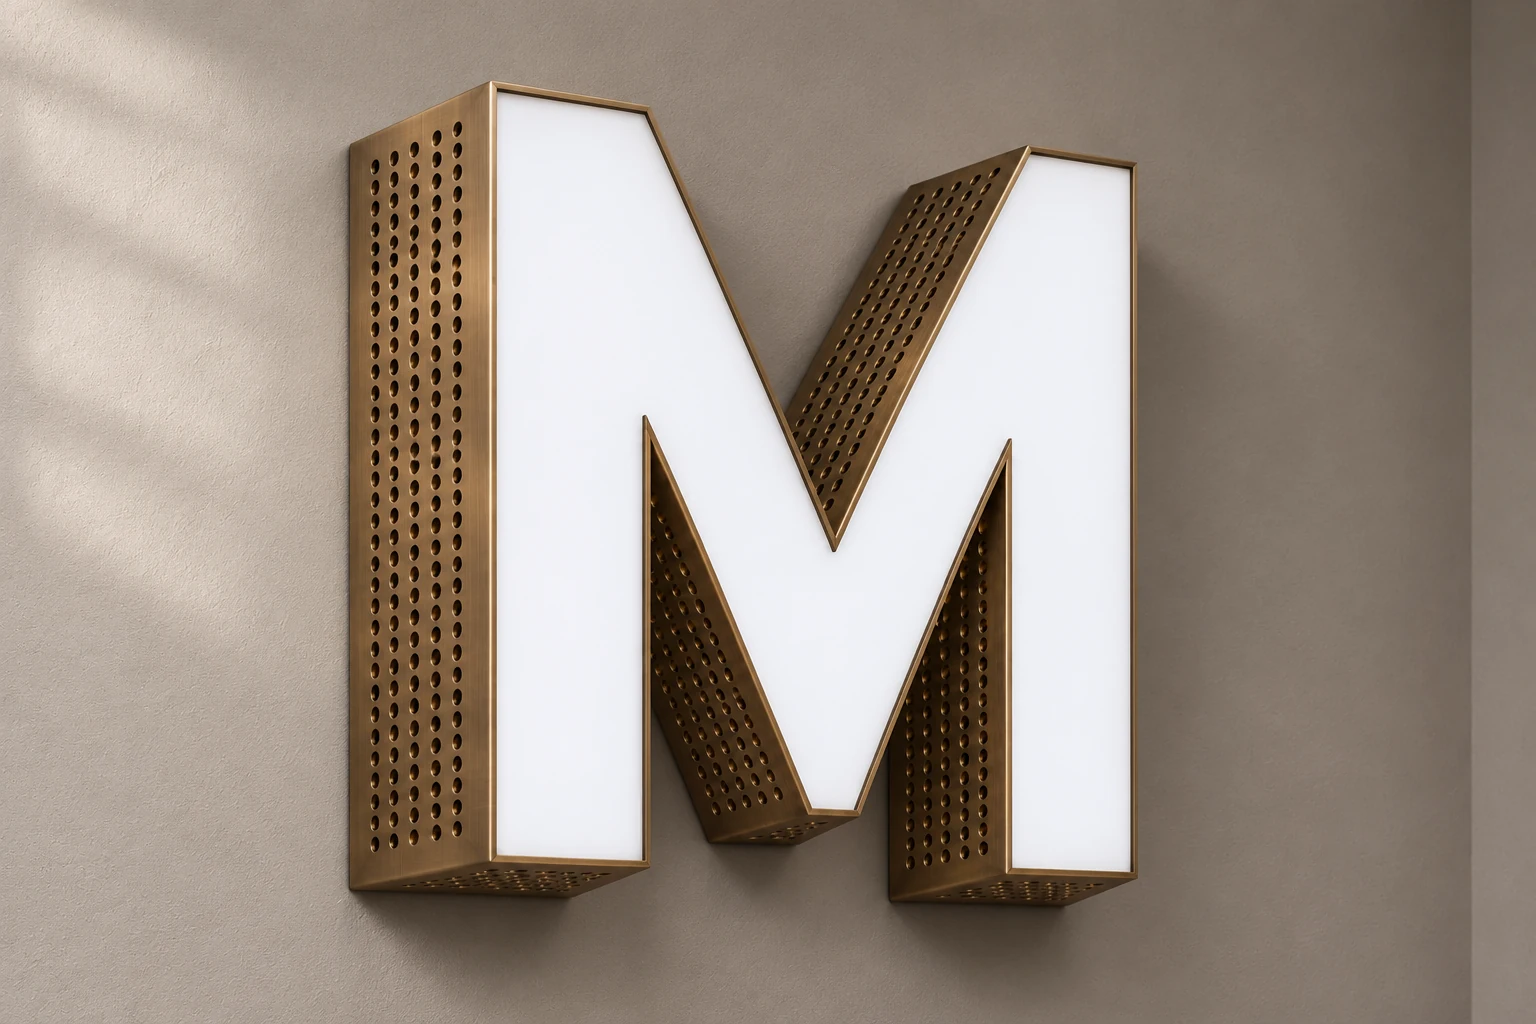
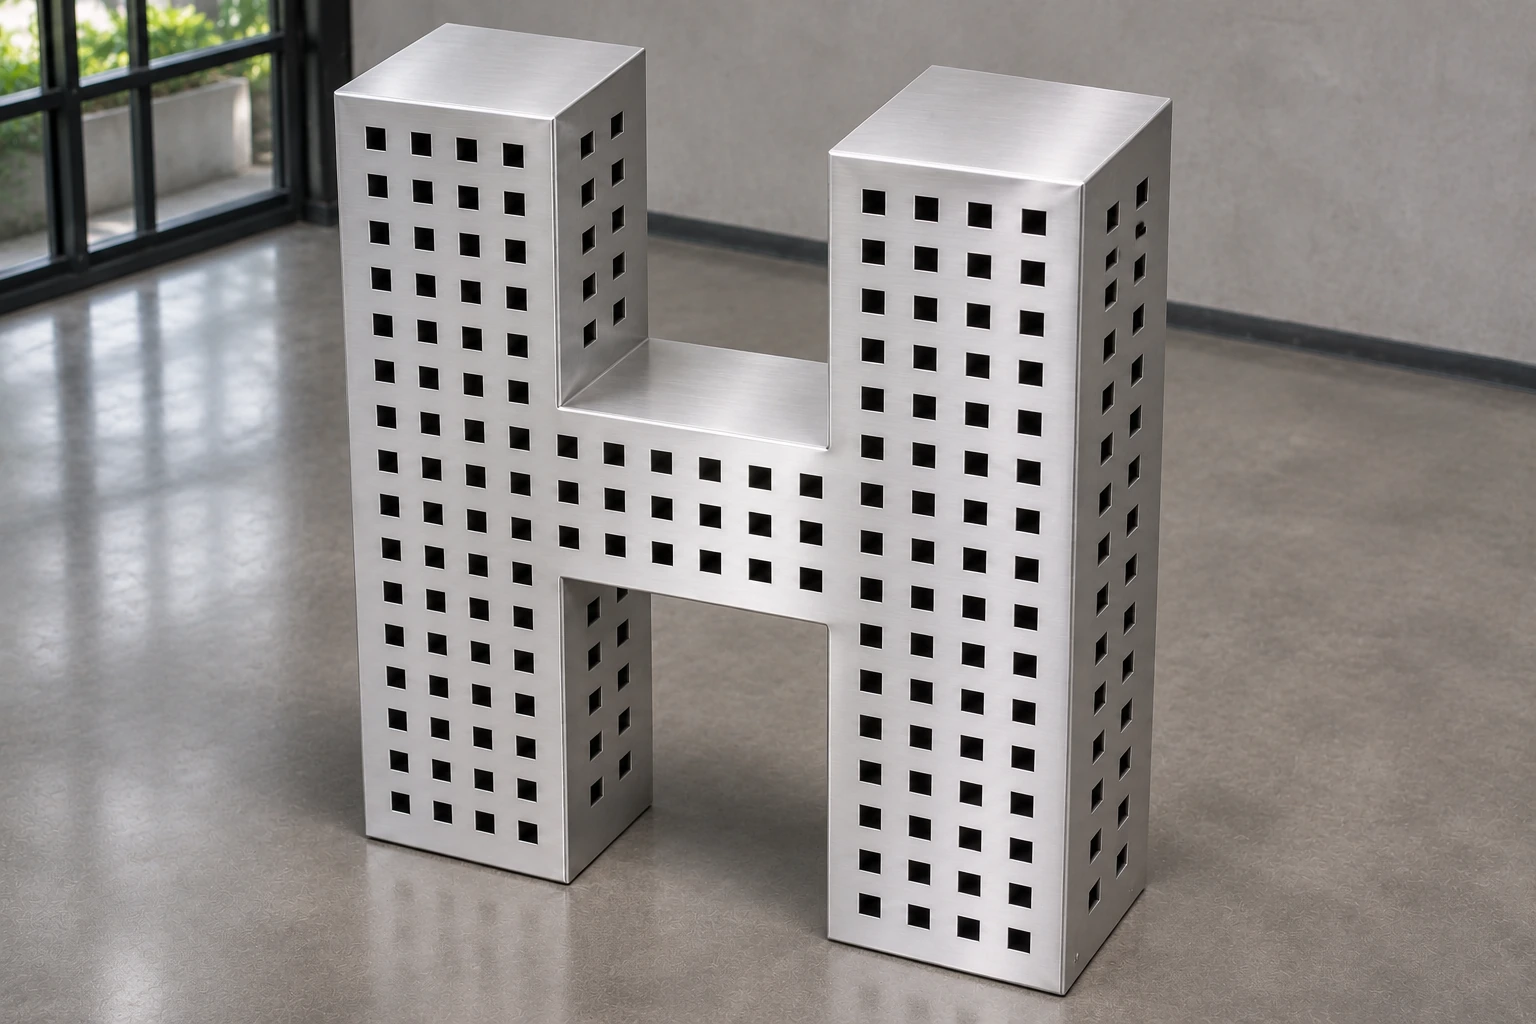
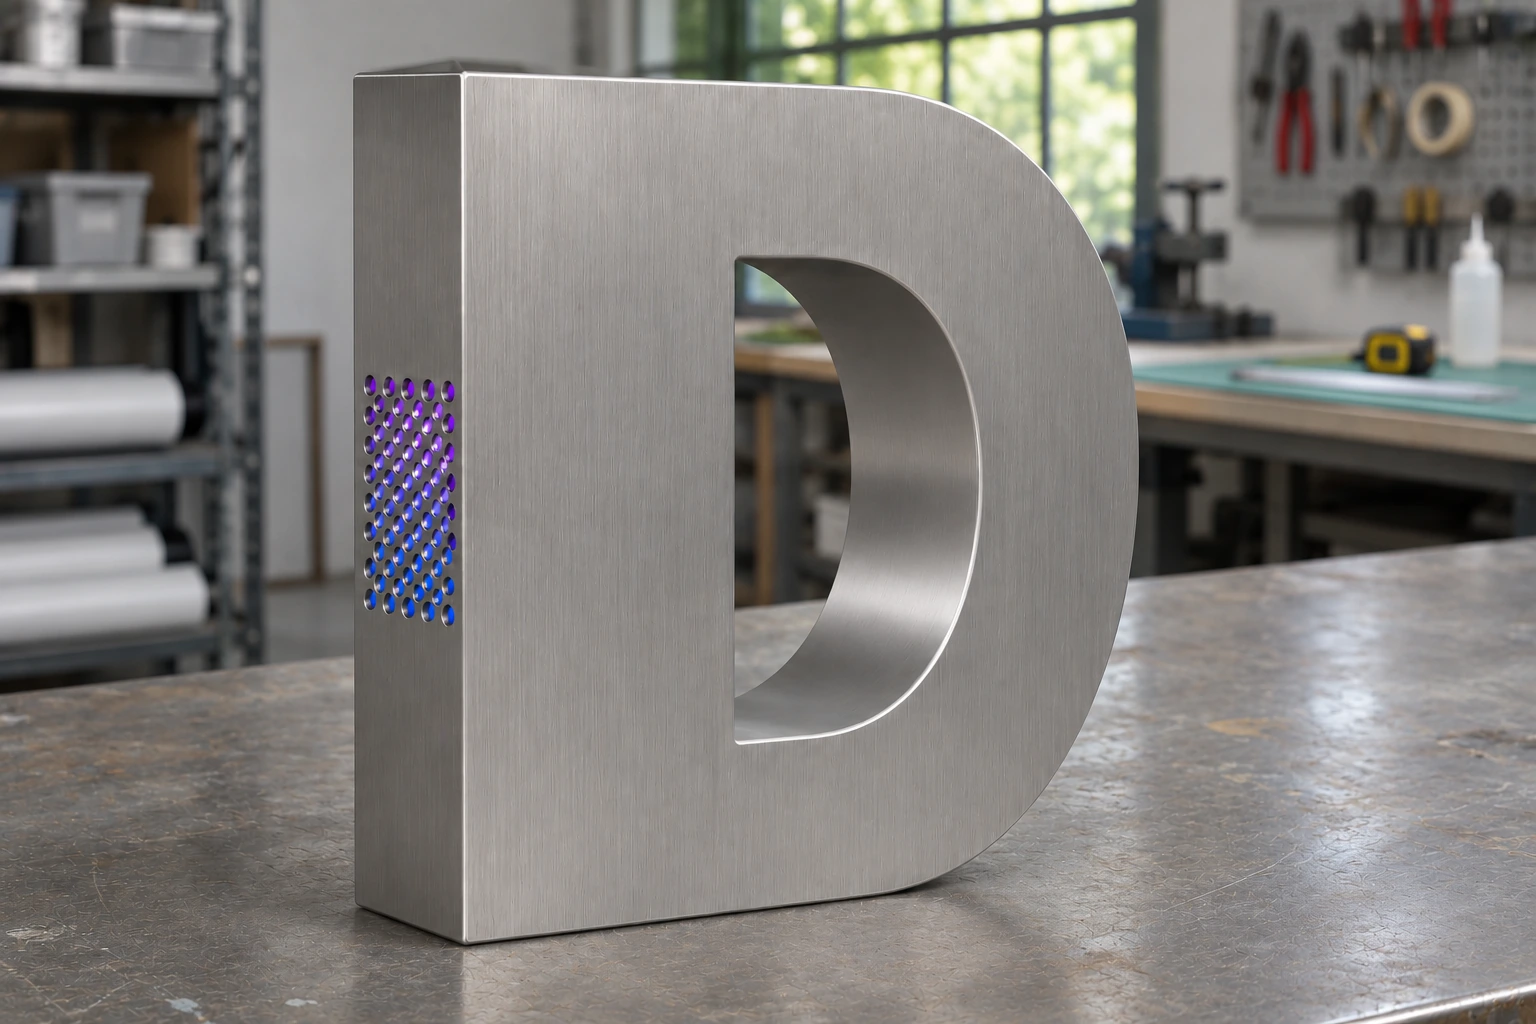
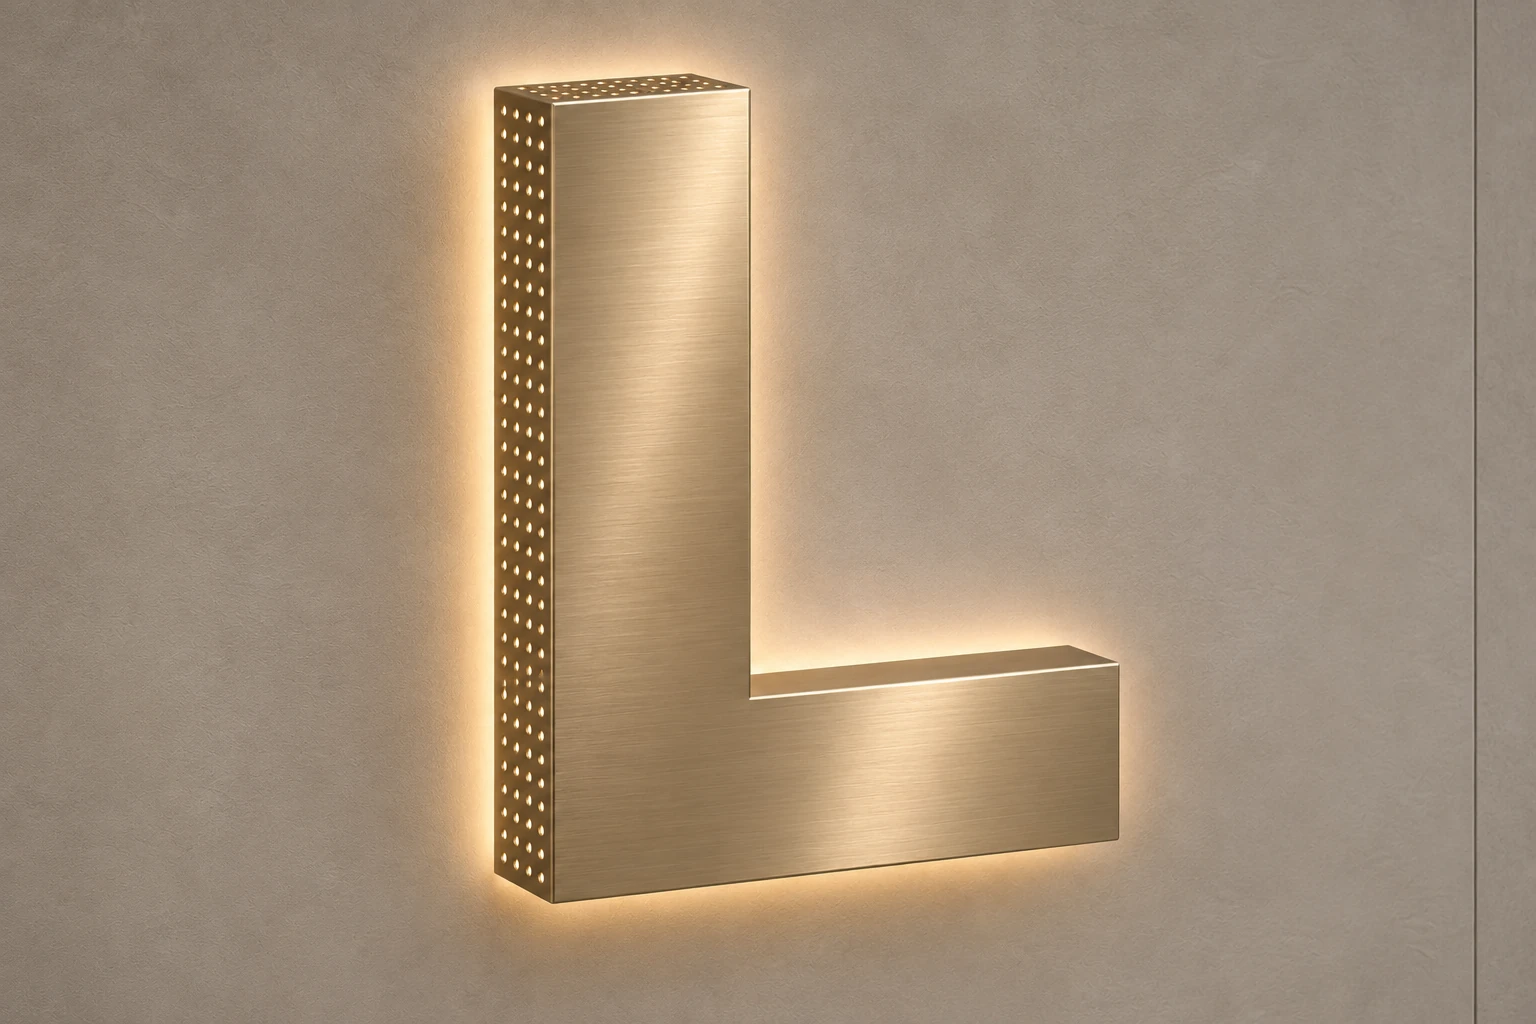
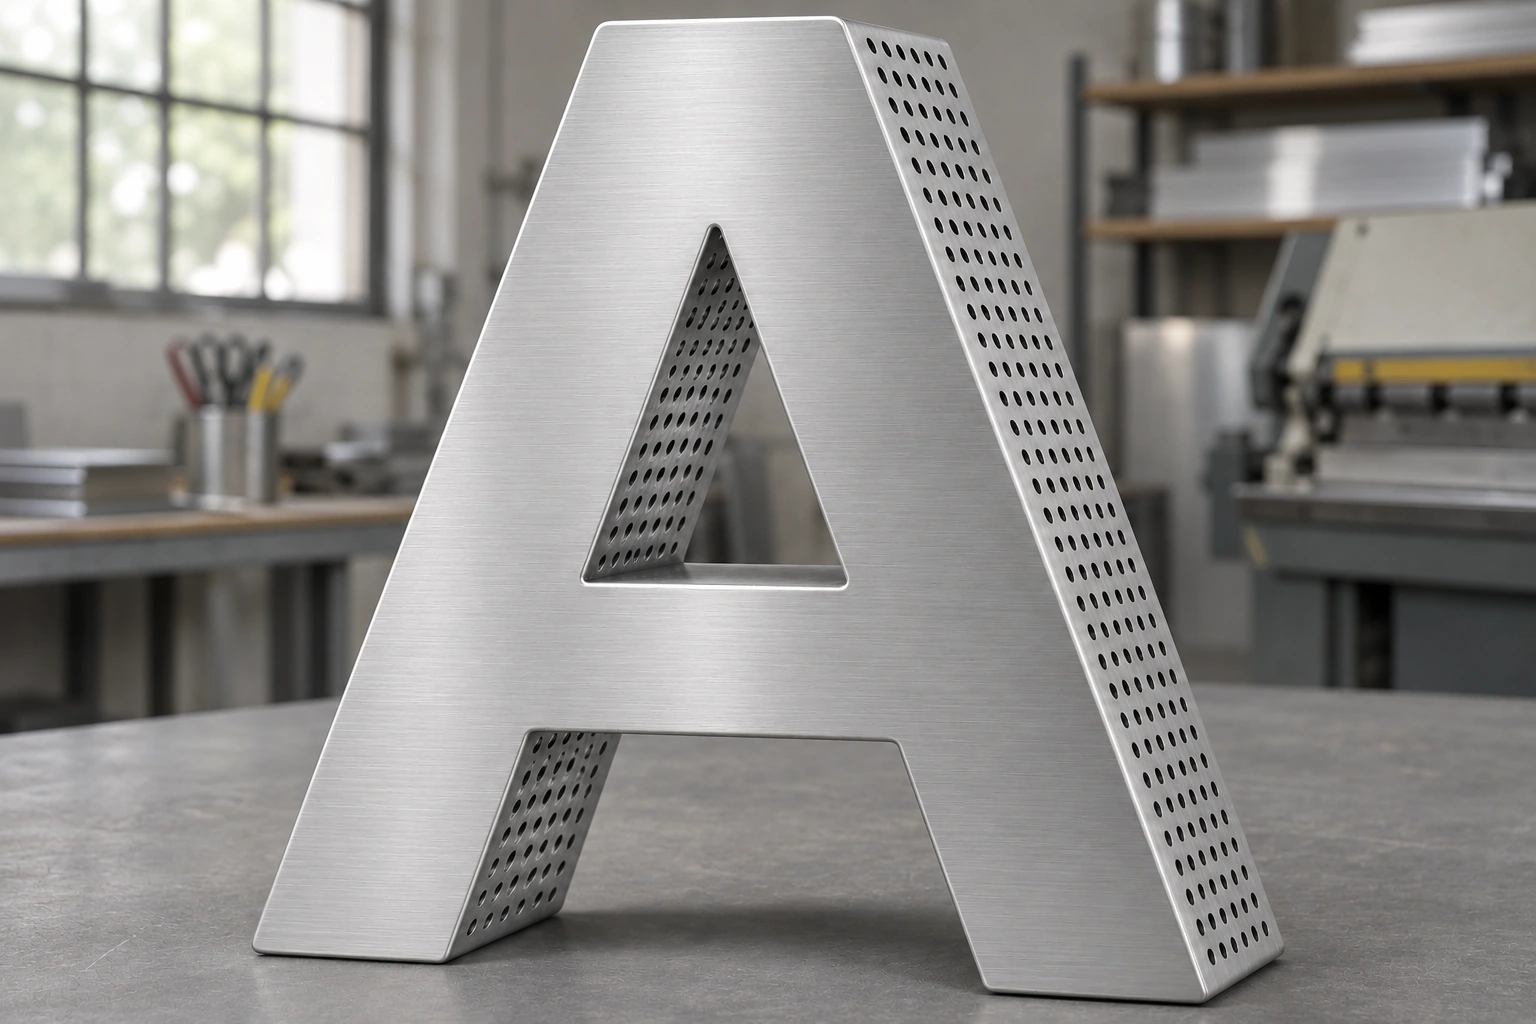
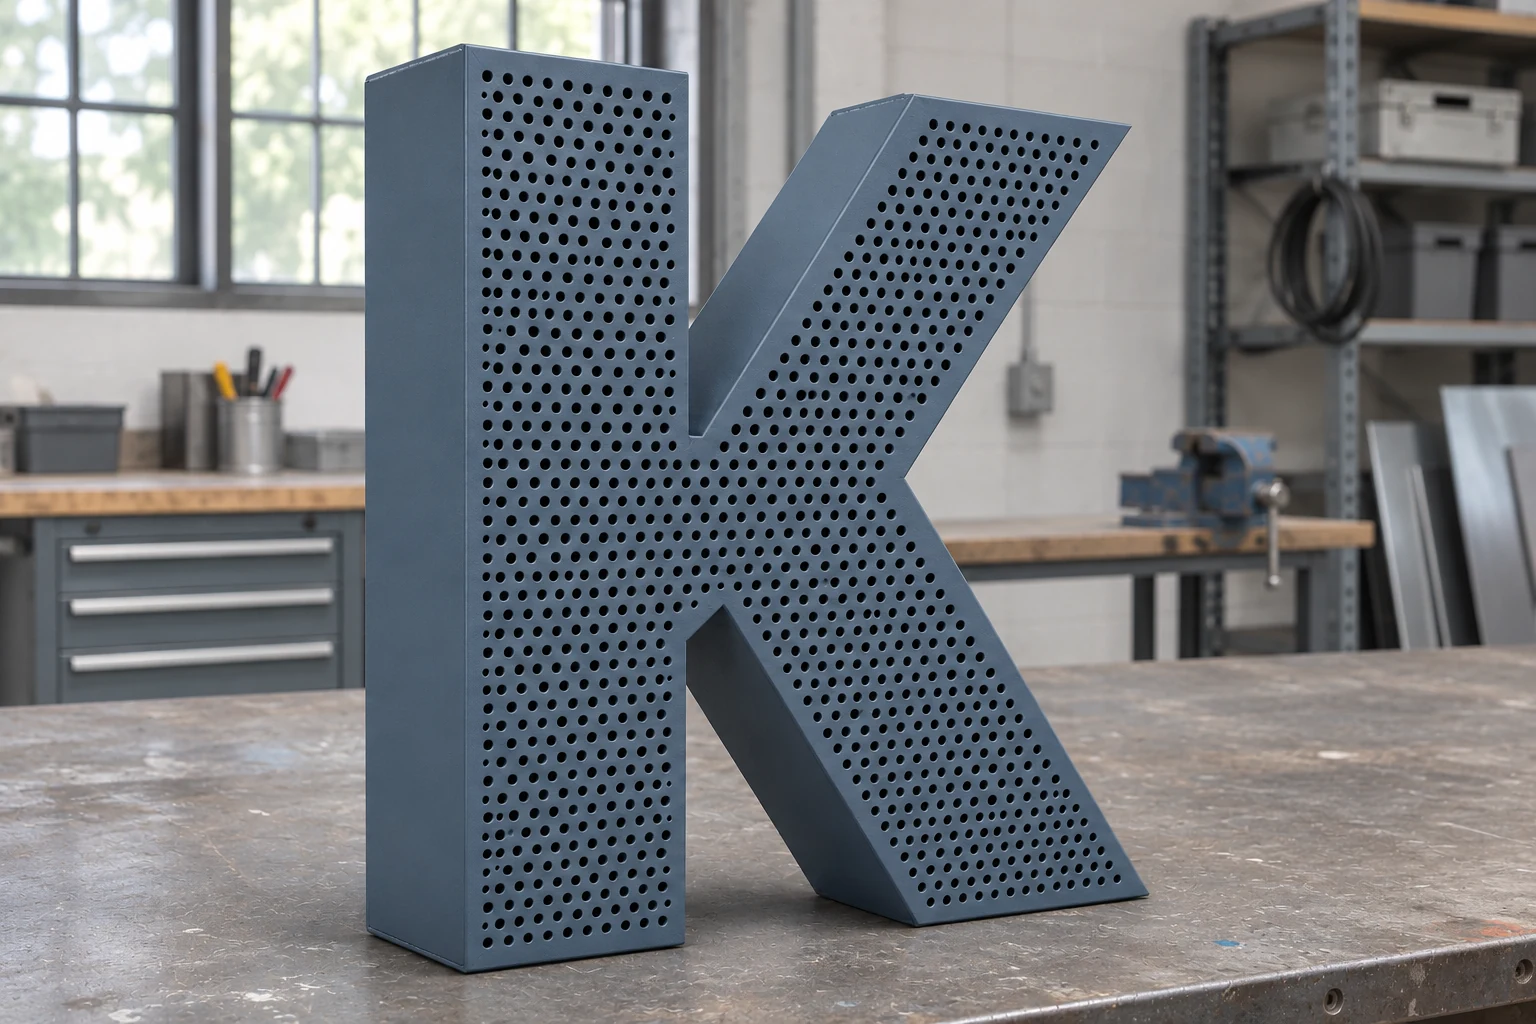
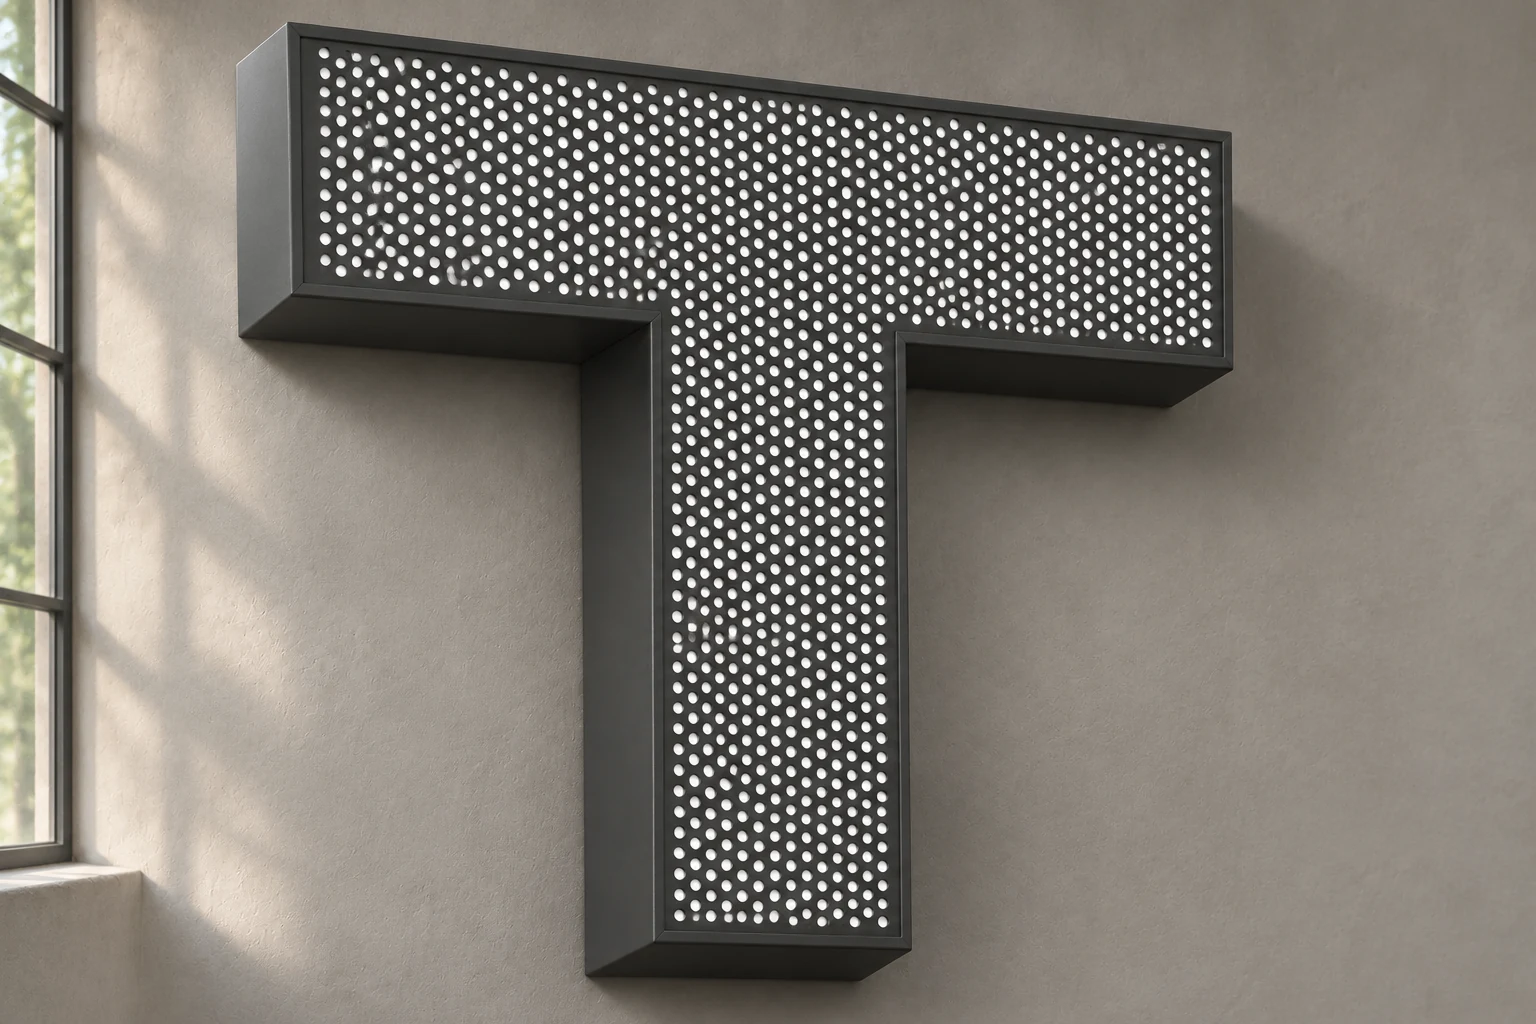
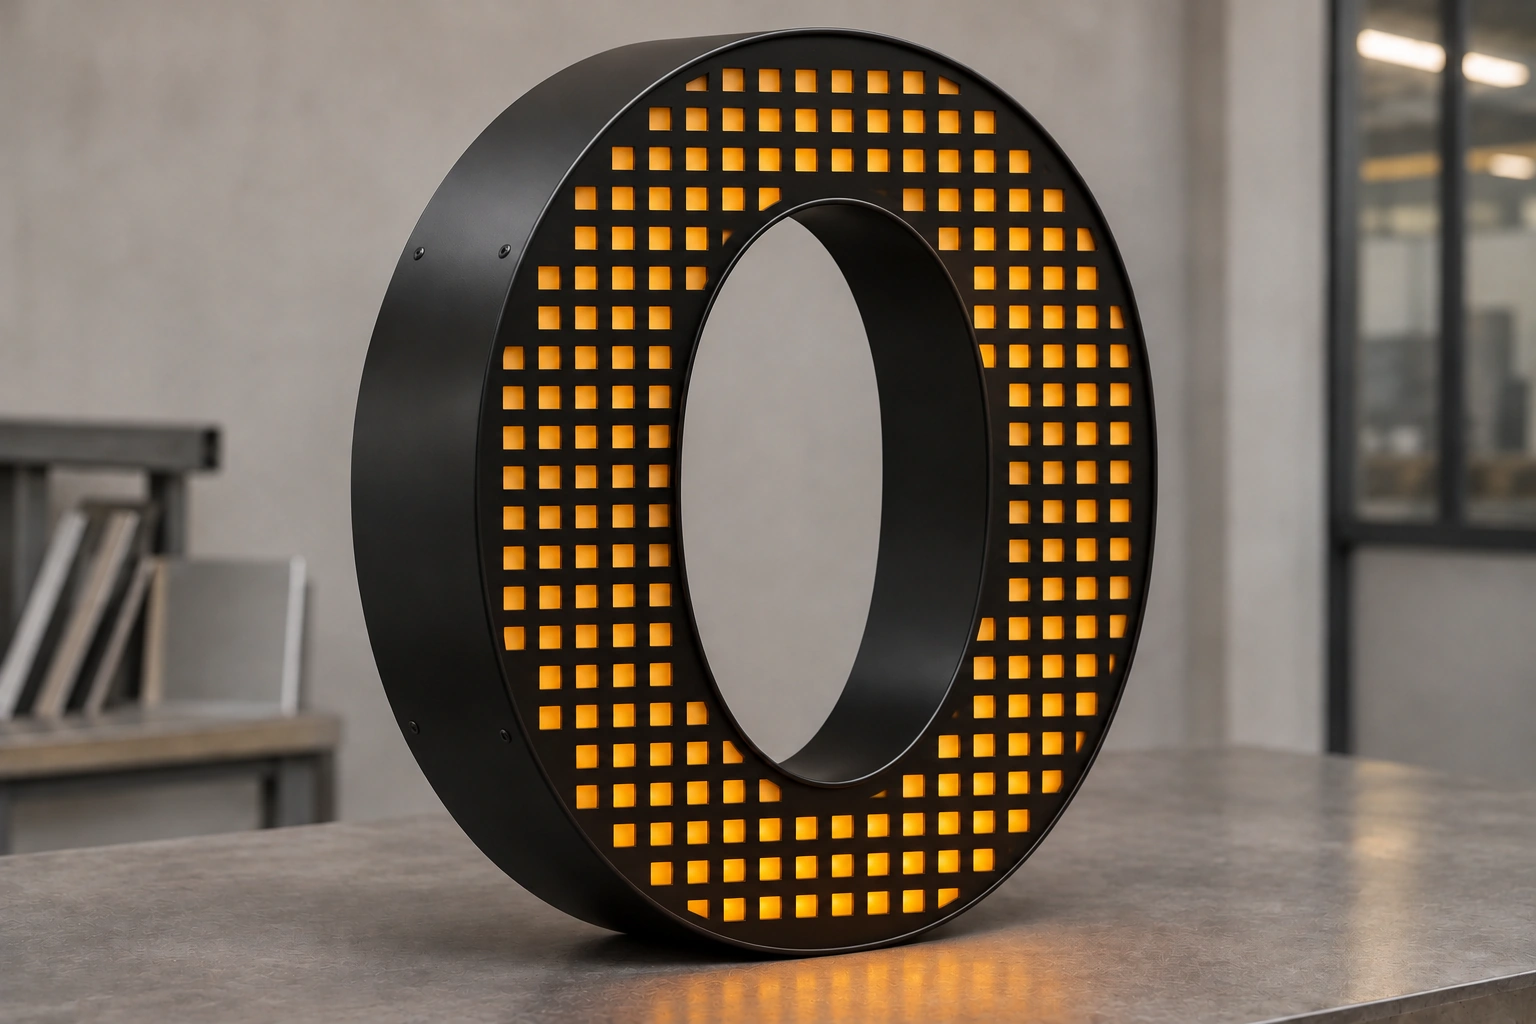
Perforated Channel Letters

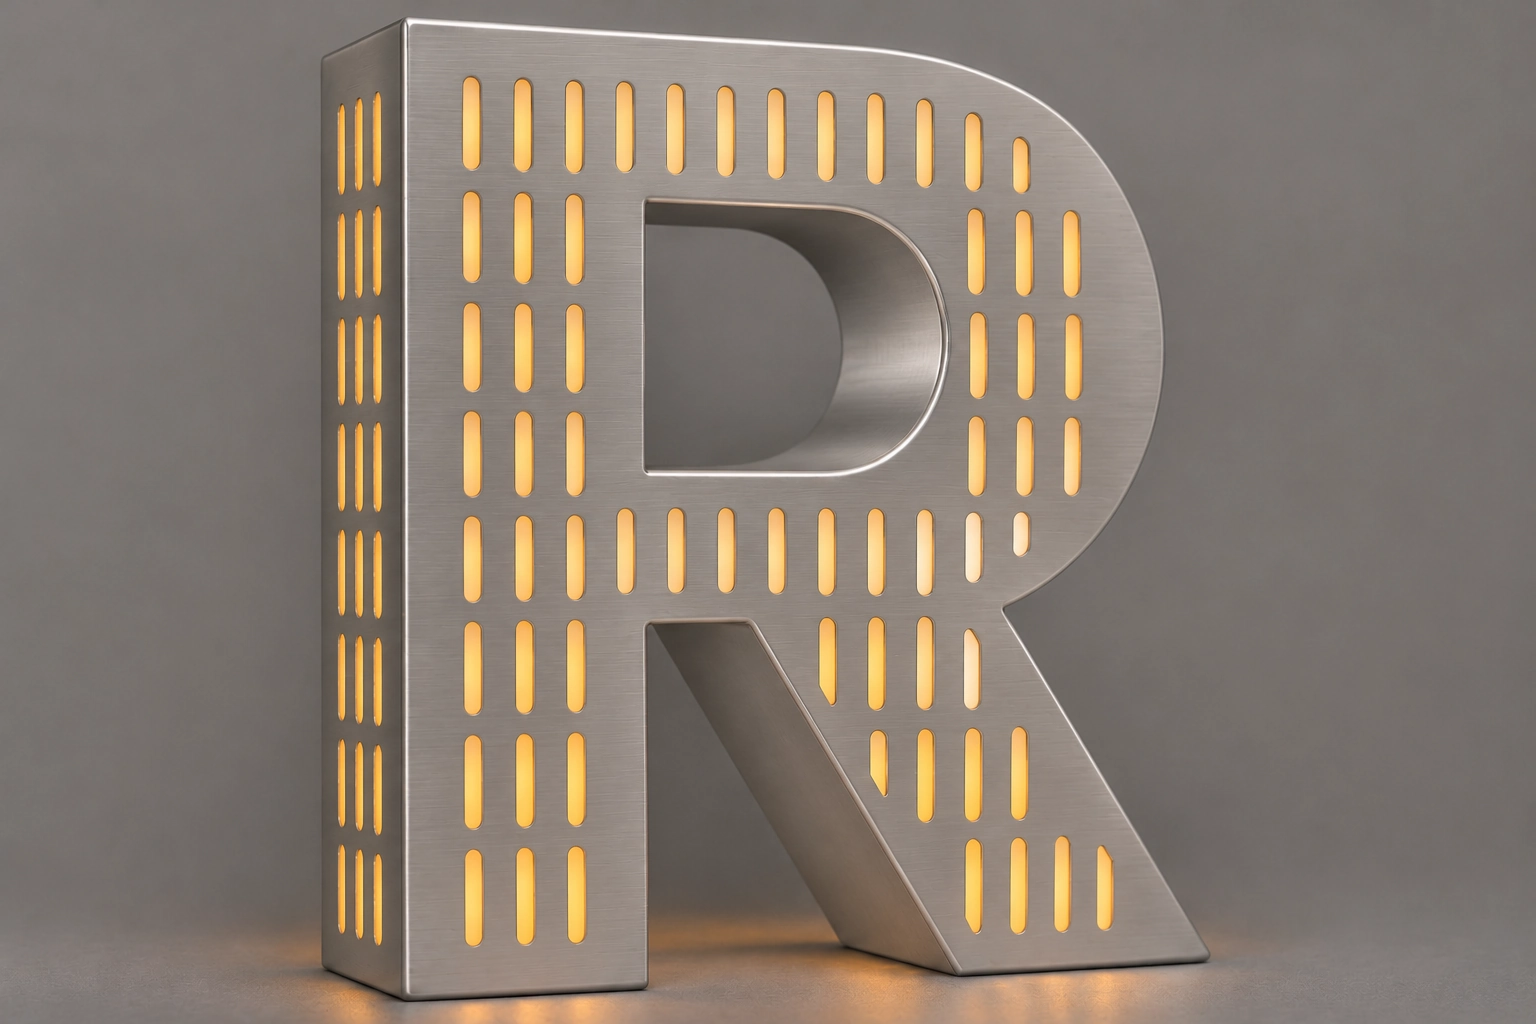
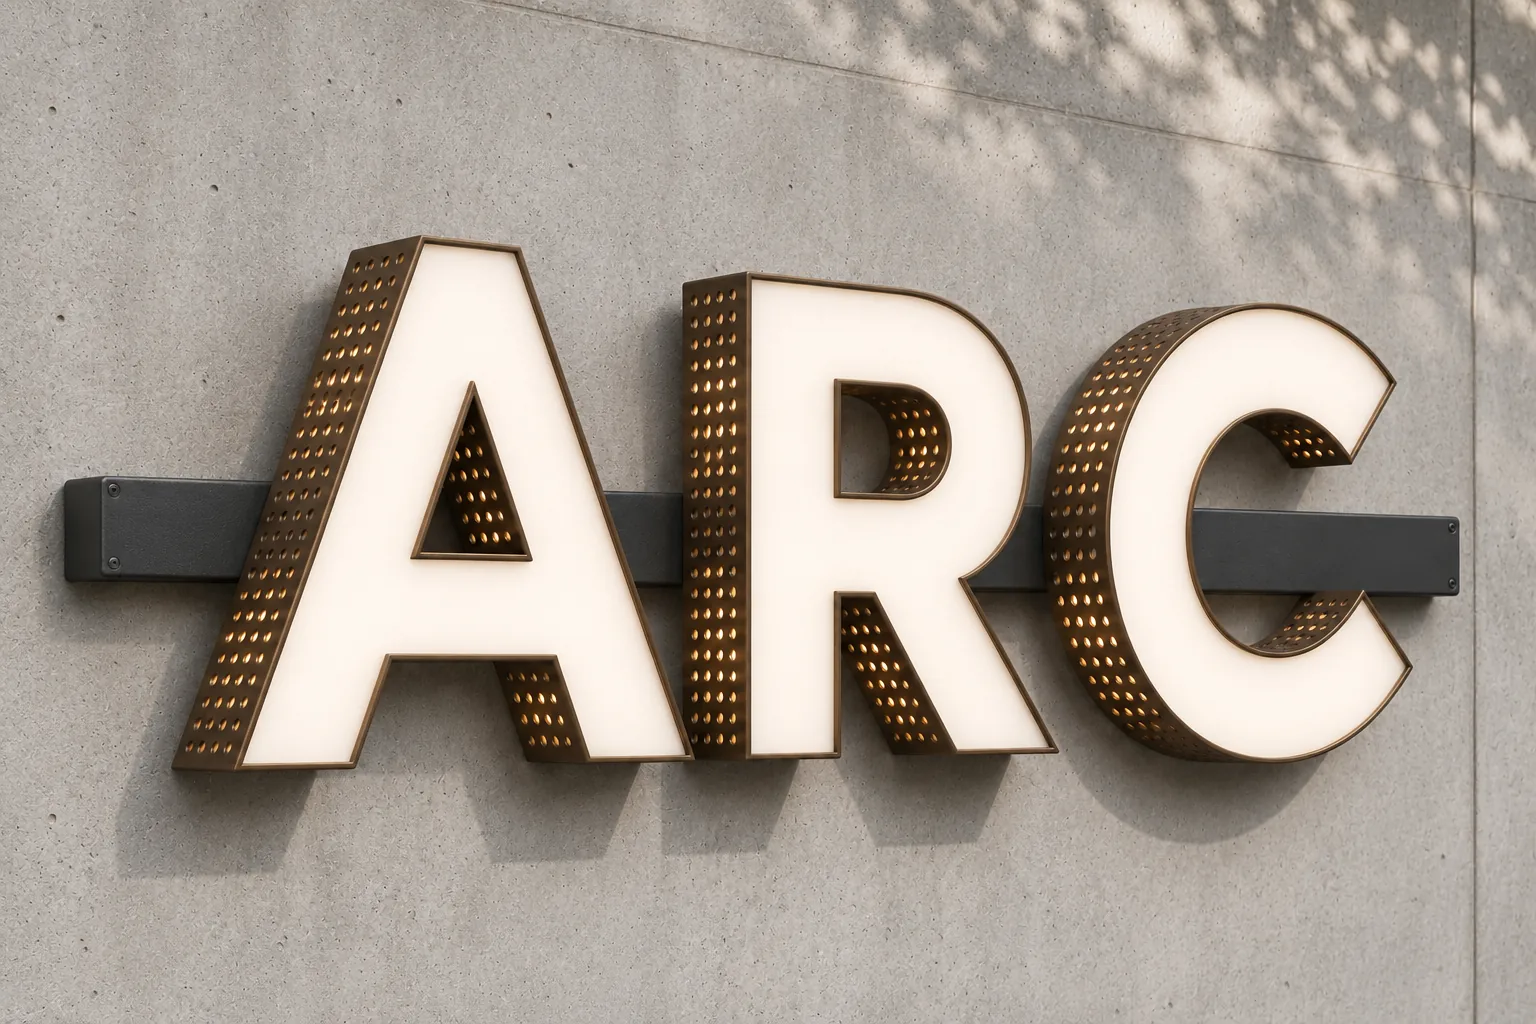
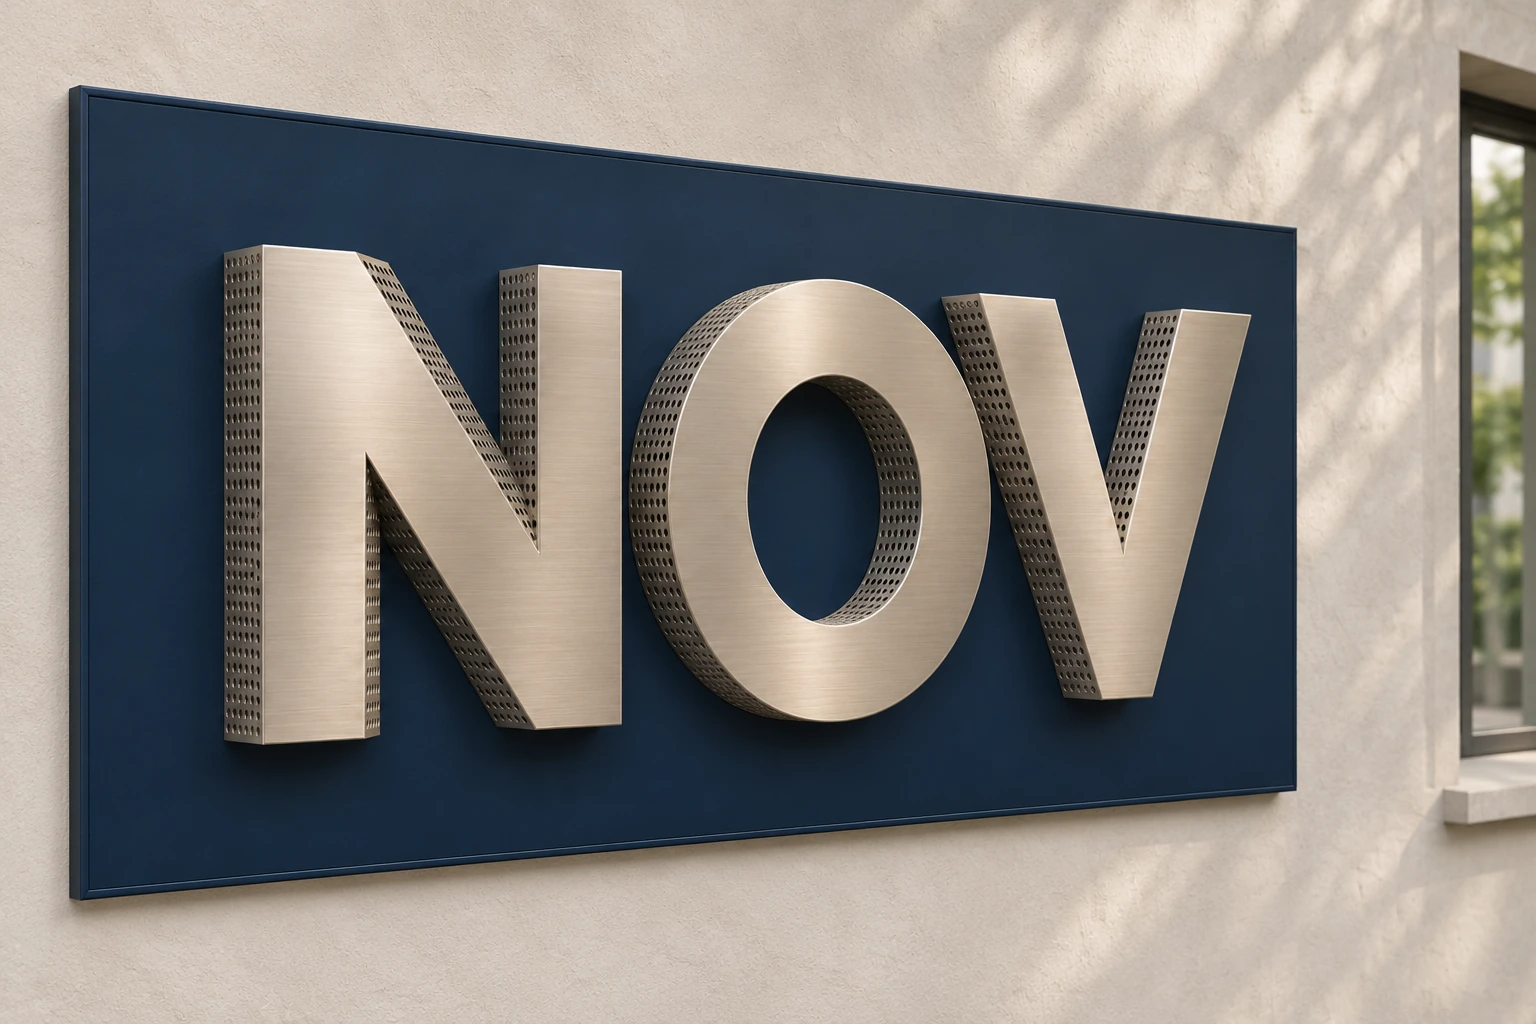
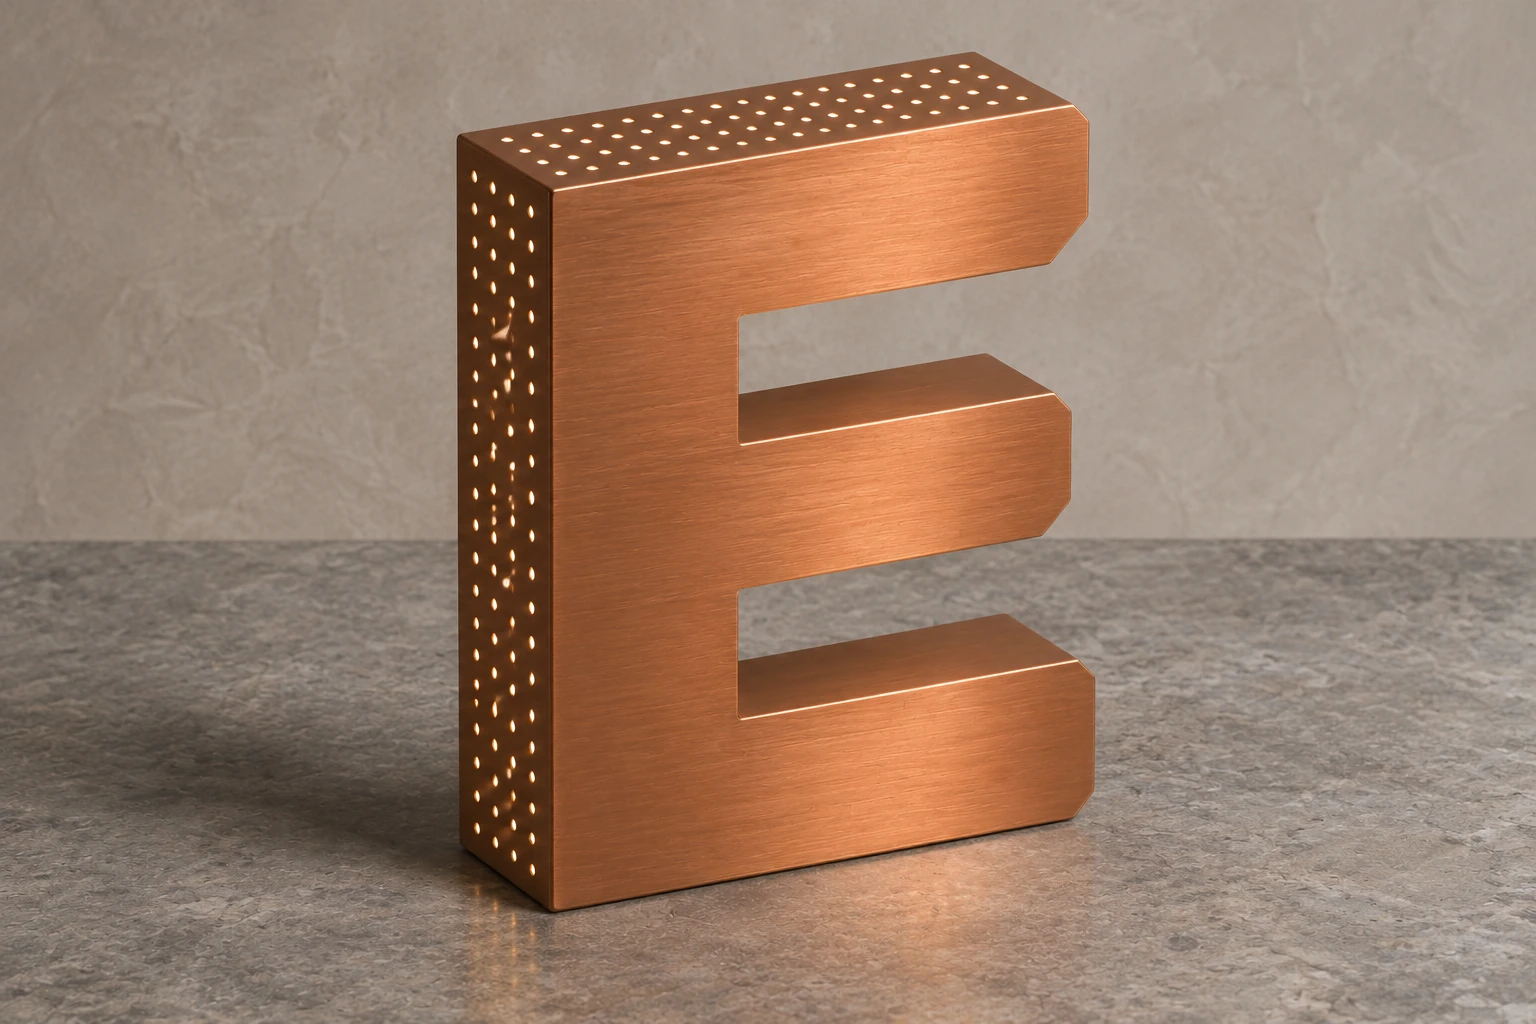
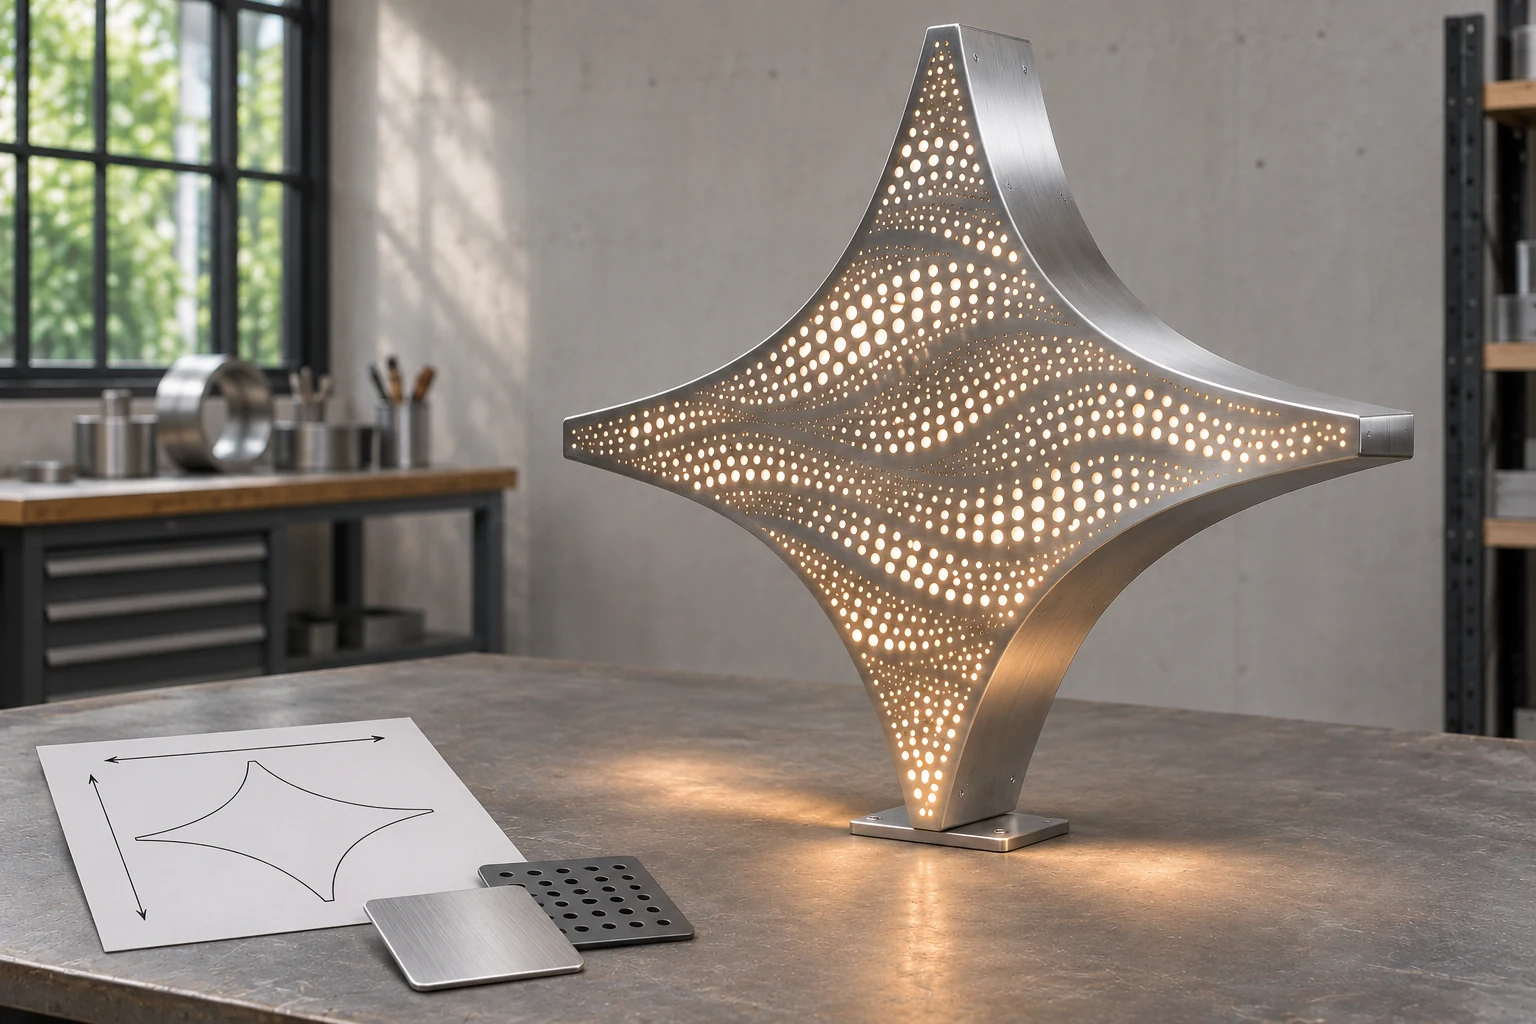
PDL Sign manufactures custom perforated metal letters and logos for sign companies and contractors. Choose perforated faces, sides, or both, with illuminated and non-illuminated options.

1 Set Minimum Order
1:1 Mounting Template
4 Years LED Warranty
Explore Lighting Styles ↓
Colorful Perforated Channel Letters

Perforated Channel Letters Manufacturer

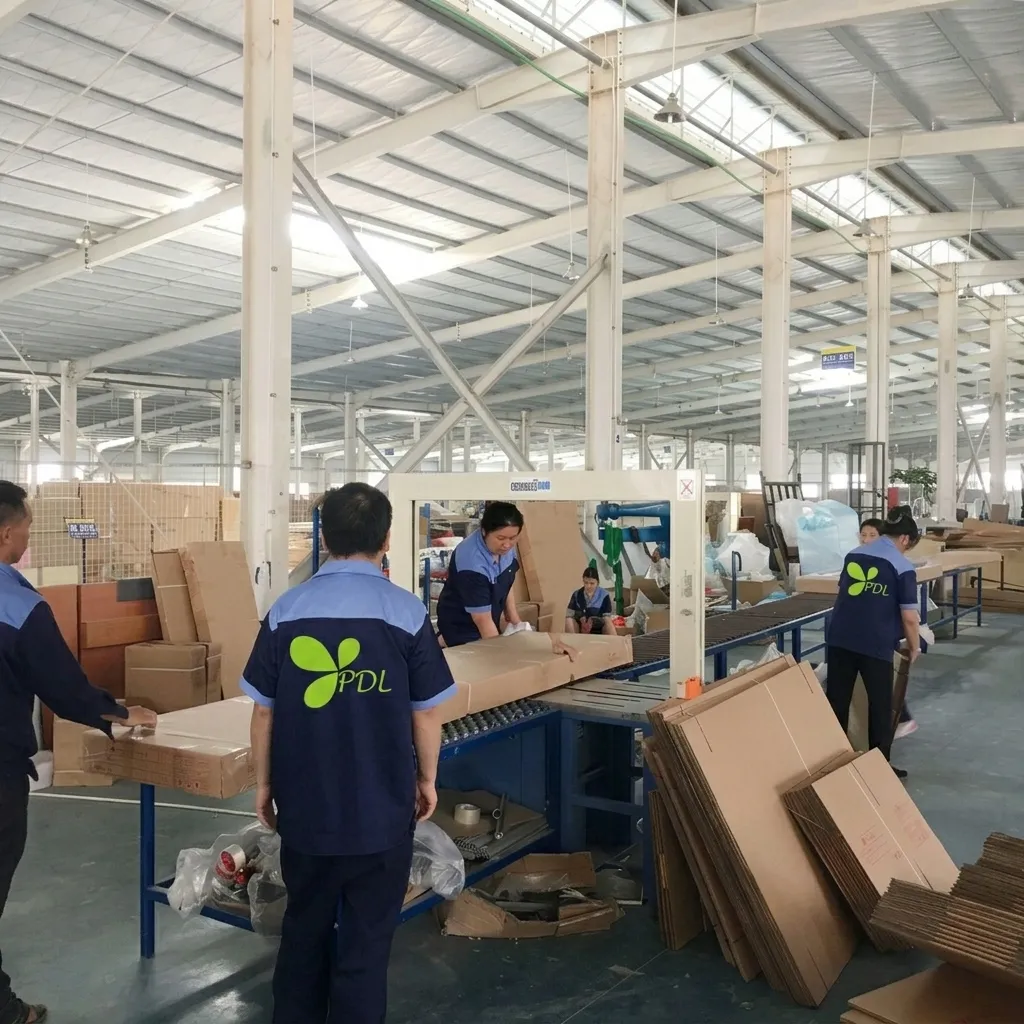
PDL Sign is an OEM/ODM sign manufacturer with 20 years of experience. We make custom perforated channel letters and metal logos for sign companies and contractors, starting at 1 set.

Before production, we review hole size, spacing, and placement around bends and narrow strokes. We use CNC cutting, metal bending, laser welding, and powder coating as required by each project.

  • Production Drawings — Review the perforation layout, letter depth, and mounting points before approving the drawing.
  • Installation Support — We provide a 1:1 mounting template and a wiring diagram for illuminated signs where applicable.
  • Pre-Shipment Testing — We power-test illuminated signs before shipping to check that the lighting works.
  • Component Warranty — 4 years on LEDs, 5 years on acrylic, and 3 years on transformers.
PDL Manufacturing Video Cover

Perforated Channel Letters

Compare lighting styles, perforation locations, metal materials, hole patterns and mounting methods for custom perforated channel letters and logos.

1. Lighting Style

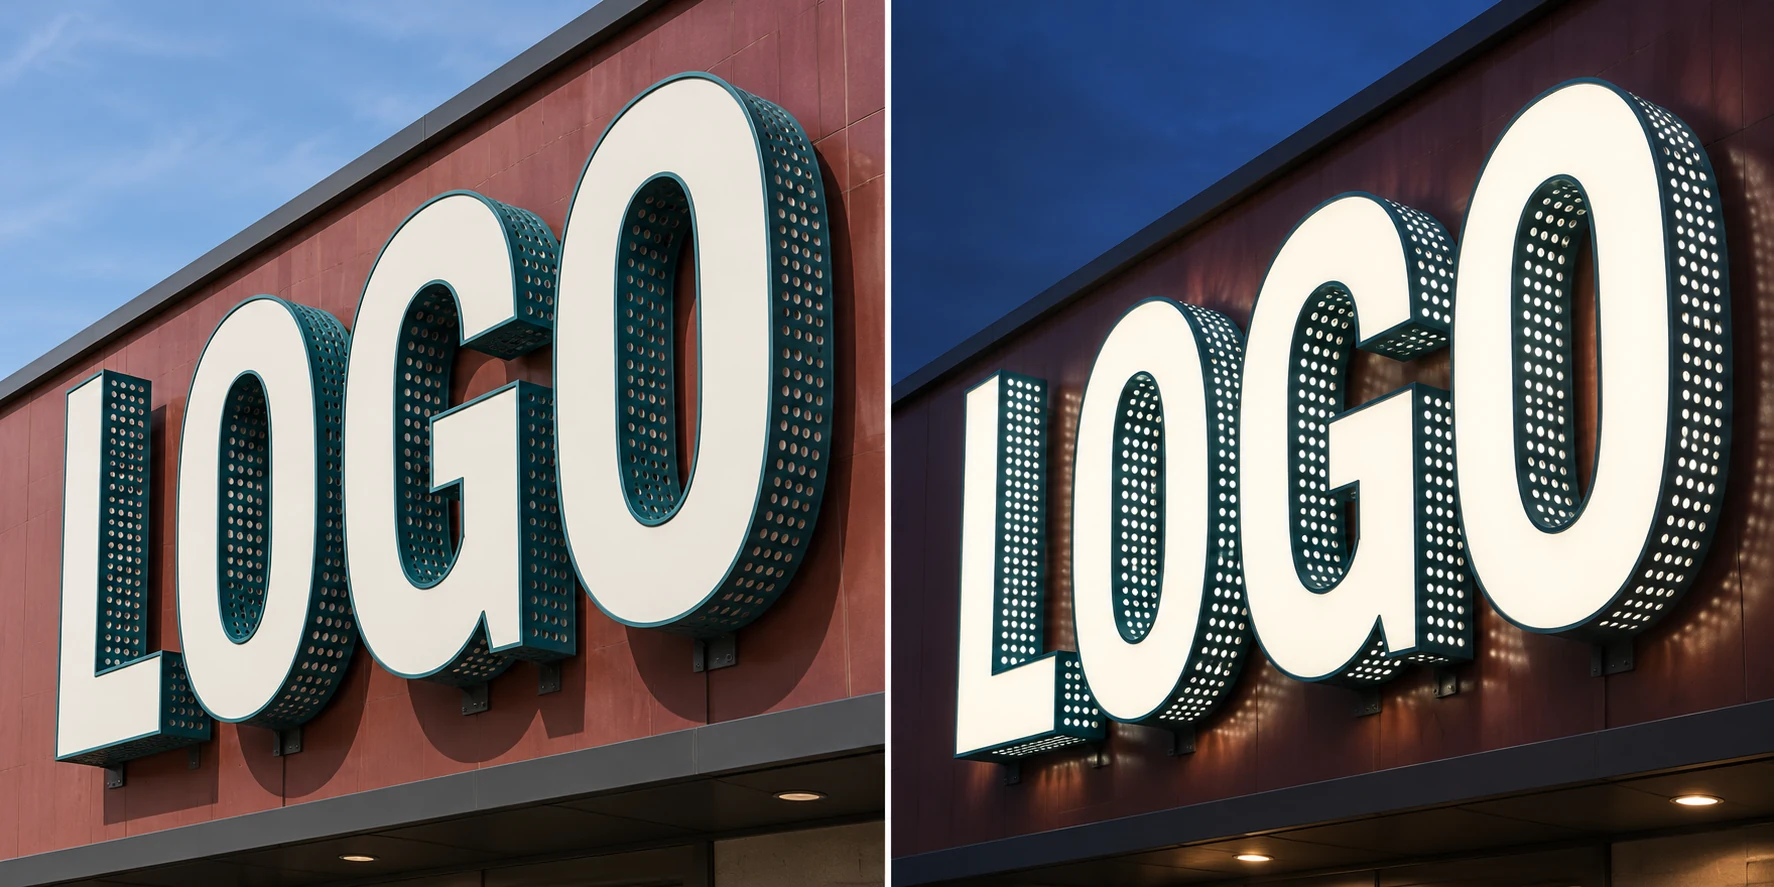
Front-Lit Perforated Channel Letters

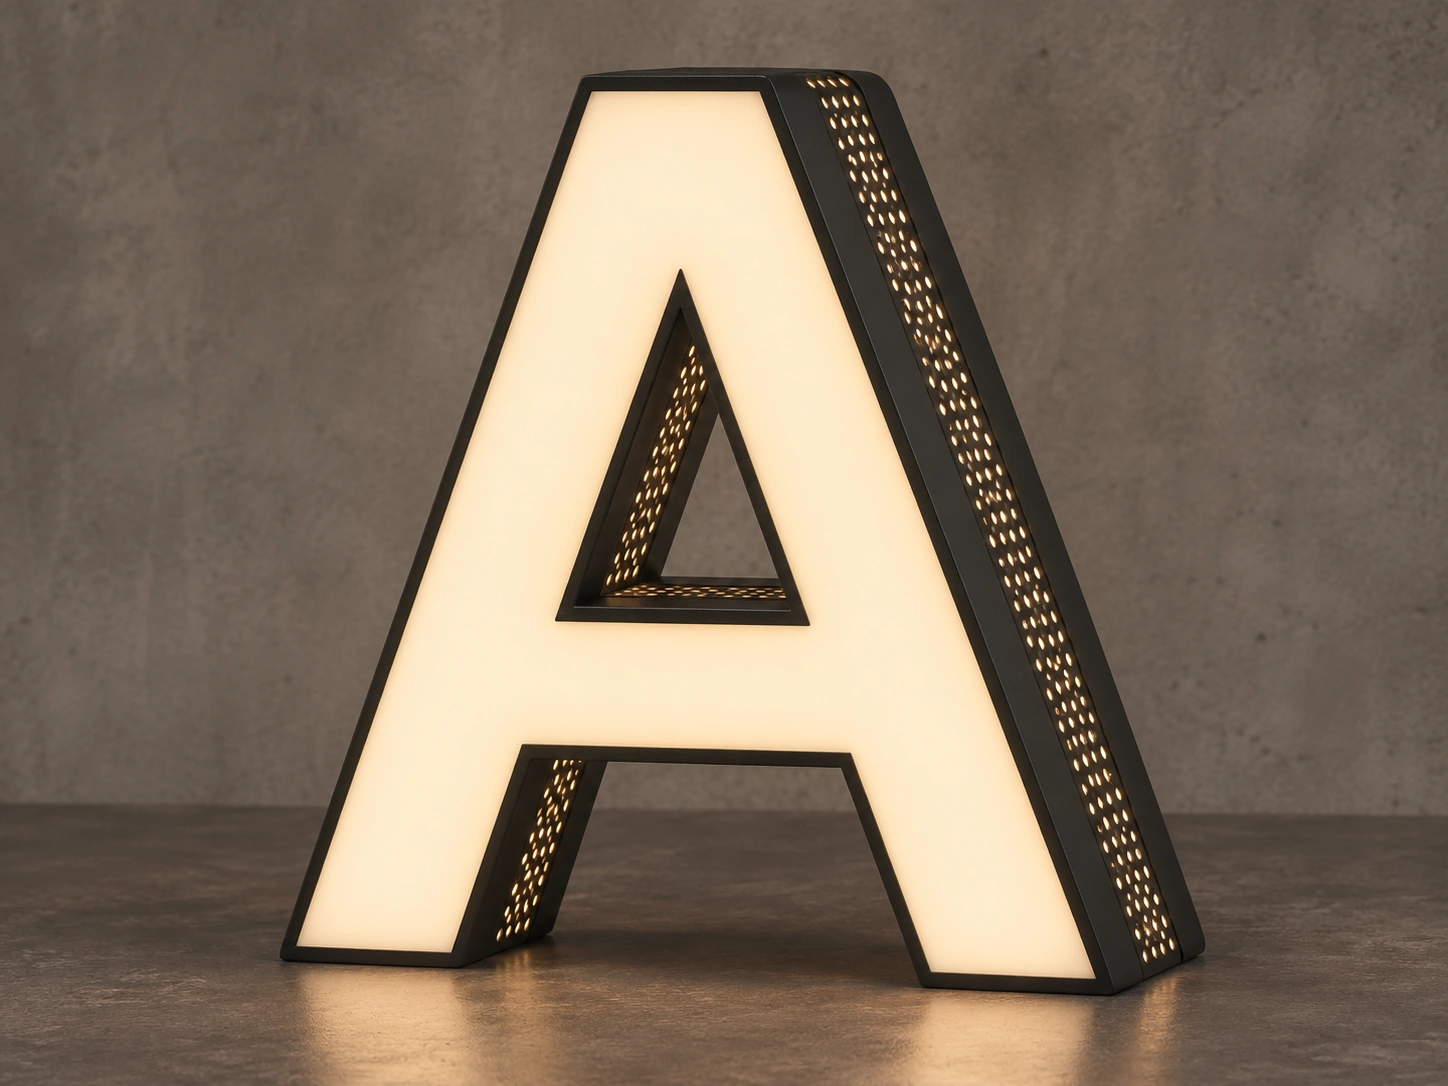
Front-Lit with Perforated Sides

  • Combine illuminated acrylic faces with perforated metal returns.
  • Side openings transmit light to create a dotted glow effect.
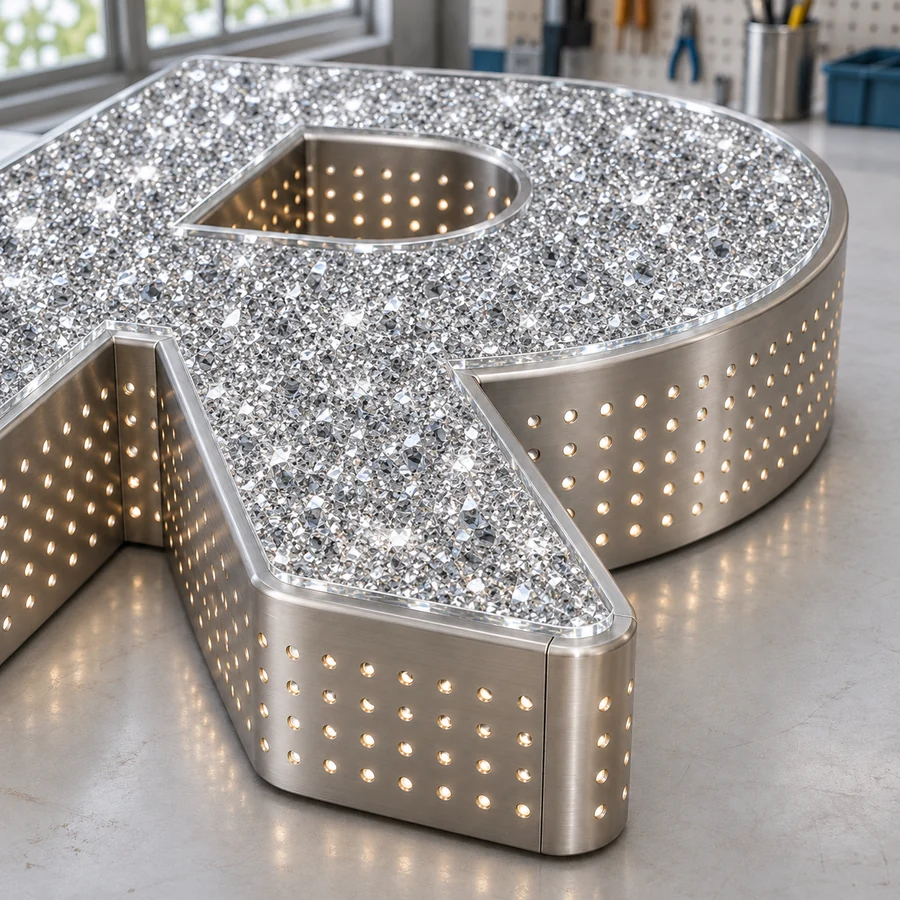
Diamond-Effect Face Channel Letters

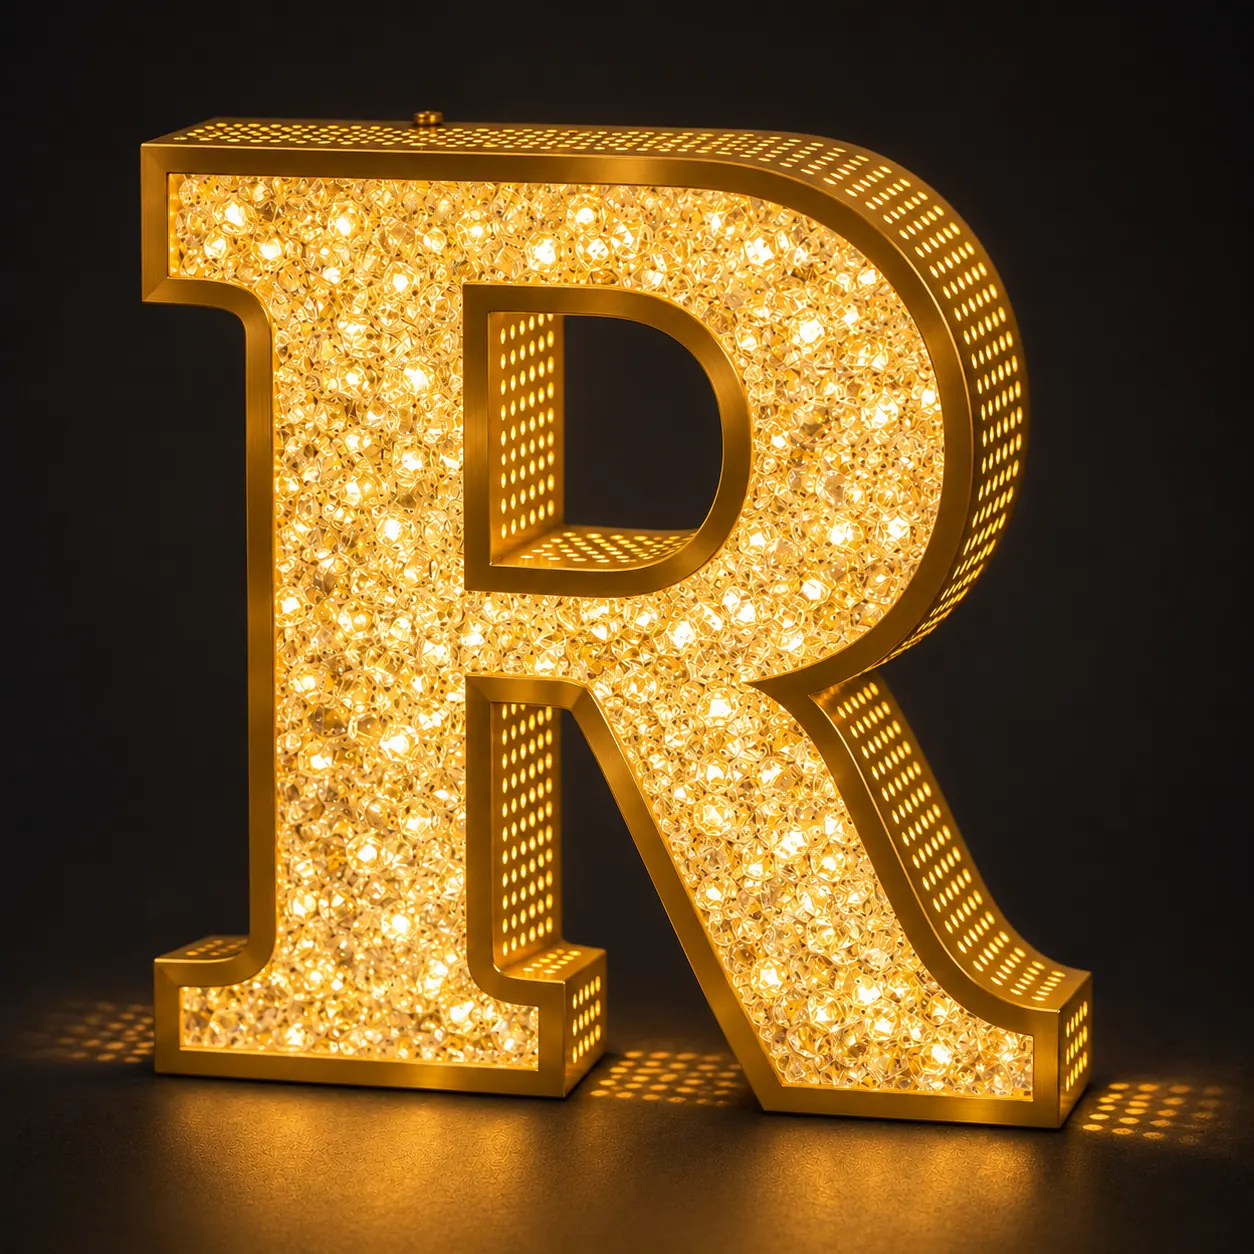
Diamond-Effect Face with Perforated Sides

  • Clear, faceted face creates a diamond-like sparkle when lit.
  • Round openings in metal sides add texture and a dotted glow.
Side-Lit Perforated Channel Letters

Side-Lit Perforated

  • Opaque faces with illumination directed through metal sides.
  • Openings create a patterned lighting effect around the letter depth.
Halo-Lit Perforated Channel Letters

Halo-Lit Perforated

  • Rear illumination creates a halo on the mounting surface.
  • Perforated metal adds texture to the letter structure.
Front & Halo-Lit Perforated Channel Letters

Front & Halo-Lit

  • Combines illuminated faces with rear halo lighting.
  • Provides readable front illumination and a surrounding wall glow.
RGB Perforated Channel Letters

RGB Perforated

  • Color-changing LEDs illuminate faces, perforated areas, or rear sections.
  • RGB or RGBW options with compatible controllers available.
Non-Illuminated Perforated Letters

Non-Illuminated

  • Dimensional perforated metal letters with no internal lighting.
  • Appearance defined by metal finish, hole pattern, and ambient light.

2. Perforation Location

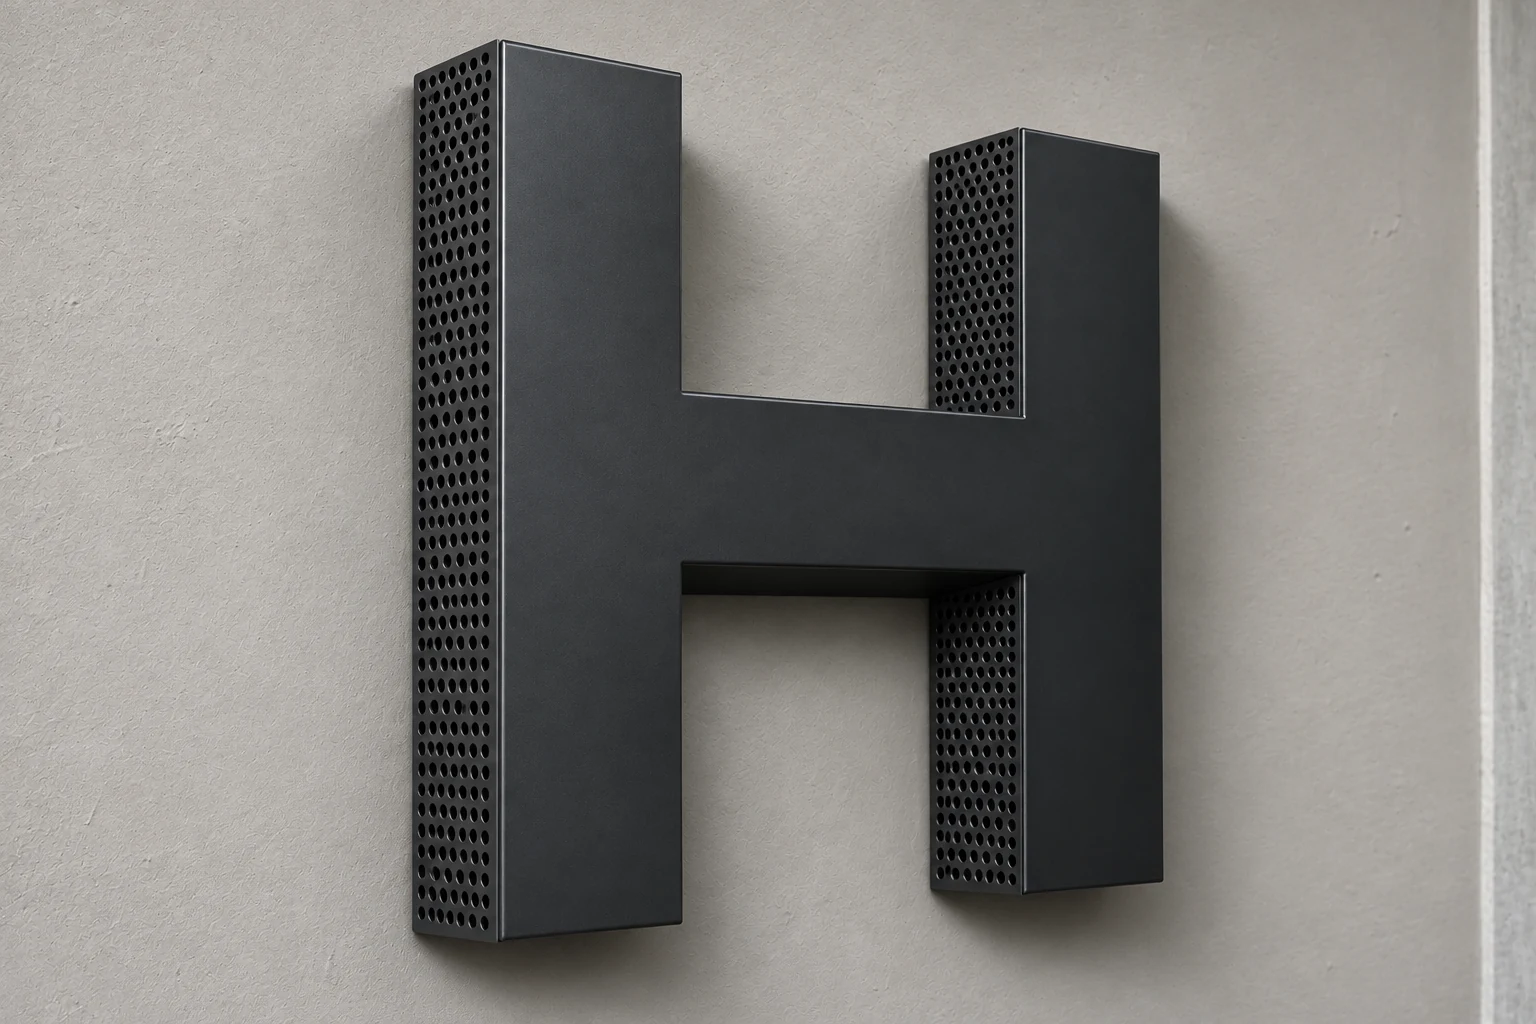
Perforated-Side Channel Letters

Perforated Sides

  • Perforations positioned on metal returns.
  • Face remains available for acrylic or solid metal.
  • Pattern is most visible from angled views.
Perforated-Face Channel Letters

Perforated Face

  • Visible pattern across the front of each letter.
  • Internal lighting creates illuminated dots or shapes.
Perforated Face & Side Channel Letters

Perforated Face & Sides

  • Perforated details extend across front and returns.
  • High visibility from multiple viewing angles.
  • Hole placement accommodates bends, joints, and attachments.
Partially Perforated Channel Letters

Partially Perforated

  • Selected areas contain perforations, others remain solid.
  • Concentrates decorative lighting on specific edges or logo elements.

3. Metal Material

Stainless Steel Perforated Channel Letters

Stainless Steel

  • Brushed, polished, or coated finish options available.
  • Material grade selected based on installation environment.
Aluminum Perforated Channel Letters

Aluminum

  • Relatively lightweight construction option.
  • Painted or powder-coated finishes match brand colors.
Galvanized Steel Perforated Channel Letters

Galvanized Steel

  • Custom painted or powder-coated finish.
  • Material and coating suitability reviewed for exposed locations.

4. Hole Pattern

Round-Hole Perforated Channel Letters

Round-Hole

  • Circular openings in straight, staggered, or custom layouts.
  • Hole diameter and spacing influence texture and illumination.
Starry-Sky Perforated Channel Letters

Starry-Sky Effect

  • Varying sizes of round holes create a starry-sky effect on the face.
  • Evenly spaced rows along sides produce a regular dotted glow.
  • Pairs with warm white or RGB lighting and custom layouts.
Square-Hole Perforated Channel Letters

Square-Hole

  • Square openings create a geometric pattern.
  • Dimensions and spacing tailored to letter shape and fabrication.
Slotted Perforated Channel Letters

Slotted

  • Elongated openings create a linear pattern.
  • Slot length, width, and direction customized to design.
  • Can be arranged vertically or horizontally.
Custom-Pattern Perforated Channel Letters

Custom-Pattern

  • Developed from decorative motifs, gradients, or custom artwork.
  • Tailored to suit specific fabrication and lighting needs.

5. Mounting Method

Direct Wall Mount Perforated Channel Letters

Direct Wall Mount

  • Letters fixed directly to mounting surface for compact installation.
  • Requires planned cable exits and fixing points for each letter.
Stand-Off Mount Perforated Channel Letters

Stand-Off Mount

  • Mounted on spacers to create clearance behind the sign.
  • Ideal for halo lighting and space for cable routing.
Raceway Mount Perforated Channel Letters

Raceway Mount

  • Letters attached to a shared enclosure for wiring.
  • Reduces separate cable penetrations through the wall.
Backer Panel Mount Perforated Channel Letters

Backer Panel Mount

  • Positioned on a common backing panel for spacing and alignment.
  • Suitable for coordinated logo assemblies and installations.

6. Custom Lettering & Logos

Custom Perforated Channel Letters

Custom Letters

  • Manufactured to specific font, dimensions, and metal finishes.
  • Perforation patterns adapted to stroke width and letter depth.
Custom Perforated Metal Logos

Custom Logos

  • Dimensional symbols with perforated faces, sides, or decorative areas.
  • Construction tailored to logo proportions and intricate details.

Build Your Custom Perforated Sign

Send your artwork, overall dimensions, preferred lighting effect and installation location. PDL will review suitable materials, perforation patterns and mounting options for your project.

PDL Custom Perforated Sign Manufacturing

Engineering & Manufacturing Quality

Precision fabrication processes and rigorous quality control ensure structural integrity, perfect finish, and long-term reliability for every custom perforated channel letter project.

Forming & Distortion Control
01

Forming & Distortion Control

CHALLENGE

Tight bends can distort nearby holes, and welding heat can warp thin metal.

CONTROL

  • Specify bend allowances, solid joining margins, and where the hole pattern ends in the drawings.
  • Use a planned forming sequence, fixtures, and controlled welding heat to maintain the letter shape.
Deburring & Edge Preparation
02

Deburring & Edge Preparation

CHALLENGE

Cutting and punching can leave sharp edges or residue that affect finishing and may damage nearby wiring.

CONTROL

  • Inspect and deburr perforated edges and cable openings as needed.
  • Clean and prepare the surface to suit the metal and chosen finish.
03

Coating Coverage at Perforated Edges

CHALLENGE

Hole walls, cut edges, and recessed areas can receive less even coverage than flat surfaces.

CONTROL

  • Check coating coverage at hole edges, seams, and recessed areas.
  • Verify coating thickness where specified.
04

Material Compatibility & Corrosion Control

CHALLENGE

Moisture can promote galvanic corrosion where dissimilar metals are in contact.

CONTROL

  • Check compatibility between the letter metal, fasteners, brackets, and backing panels.
  • Plan isolation and drainage where needed for the installation environment.
05

Thermal Movement & Wiring Protection

CHALLENGE

Acrylic and metal expand at different rates, and sharp cable openings can wear through insulation.

CONTROL

  • Secure the acrylic face while allowing for thermal movement.
  • Use edge protection, strain relief, and secure cable routing where needed.
06

Inspection Against Approved Drawings

CHALLENGE

A power-on test checks lighting operation. Fit and finish require separate checks.

CONTROL

  • Check dimensions, contours, and mounting points against the approved drawings.
  • Inspect joints, perforation edges, finish, face attachment, and wiring before shipment.

Discuss Your Project Specifications

Send your drawings and site details so we can review fabrication, material compatibility, and inspection requirements.

Advanced Equipment & Technology

State-of-the-art machinery ensuring precision cuts and flawless finishes for every letter.

Laser Cutting Machine Bending Machine Welding Equipment Polishing Technology Assembly Line

Common Concerns About Perforated Channel Letters

See what can affect the lighting, appearance, and installation of your perforated channel letters, and what PDL checks before production.

Problem

The Lighting Looks Different From Your Reference

What You May Notice

The dots may look larger or farther apart than in your reference photo. A pattern that looks clear up close may be less distinct from the sidewalk.

How PDL Addresses It

We review your reference photo and expected viewing distance, then recommend a hole size, spacing, coverage, and letter depth for the look you want.

Problem

Individual LEDs Are Visible Through the Holes

What You May Notice

From close range or at eye level, you may see individual LED modules or sharp bright spots through the holes.

How PDL Addresses It

We review the space between the LEDs and the perforated metal, adjust the LED positions where needed, and check whether a diffuser would soften bright spots while keeping the dotted pattern visible.

Problem

The Face Looks Bright but the Sides Look Dim

What You May Notice

On front-lit letters with perforated sides, the acrylic face may read clearly from the sidewalk while the side lighting is barely visible.

How PDL Addresses It

We review the acrylic face material, LED layout, and perforation coverage together to balance the front and side lighting for your main viewing angle.

Problem

Small Letters and Thin Strokes Limit Perforation

What You May Notice

Fine strokes and tight curves may only fit one row of holes, or may leave too little metal between the holes and the edge.

How PDL Addresses It

We check the artwork at its finished size. Where space is limited, we may suggest smaller holes, wider spacing, or a wider stroke. If lighting components need more space, we review the letter depth.

Problem

The Hole Pattern Looks Uneven Around Your Logo

What You May Notice

A repeating pattern can leave gaps of different widths around curves and corners. Holes may also sit too close to an edge or seam.

How PDL Addresses It

We adjust individual hole positions around curves, corners, and seams, and allow for edge clearance. You can review where the pattern starts and stops on the production drawing.

Problem

Rain Can Enter Through Open Perforations

What You May Notice

Wind-driven rain can pass through the holes, and water may collect inside the letters if drainage is limited.

How PDL Addresses It

We ask whether the sign will be sheltered, exposed to direct rain, or near the coast. We review drainage, metal finish, and electrical component protection for your site.

Problem

Mounting or Wiring Details Can Delay Installation

What You May Notice

On installation day, drill holes may miss the mounting studs, or cable exits may end up in the wrong place behind the sign.

How PDL Addresses It

We confirm mounting points and cable exits for direct wall, raceway, or backer panel installation. PDL provides a full-size 1:1 installation template and a wiring diagram for illuminated signs.

Problem

Price and Production Time Are Hard to Estimate

What You May Notice

Two signs of the same size can have different prices and schedules because of quantity, metal finish, hole pattern complexity, and lighting requirements.

How PDL Addresses It

We review your artwork and specifications to confirm the quote and production schedule. The minimum order is 1 set. Typical production takes 5–7 days after drawing approval and order confirmation, depending on customization.

Send Your Artwork for a Perforation and Lighting Review

Share your logo or lettering, approximate dimensions, installation location, and a reference photo if available. PDL will review the hole layout, lighting, and mounting requirements to prepare a project quote.

Send Artwork for Review

Applications of Perforated Channel Letters

Versatile Perforated Metal Letters designed for various commercial environments.

01

Retail Storefronts

Custom shop names and logos for boutiques, specialty stores and retail chains. Perforated details add texture to the lettering, with illumination selected for the storefront and viewing distance.

02

Shopping Malls

Tenant identification signs, shop entrances and branded retail areas. Letter dimensions, finishes and lighting can be coordinated with the mall’s signage guidelines.

03

Hotels & Resorts

Hotel names, reception logos, lounge signs and hospitality entrances. Metal finishes and perforation patterns can complement the building’s architecture and interior design.

04

Restaurants, Cafés & Bars

Business name signs, counter logos and decorative feature walls. Illuminated perforations can introduce patterned light, while non-illuminated versions emphasize the metal finish.

05

Corporate Offices & Reception

Dimensional company names and logos for reception walls, meeting areas and office entrances. Custom proportions and mounting arrangements help integrate the sign with the available space.

06

Entertainment Venues

Entrance signs and themed branding for cinemas, clubs, karaoke venues and amusement spaces. Single-color or RGB lighting can be specified to suit the venue’s visual identity.

07

Showrooms & Displays

Brand lettering for product showrooms, exhibition booths and promotional installations. Backer panels or shared supporting structures can be considered where coordinated assembly is required.

08

Commercial Building Entrances

Building names and business identification for commercial properties. Exterior projects require materials, finishes, drainage and electrical protection suited to the installation conditions.

Plan Your Perforated Channel Letter Sign

Share your logo, approximate dimensions, and installation location. PDL will review the hole pattern, lighting, and mounting options for your project.

Certifications & Compliance Documents

Customization Options for Perforated Channel Letters

Tailor every structural and visual detail to meet your exact project specifications and branding requirements.

01

Appearance & Branding

  • Custom fonts, letter shapes and logo designs
  • Face, return and edge colors
  • Brushed, mirror-polished, matte, painted or powder-coated finishes, depending on the material
  • Brand color matching and coordinated finishes across lettering and logos
02

Perforation Design

  • Perforated faces, returns or selected areas
  • Round holes, square holes, slots and custom patterns
  • Hole dimensions, spacing and row arrangements
  • Straight or staggered layouts
  • Perforation coverage and solid border widths
  • Pattern adjustments around curves, joints and narrow strokes

Perforation details are reviewed against the letter dimensions, metal thickness and structural requirements.

03

Size & Structure

  • Letter height, width and depth
  • Overall sign dimensions and layout
  • Stroke width and logo proportions
  • Metal thickness and internal reinforcement
  • One-piece or sectional construction, where appropriate
  • Removable faces or service access, subject to construction
04

Materials

  • Stainless steel, aluminum or galvanized steel for perforated metal sections
  • Acrylic faces and internal light-diffusing panels
  • PVC or composite panels for suitable backing and supporting components
  • Material combinations selected for appearance, weight and installation conditions
05

Lighting

  • Illuminated or non-illuminated construction
  • Front illumination, perforated side illumination and rear halo lighting
  • Combined lighting effects
  • Warm white, neutral white, cool white or single-color LEDs
  • RGB or RGBW color-changing options
  • LED modules or strips selected for the internal structure
  • Brightness and diffusion options
06

Mounting & Installation

  • Direct wall mounting
  • Stand-off mounting
  • Raceway mounting
  • Backer panel mounting
  • Flush mounting where compatible with the lighting design
  • Suspended mounting with a suitable supporting structure
  • Custom fixing positions and concealed cable exits

Mounting details are coordinated with the wall, supporting structure, sign weight and maintenance access.

07

Electrical & Control

  • 12V or 24V DC systems, according to the selected components
  • Power supply capacity and input requirements
  • Compatible dimming and remote control
  • Timer operation
  • Smart control or DMX512 integration, subject to system compatibility
  • Separate control of lighting zones, where specified
08

Environment & Project Requirements

  • Indoor, sheltered outdoor or exposed outdoor configurations
  • Electrical protection, drainage and sealing appropriate to the installation
  • Corrosion-resistant materials and protective finishes
  • UV-resistant exposed materials or coatings where required
  • OEM branding and ODM design support
  • Production drawings and installation documentation
  • Protective packaging and project labeling
  • Coordinated specifications for bulk orders and multiple locations

Send Your Custom Requirements

Share your artwork, dimensions, preferred perforation pattern, lighting effect and installation location. PDL will review compatible options and prepare a quotation within 24 hours.

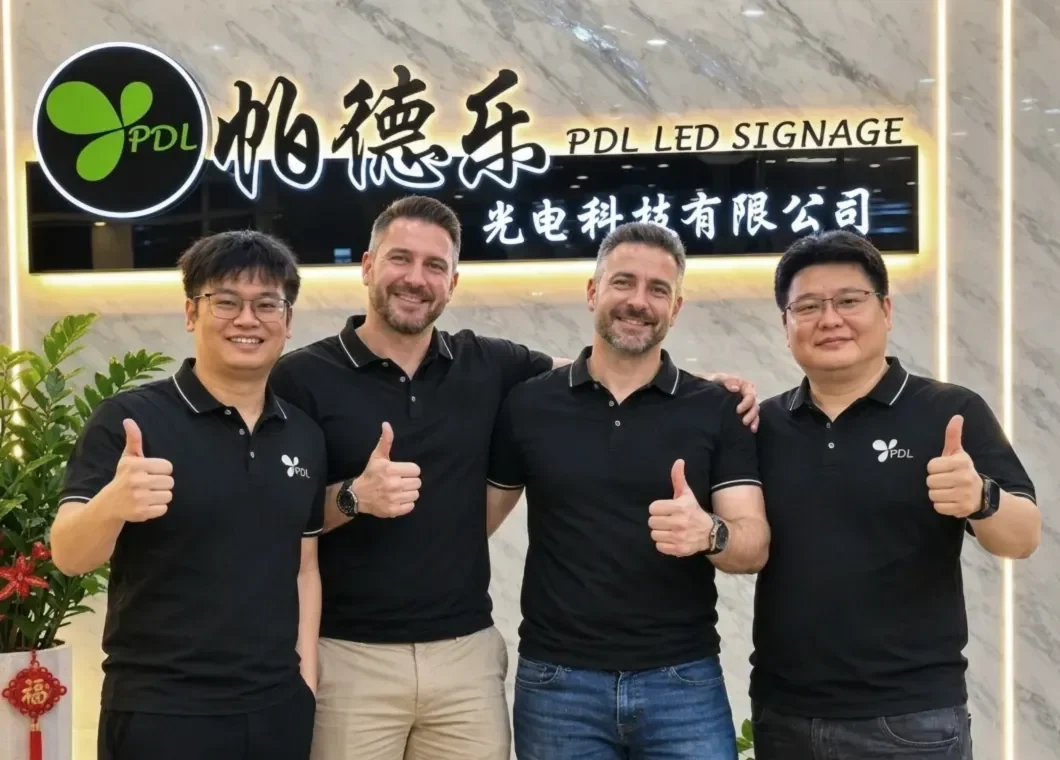
Client Communication

Meet the sign companies and contractors we work with around the world.

Client Meeting Project Discussion Factory Tour Design Review Quality Check Final Approval

Understanding Perforated Channel Letter Design

Structural & Pattern Basics

1. Open Area Ratio: Openings vs. Solid Metal

Open area ratio is the percentage of a metal surface occupied by holes. It describes the balance between openings and solid metal, rather than the brightness of the completed sign. The same hole diameter can produce different open area ratios when spacing or row arrangement changes.

Design Tip: Review hole diameter, spacing and remaining metal together. A higher open area ratio is not automatically the best choice for every letter.

2. Hole Pitch & Bridge Width

Hole pitch is the center-to-center distance between adjacent holes. Bridge width is the metal remaining between their edges. For equal round holes, the bridge width along the line joining their centers equals the pitch minus the hole diameter.

Design Tip: Drawings should identify hole diameter and pitch separately, with solid margins around edges, joints and fixing points.

3. Straight vs. Staggered Hole Patterns

Straight patterns align holes in horizontal and vertical rows. Staggered patterns offset neighboring rows, changing the visual rhythm and distribution of openings. Either arrangement can be used, depending on the letter shape and fabrication requirements.

Design Tip: Review the pattern across the complete letter, particularly at curves and corners, rather than approving only a flat sample.

Visual Appearance

4. How Viewing Angle Changes the Design

Face perforations are most visible from the front, while perforated returns become more apparent from an angle. Inner curves reveal additional surfaces, so the same letter can look different as the viewer moves past it.

Design Tip: Review front and angled views using the sign’s expected approach direction and mounting height.

5. Daytime vs. Illuminated Appearance

In daylight, the metal finish, openings and shadows define the lettering. When illuminated, light passing through the perforations becomes more prominent. Non-illuminated letters rely on ambient or external lighting, while any rear halo effect requires a corresponding lighting arrangement.

Design Tip: Compare unlit and illuminated views of the same design to assess both the metal appearance and the lighting pattern.

Material Terms at a Glance

Material What It Is Typical Role
Perforated Metal Sheet metal with openings produced by punching, laser cutting or another suitable process. Faces, returns or decorative sections of dimensional letters.
Expanded Metal Sheet metal slit and stretched into an interconnected mesh, available in raised or flattened forms. Mesh surfaces and decorative elements requiring a different texture.
Perforated Vinyl Flexible graphic film containing small openings, commonly applied to glass. Window graphics rather than the metal body of a dimensional letter.

Specification Tip: Identify the intended material and perforated location in your drawing—for example, “perforated stainless steel returns”—to make the requirement clear.

Secure Packaging & Shipping

Ensuring your custom signs arrive safely, anywhere in the world.

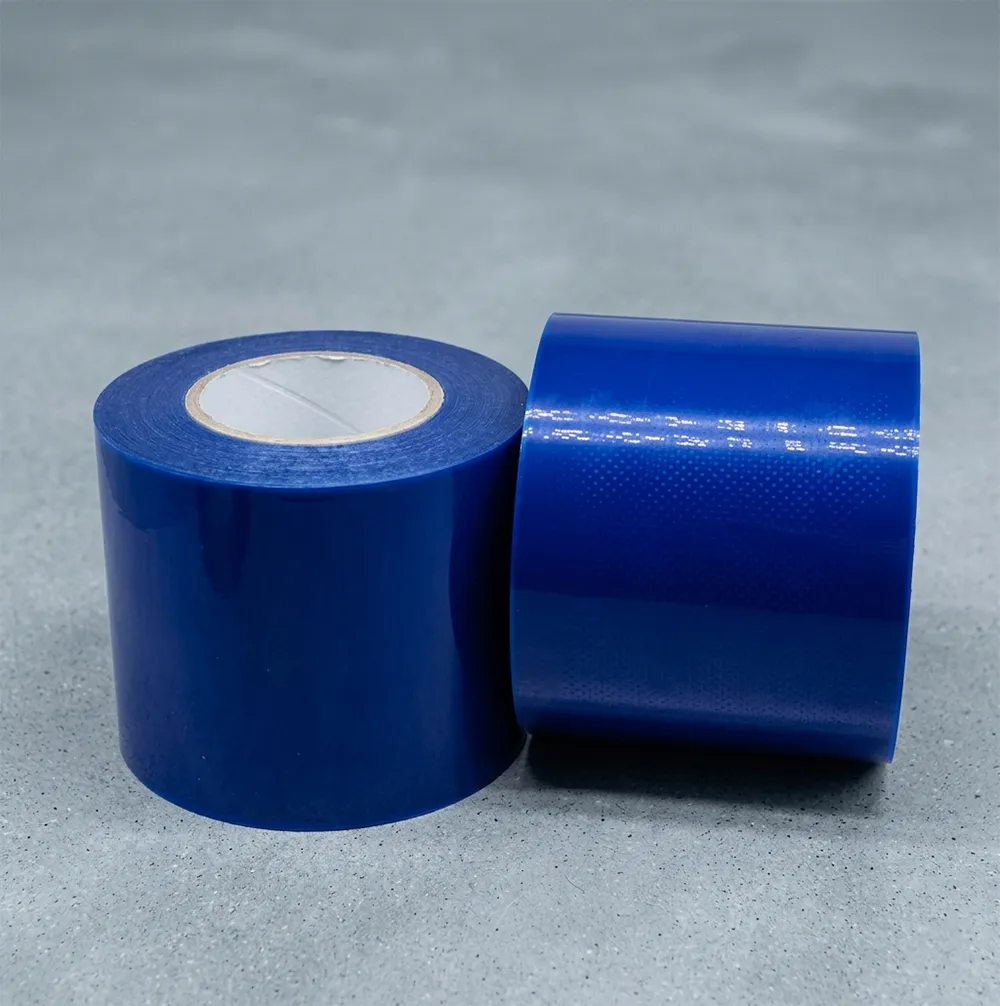
Surface Protection

Surface Protection

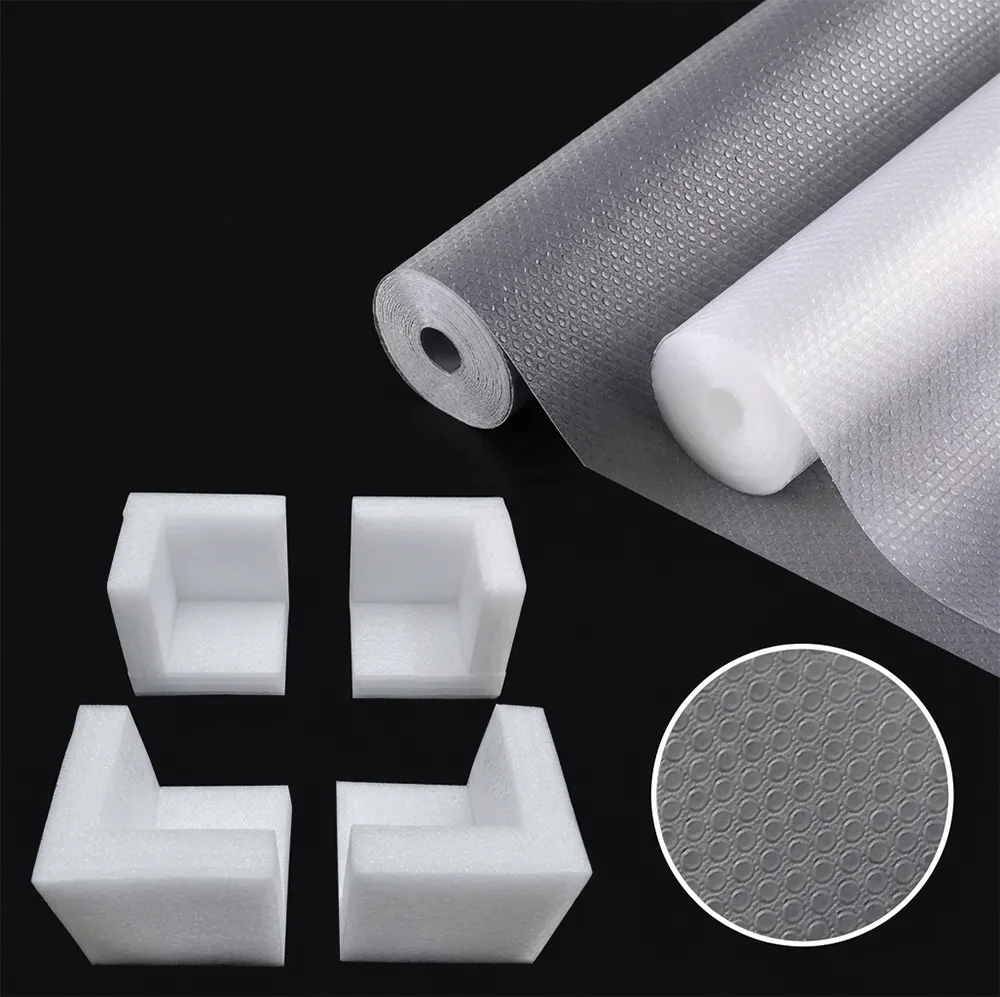
Corner Protection

EPE Corner Protection

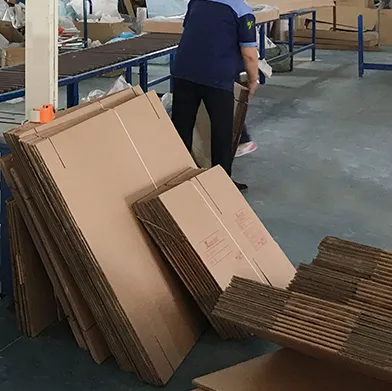
Custom Cartons

Custom Sized Cartons

Packing Process

Secure Packing

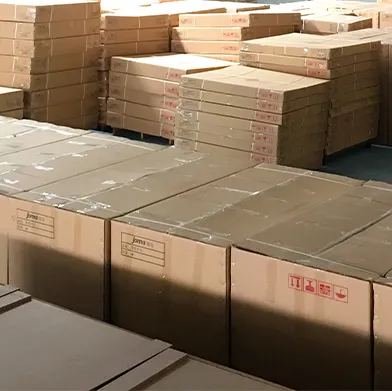
Loading

Container Loading

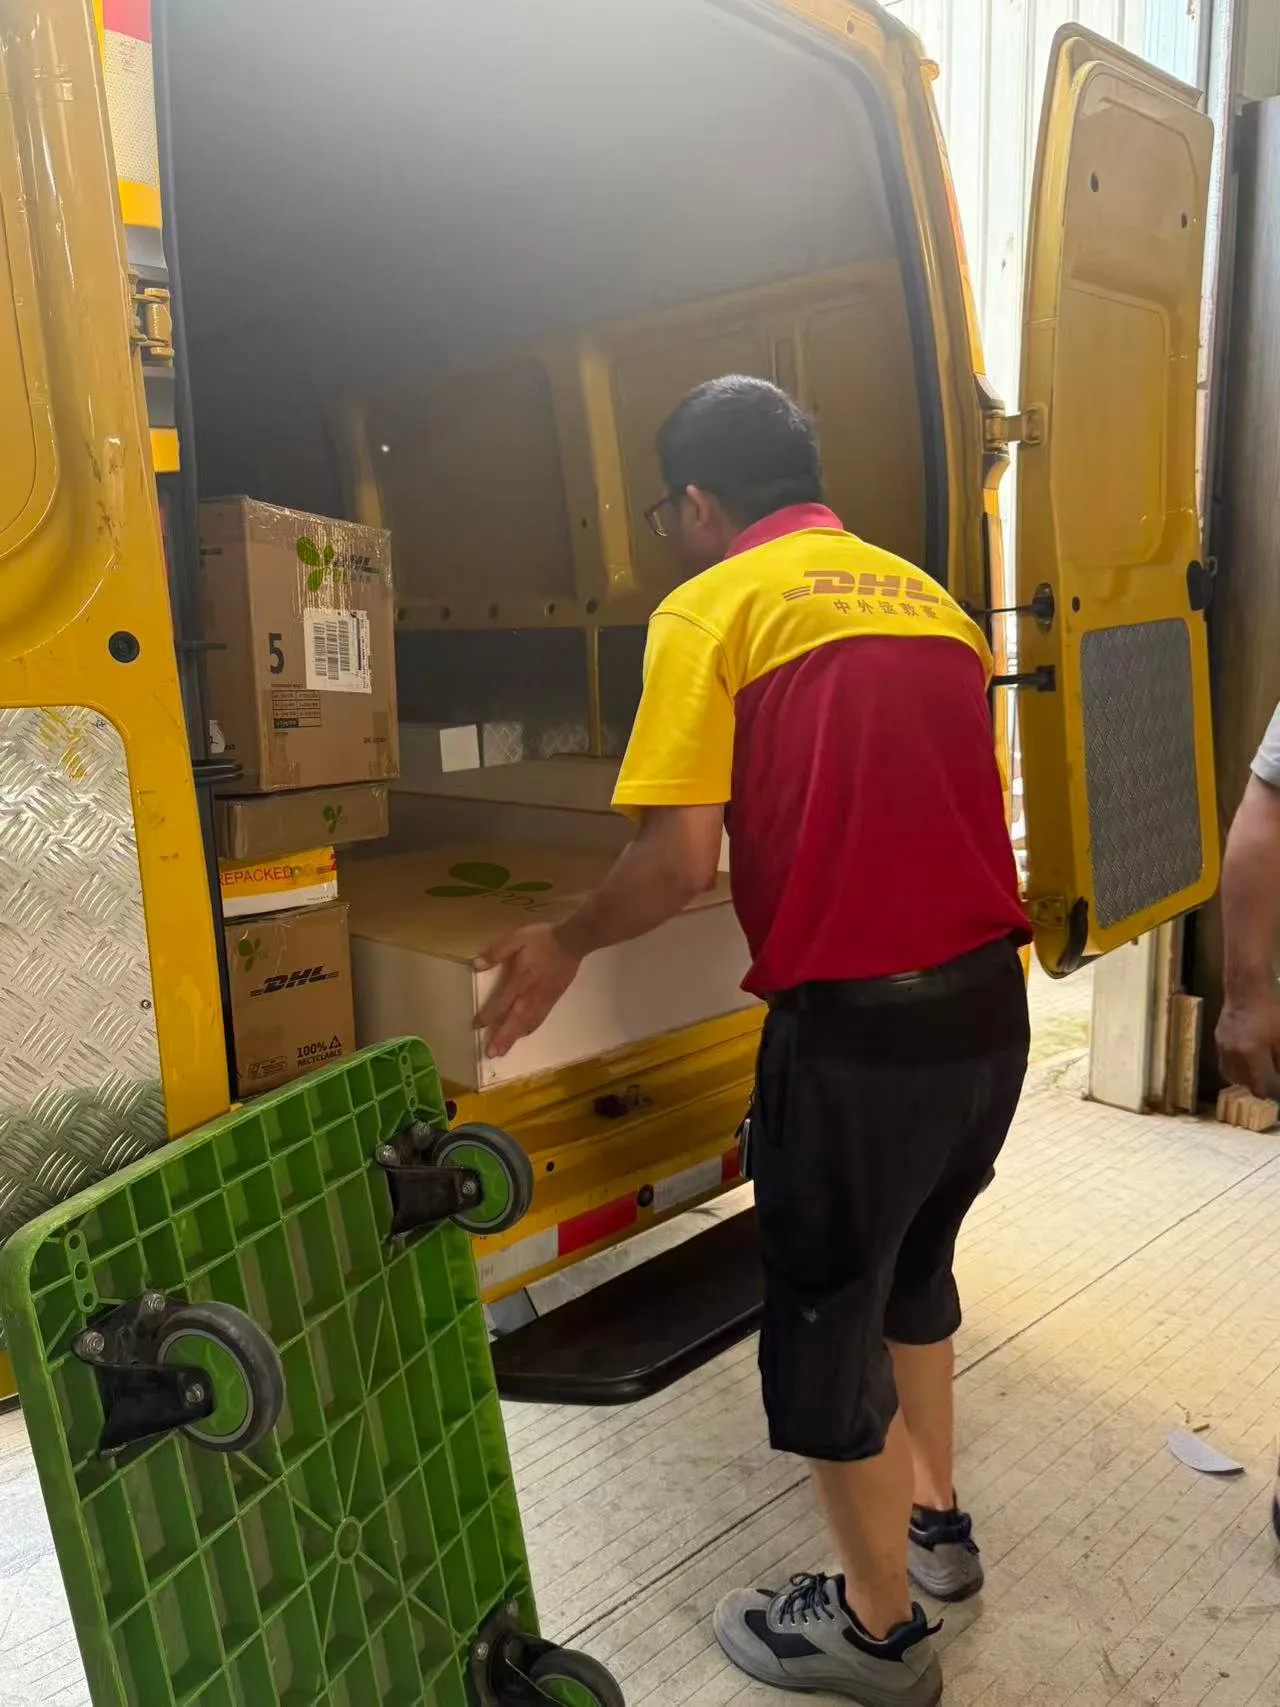
Global Shipping

Global Shipping

How to Install Perforated Channel Letters

Step-by-step guidance for mounting your RGB Perforated Channel Letters.

1

Check the Sign and Installation Site

Unpack the letters and check them against the approved layout. Confirm the wall condition, mounting method, cable routes and power supply location. For illuminated signs, verify the specified voltage and test operation before installation.

2

Position the Installation Template

Secure the supplied 1:1 installation template to the mounting surface. Check alignment, spacing and level, then mark fixing points and cable exits. Confirm that drilling locations are clear of concealed wiring, pipes and other services.

3

Prepare Fixings and Cable Openings

Drill the marked holes and install anchors suitable for the supporting surface and sign weight. Fit the specified studs, spacers or brackets. Protect cable passages with suitable bushings or grommets where wires pass through metal or abrasive surfaces.

4

Mount the Letters or Sign Assembly

Feed cables through the planned exits and secure the letters using the approved mounting details. For raceway or backer panel installations, follow the supplied assembly drawings. Support each letter by its structural sections, avoiding pressure on perforated panels.

5

Connect Power and Lighting Controls

With power isolated, connect illuminated letters according to the supplied wiring diagram. Use parallel connections where specified and observe DC polarity and the approved 12V or 24V system voltage. Connect RGB/RGBW lighting through its compatible controller. Mains connections should be completed by a qualified electrician.

6

Test, Seal and Complete

Switch on the sign and check all specified lighting effects, brightness settings and controls. Recheck alignment and fixing security. Seal wall penetrations and designated joints where required, keeping intended perforations and drainage openings clear. Remove protective film and clean with a material-compatible product.

Installation Notes

Keep drainage clear

Do not seal decorative perforations or intended drain openings unless the installation drawing specifies it.

Protect the finish

Avoid clamping, lifting or tightening directly against unsupported perforated sections.

Allow service access

Keep power supplies, controllers and designated access panels reachable for maintenance.

Follow the approved configuration

Maintain specified stand-off distances, power supply ventilation and electrical protection.

For non-illuminated letters

Omit electrical connections and lighting tests; follow the same approved positioning and fixing procedure.

Frequently Asked Questions

Find answers about Perforated Channel Letters Cost, warranty, and production.

1. What are perforated channel letters, and what can I customize?
Perforated channel letters feature patterned openings in their metal faces, sides or both. PDL offers custom fonts, logos, dimensions, hole patterns, metal finishes and mounting options. Lighting choices include front-lit, side-lit, halo-lit and RGB configurations, subject to artwork and construction review.
2. Will the lighting effect match my design?
Hole size, spacing, letter depth and viewing distance influence the appearance. With 20 years of manufacturing experience, PDL reviews your artwork and reference images to recommend a suitable perforation layout and lighting arrangement. Small letters and thin strokes may require design adjustments.
3. Can these letters be used outdoors, and what is the operating temperature?
Outdoor suitability depends on the materials, construction and installation conditions. We review rain exposure, drainage and electrical protection for each project. The specified operating temperature range is −10°C to 50°C. Please share your installation location before ordering.
4. What is the minimum order, production time and installation support?
The minimum order is 1 set. Typical production takes 5–7 days after drawing approval and order confirmation; the actual schedule depends on your customization requirements. Shipping time is additional. PDL provides a 1:1 installation template, wiring diagram and power supply, with mounting accessories confirmed for your project.
5. What warranty does PDL provide?
PDL provides a 4-year LED warranty, with component coverage of 4 years for LED light sources, 5 years for acrylic and 3 years for transformers/power supplies. Applicable warranty terms are confirmed with your order.
6. How do I request a quotation, and when will I receive a reply?
Send your logo or reference image, approximate dimensions, quantity and installation location. Upload JPG, JPEG or PNG files up to 5 MB each; images under 1000 × 1000 pixels are recommended. Use filenames containing English letters, Chinese characters or numbers. For larger drawings, provide a download link or email us. We respond within 24 hours. For urgent requests, scan the contact QR code or use the email address shown on this page.

Get a Custom Quote

Share your logo, approximate dimensions, and installation location. We’ll review the hole pattern, lighting, and mounting options for your sign.

We’ll reply within 24 hours.

Project Details

Supported formats: PDF, JPG, PNG, STEP, IGES, STL, DWG (Max 20MB)

Choose Files No file chosen

Supported formats: PDF, JPG, PNG, STEP, IGES, STL, DWG (Max 20MB)

Direct Contacts

Scan to Chat on WhatsApp

Nick WhatsApp QR
Chat with Nick
Devin WhatsApp QR
Chat with Devin
Shishi, Fujian, China View Full Address
Building 1, Tahoe Plaza, No.339 Baodao Middle Road, Hubin Street, Shishi City, Fujian Province, China