
Custom Cabinet Signs
Custom illuminated and non-illuminated sign cabinets built to approved drawings for storefront, pylon, monument and multi-tenant projects. Specify the housing, face material, lighting, mounting and service access, with installation and wiring drawings supplied for your project.
Custom Cabinet Sign Manufacturer for OEM/ODM Projects
PDL Sign is a dedicated cabinet sign manufacturer and factory serving sign companies, distributors, contractors, and multi-location brands worldwide. Learn more about PDL Sign manufacturing capabilities.
- Fabrication based strictly on approved artwork, cabinet dimensions, face structure, and mounting method.
- Pre-production confirmation of cabinet drawing, LED layout, electrical entry, and maintenance access.
- MOQ: 1 set. Standard production time is 3–5 working days after drawing approval (oversized, custom shapes, and bulk orders evaluated separately).
Cabinet Sign Product Classification
Cabinet signs, also known as sign cabinets or box signs, are enclosed signage systems built with a metal housing and a rigid or flexible display face.
The following classifications help buyers select the appropriate illumination, face material, mounting structure and cabinet housing for each commercial project.
PDL Sign manufactures custom cabinet signs for OEM/ODM, storefront, pylon, monument and multi-location commercial signage projects.
By Illumination

1. Illuminated Cabinet Sign
- Internally illuminated with energy-efficient LED modules to keep graphics and business names visible during both day and night.
- Available with acrylic, polycarbonate or tension-fabric faces for storefronts, shopping centers, restaurants, fuel stations and roadside pylon signs.
- Buyers can specify LED brightness, color temperature, operating voltage, waterproof rating and front or rear maintenance access.
- See our LED Light Boxes options.
2. Non-illuminated Cabinet Sign
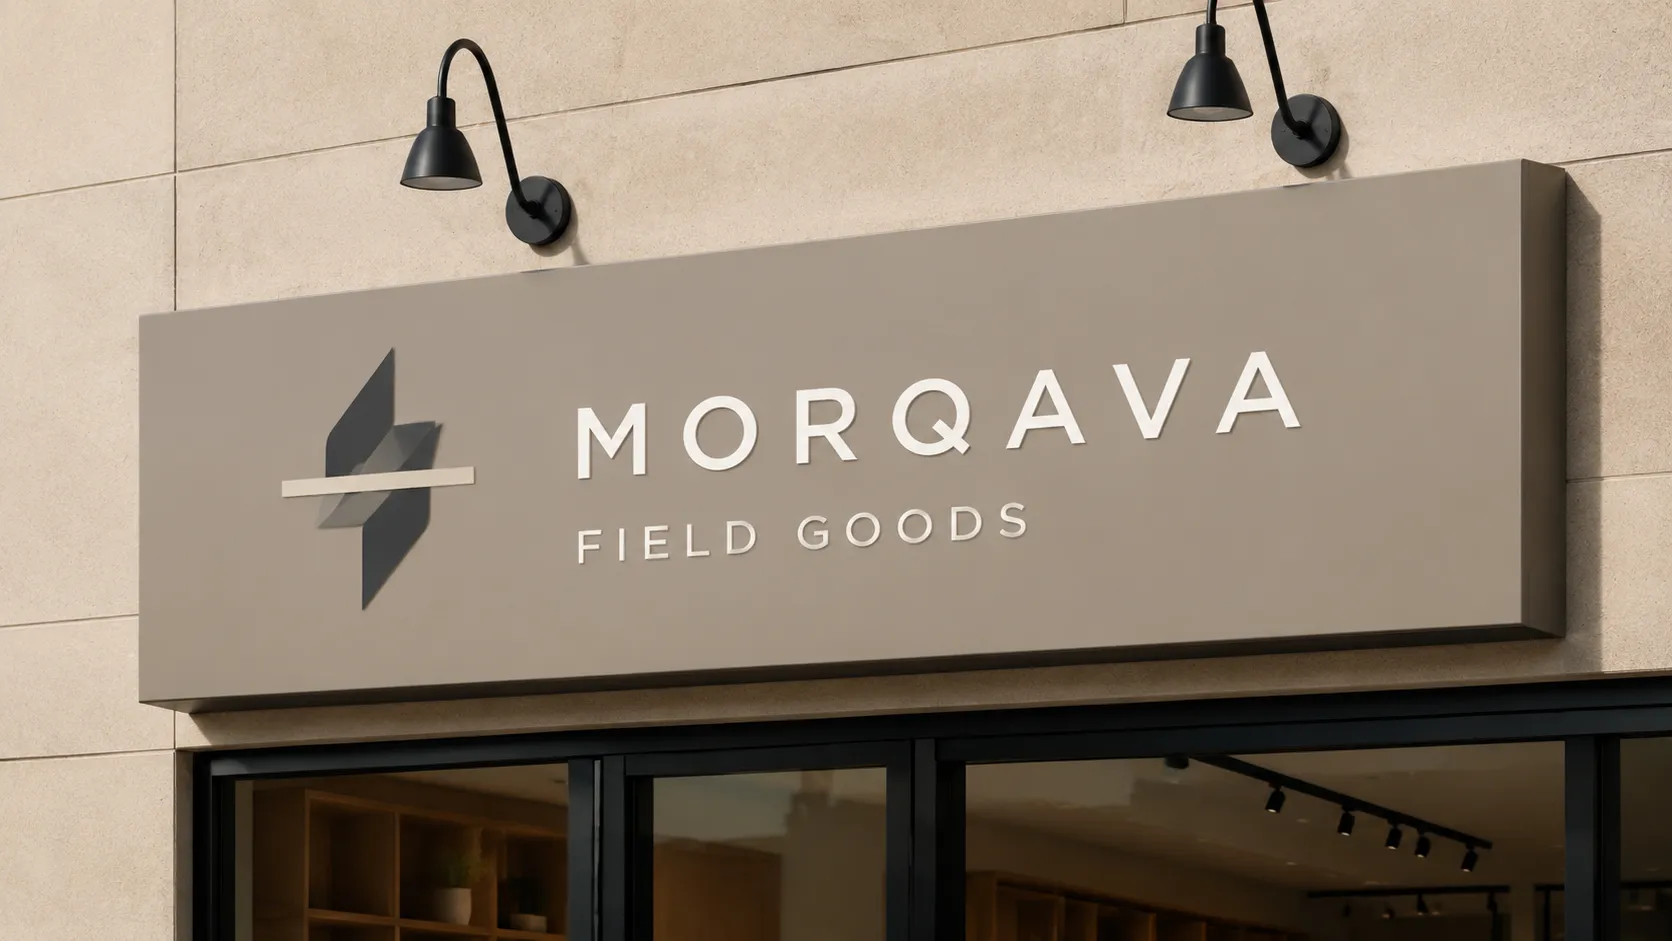
- Manufactured without internal lighting and typically finished with printed graphics, vinyl lettering, routed panels or painted logos.
- It is suitable for locations with sufficient ambient lighting or projects requiring lower electrical and maintenance costs.
- External spotlights can also be added when nighttime visibility is occasionally required.
By Visible Sides

1. Single-sided Cabinet Sign
- Designed with one visible display face, usually installed directly onto a building façade, wall or existing sign structure.
- It is commonly used for storefront identification where customers approach from one primary direction.
- Rear access, side access or a removable front panel can be selected according to the available maintenance space.
2. Double-sided Cabinet Sign
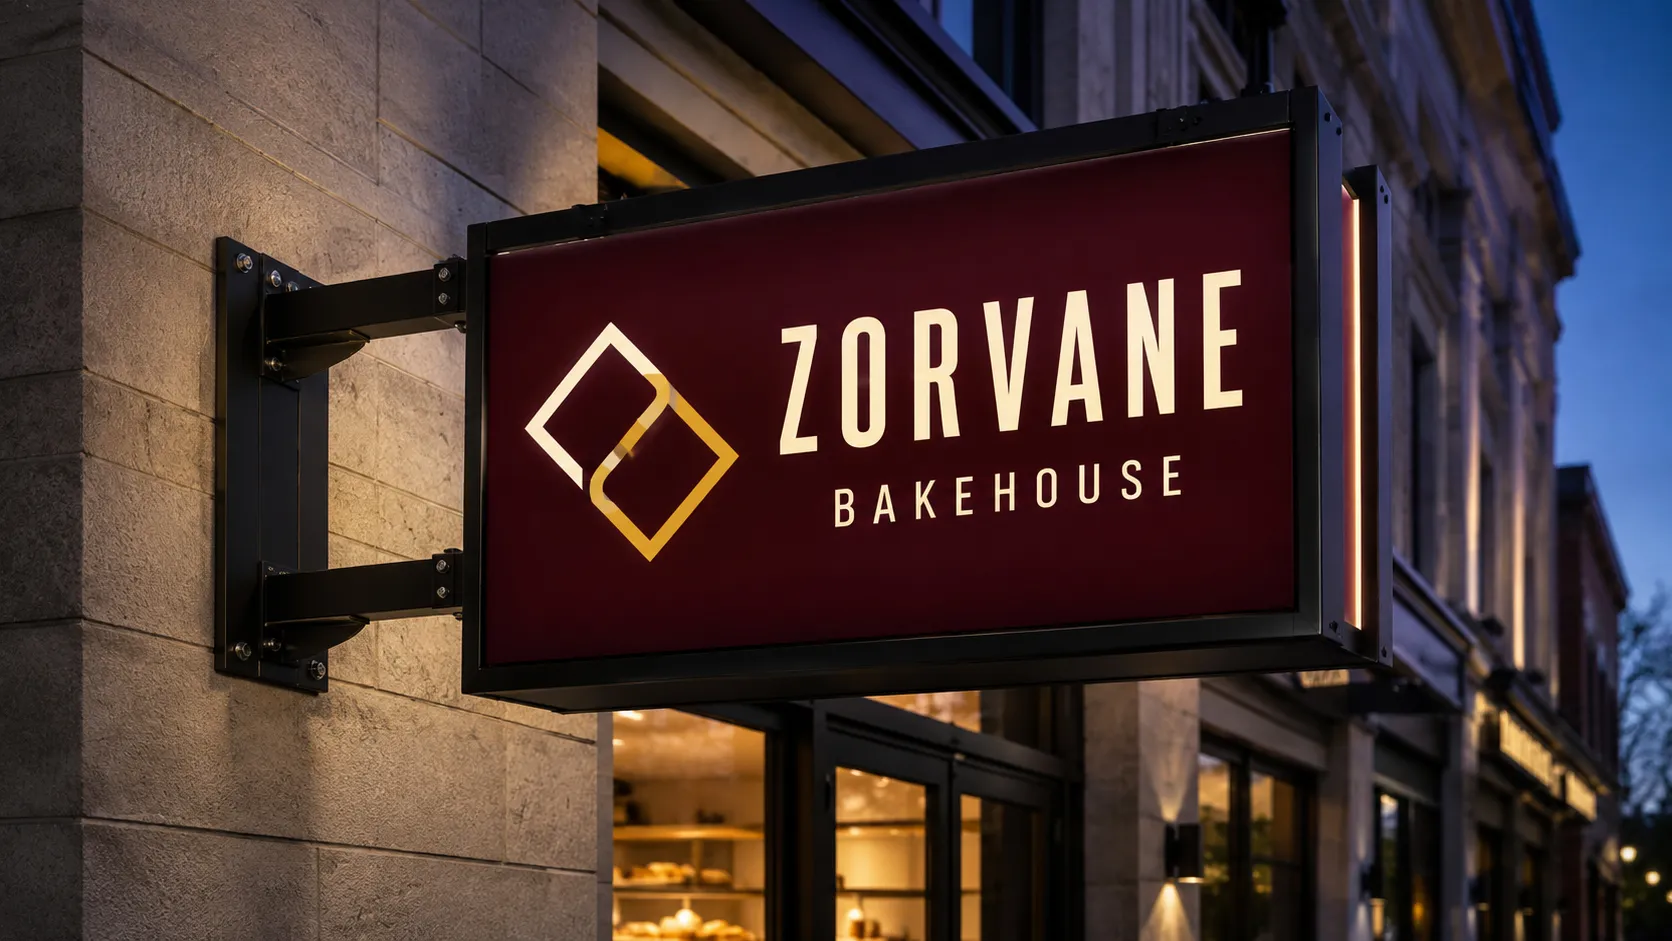
- Provides two opposing display faces for visibility from both directions.
- It is commonly used for pole signs, pylon signs, hanging blade signs and freestanding roadside signage.
- The internal LED layout must provide consistent brightness on both faces, while the frame, bracket or pole connection should be engineered for the sign size and local wind load.
By Panel and Fabrication Method

1. Acrylic-face Cabinet Sign
- ▶ Uses a flat or thermoformed acrylic face with translucent vinyl graphics, printed graphics or painted details.
- ▶ Acrylic provides a clean, bright appearance and is commonly selected for small- and medium-format storefront sign cabinets.
- ▶ Face thickness and cabinet depth should be matched to the overall sign size to reduce panel deformation and visible LED hotspots.
2. Flex-face / Tension-fabric Sign
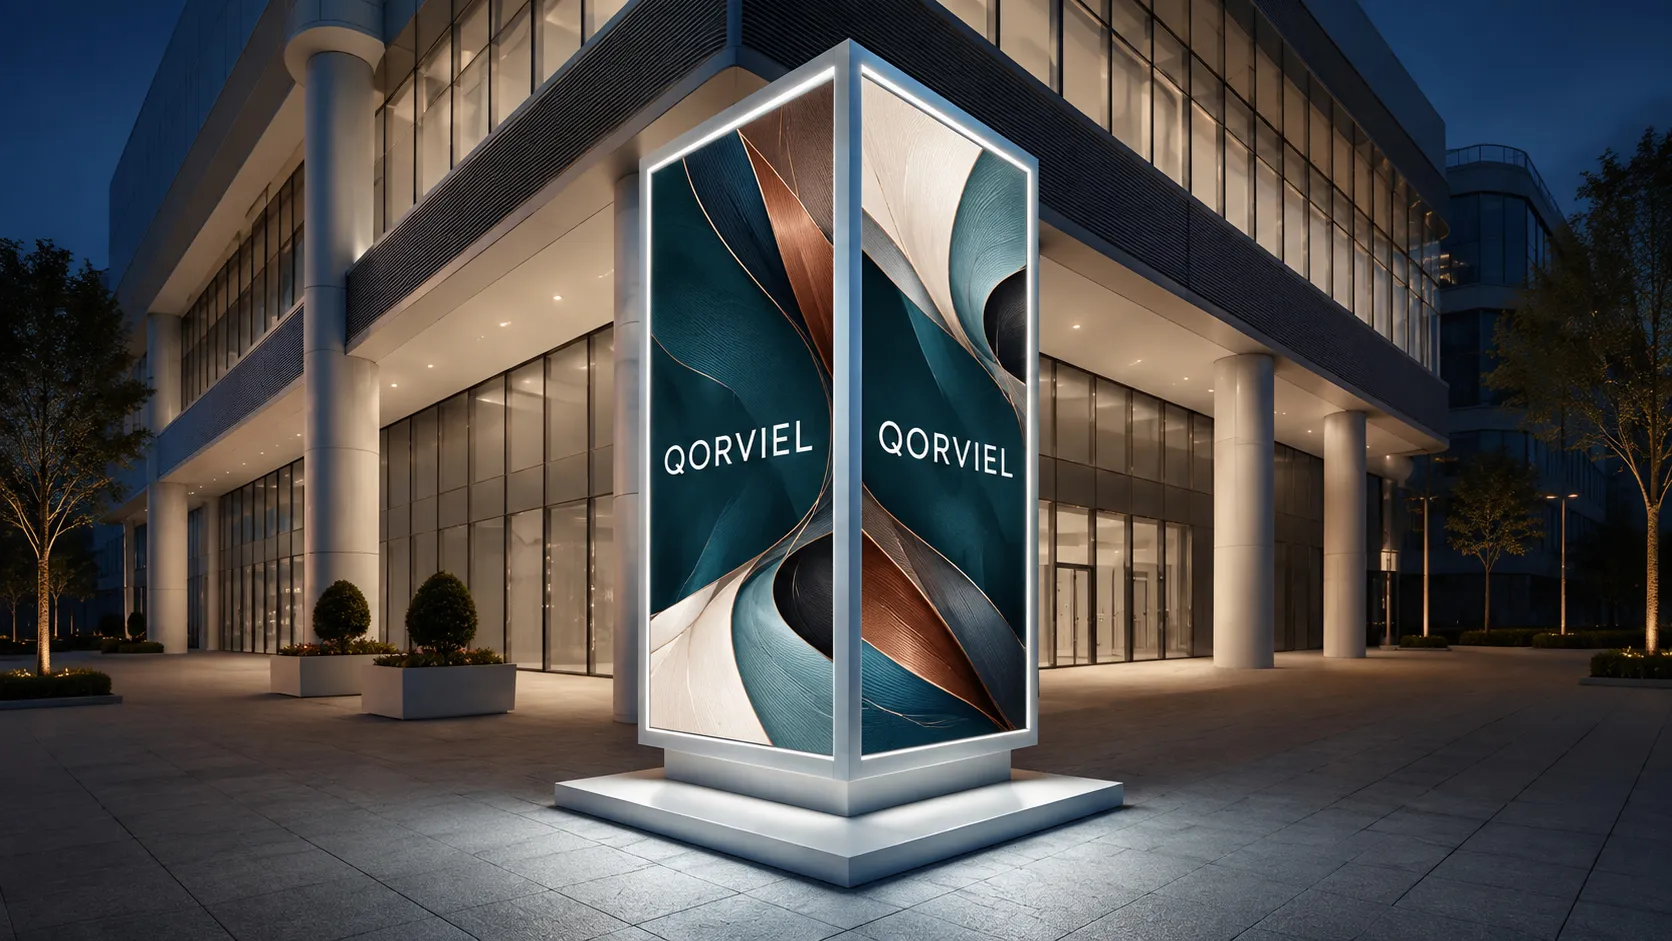
- ▶ Uses a flexible translucent sign face tensioned evenly across the cabinet frame.
- ▶ It is suitable for large-format illuminated signs where a rigid acrylic panel would be difficult to transport, install or replace.
- ▶ The flexible face allows large seamless graphics and can be removed when branding or tenant information changes.
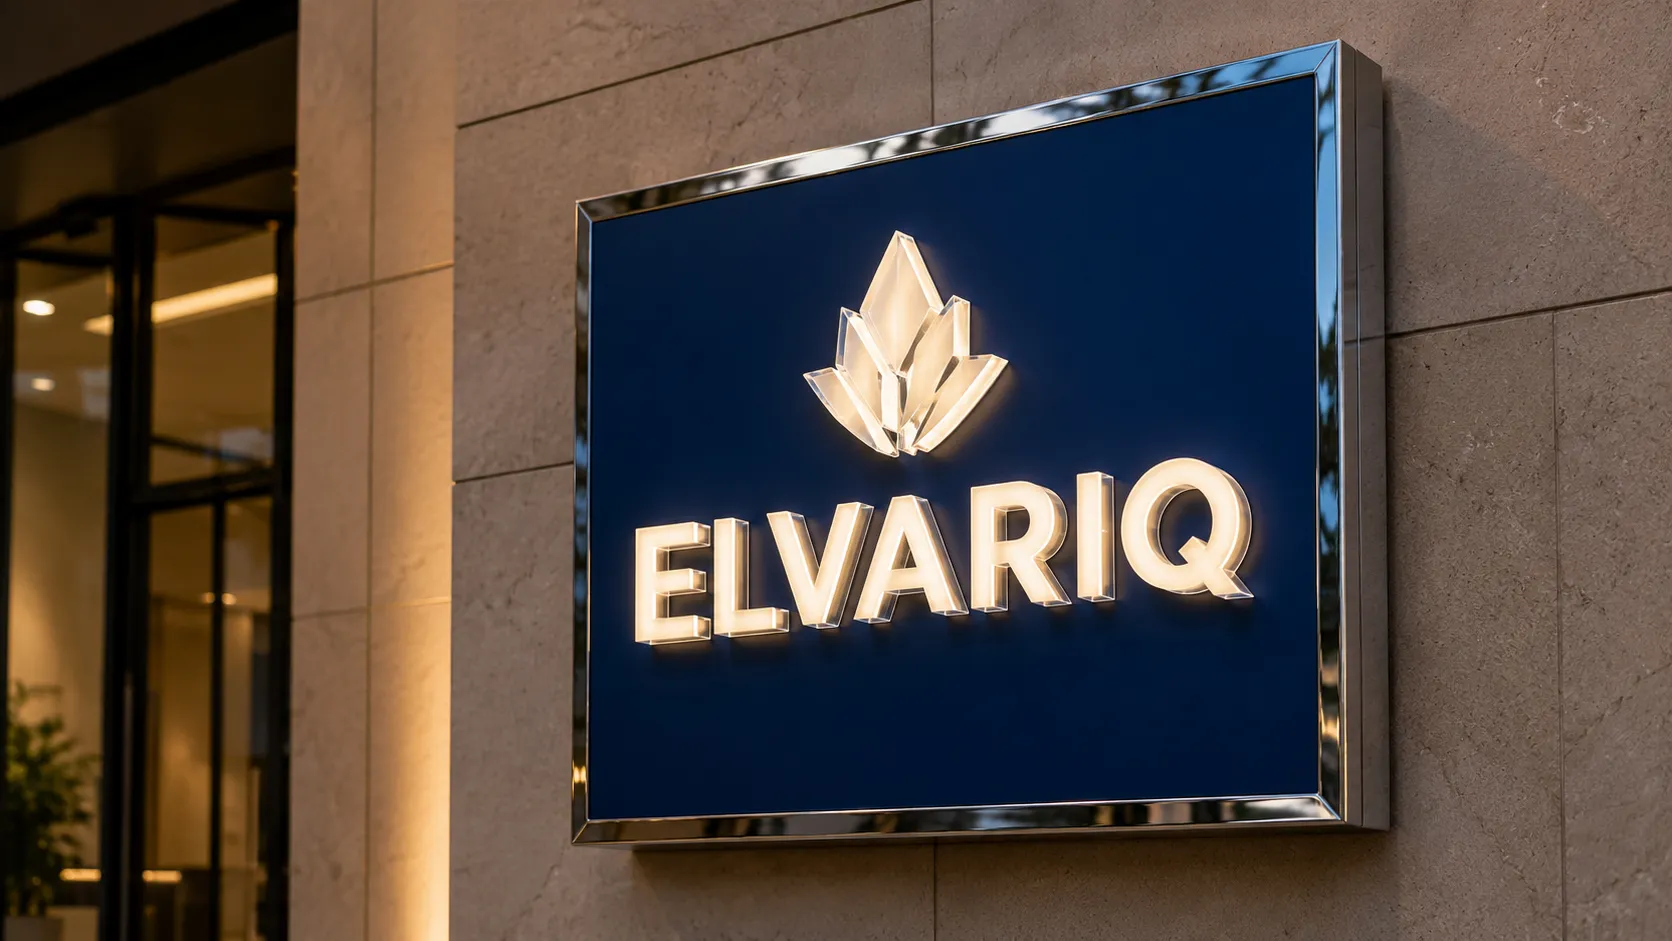
3. Push-through Cabinet Sign
- ▶ Features routed openings in a metal face with thick acrylic letters or logos pushed through the panel.
- ▶ Internal LEDs illuminate the acrylic elements while the surrounding metal face remains opaque.
- ▶ This structure creates stronger depth and a more refined architectural appearance for hotels, restaurants, retail stores and corporate buildings.

4. Changeable-copy / Tenant Sign
- ▶ Designed with removable letter tracks, interchangeable panels or replaceable tenant inserts.
- ▶ It allows names, prices, messages or directory information to be updated without replacing the entire sign cabinet.
- ▶ It is commonly used for shopping plazas, business parks, schools, churches, fuel stations and multi-tenant pylon signs.

5. Routed / Engraved Cabinet Sign
- ▶ Uses CNC-routed, cut-out or engraved graphics on aluminum, stainless steel, acrylic or composite panels.
- ▶ The openings can be backed with translucent acrylic for illumination or left unlit for dimensional visual effects.
- ▶ This fabrication method is suitable for detailed logos, branded patterns, wayfinding information and projects requiring sharper graphic edges.
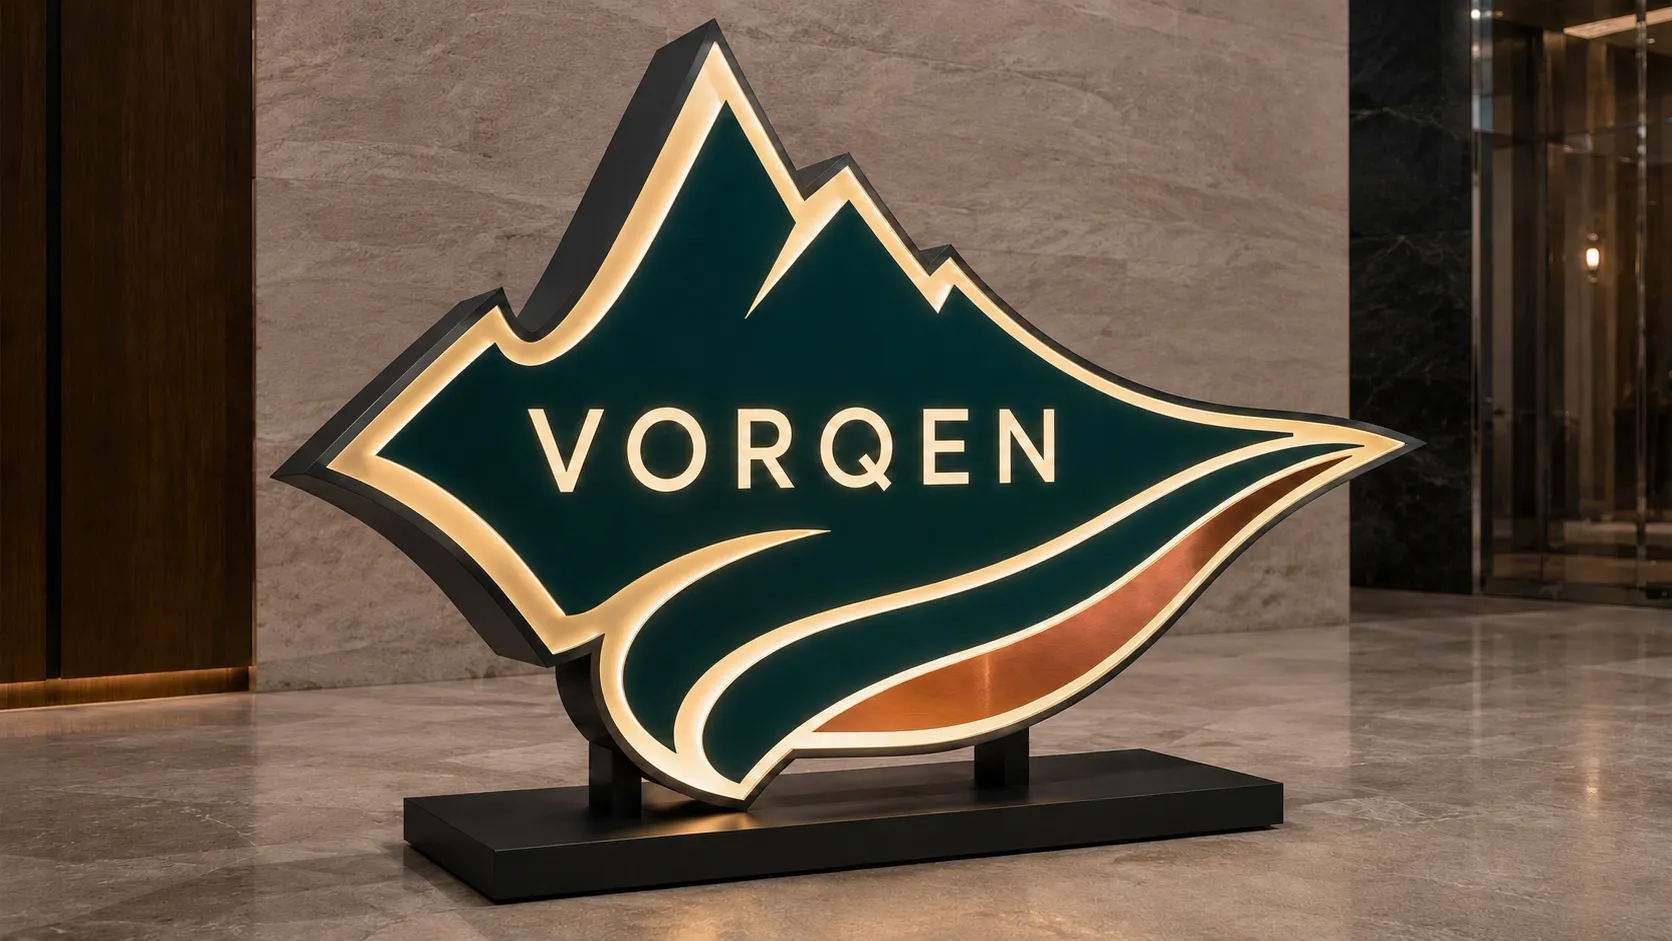
6. Custom-shaped Cabinet Sign
- ▶ Manufactured in irregular shapes that follow a logo, symbol, product outline or architectural feature rather than a standard rectangle.
- ▶ The internal frame, face panel and LED arrangement are engineered around the custom profile.
- ▶ Vector artwork, overall dimensions and installation drawings are normally required before structural and production drawings can be prepared.
By Mounting Method
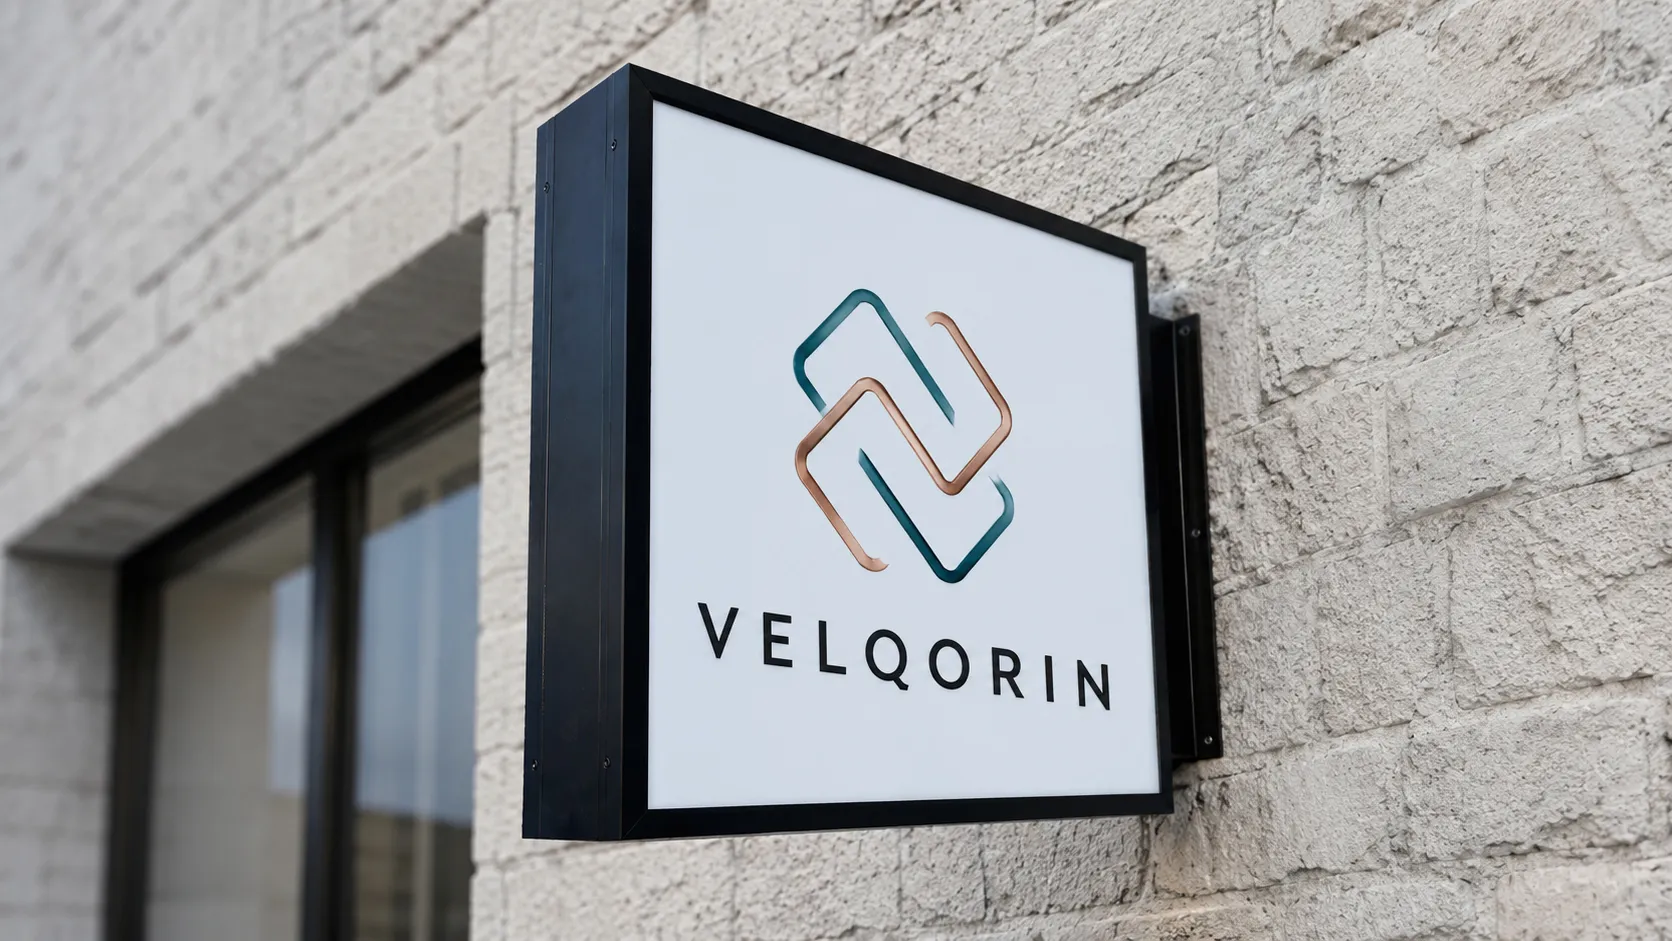
1. Wall-mounted Cabinet Sign
- ◆ Installed flush against or slightly offset from a building wall.
- ◆ Commonly used for retail storefronts, restaurants, offices and shopping-center façades.
- ◆ Wall material, fixing points, cable outlet position and maintenance access should be confirmed before production.
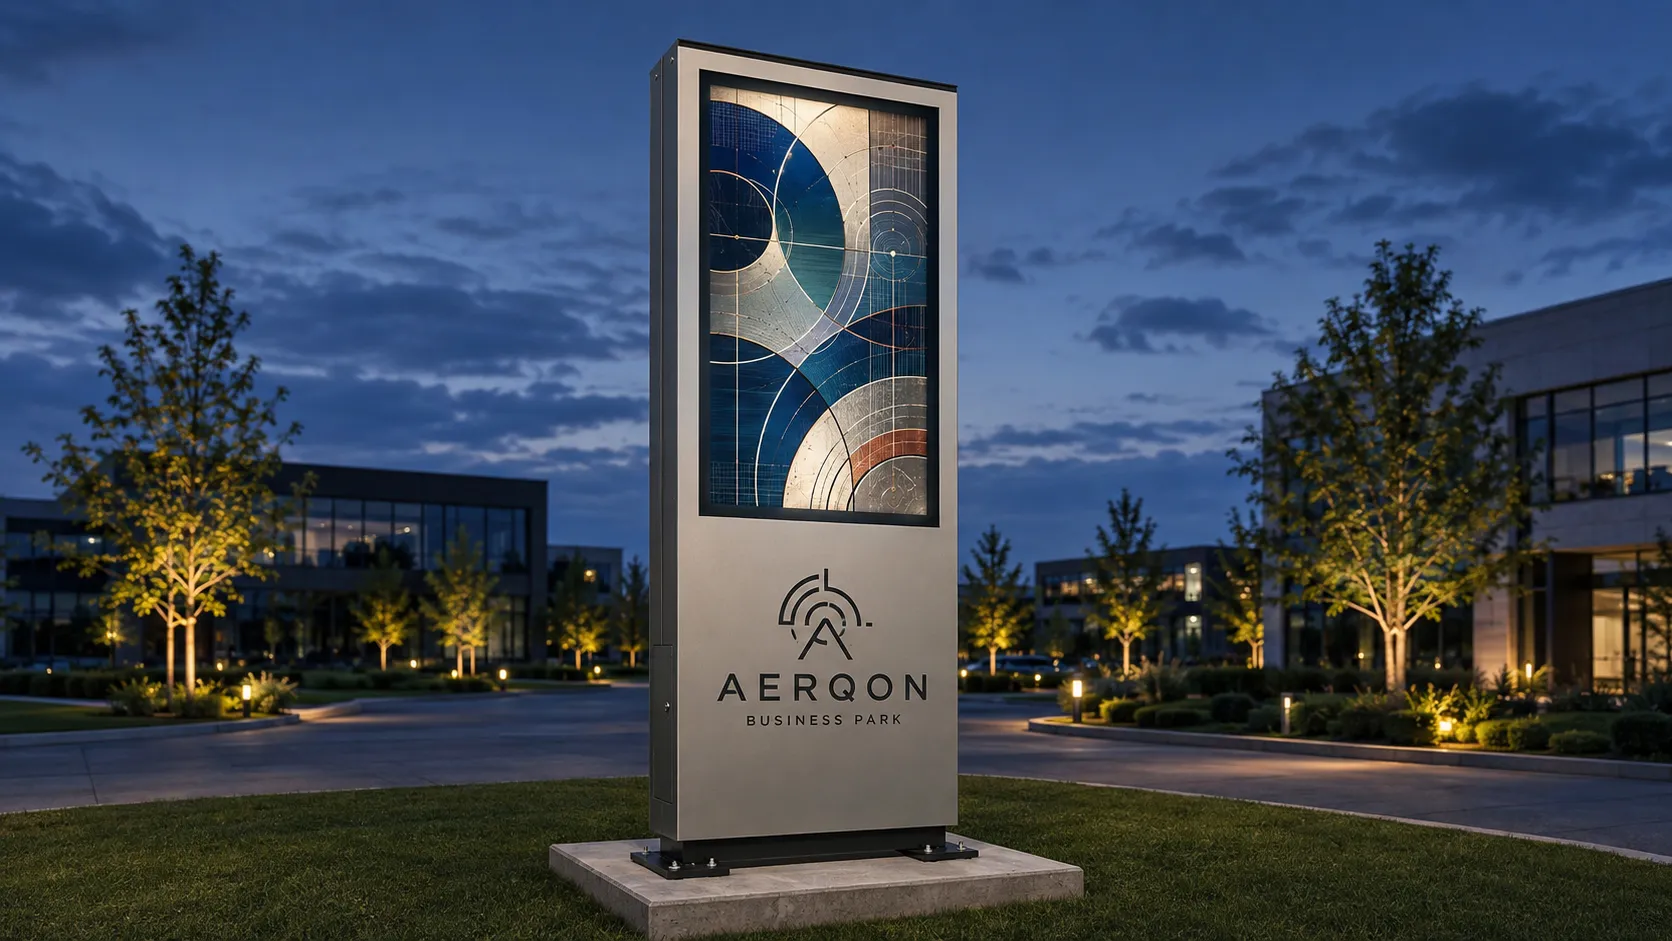
2. Pole-mounted / Pylon Sign
- ◆ Mounted between poles or integrated into a freestanding pylon sign structure for long-distance roadside visibility.
- ◆ Suitable for fuel stations, commercial plazas, hotels, dealerships and business parks.
- ◆ Large projects may require structural drawings, foundation details, wind-load calculations and internal service doors.

3. Hanging / Blade Cabinet Sign
- ◆ Mounted perpendicular to the building façade using a projecting bracket.
- ◆ Can be single-sided or double-sided and is designed for pedestrians and traffic approaching from either direction.
- ◆ Bracket strength, overhead clearance, cabinet weight and local installation regulations should be checked during planning.

4. Monument Cabinet Sign
- ◆ A low-profile, ground-mounted cabinet integrated with a metal, masonry or fabricated base.
- ◆ Commonly installed at property entrances, residential communities, campuses, hotels and commercial developments.
- ◆ The design can include illuminated identification, replaceable tenant panels, address information and landscaping-compatible finishes.
By Cabinet Housing Material
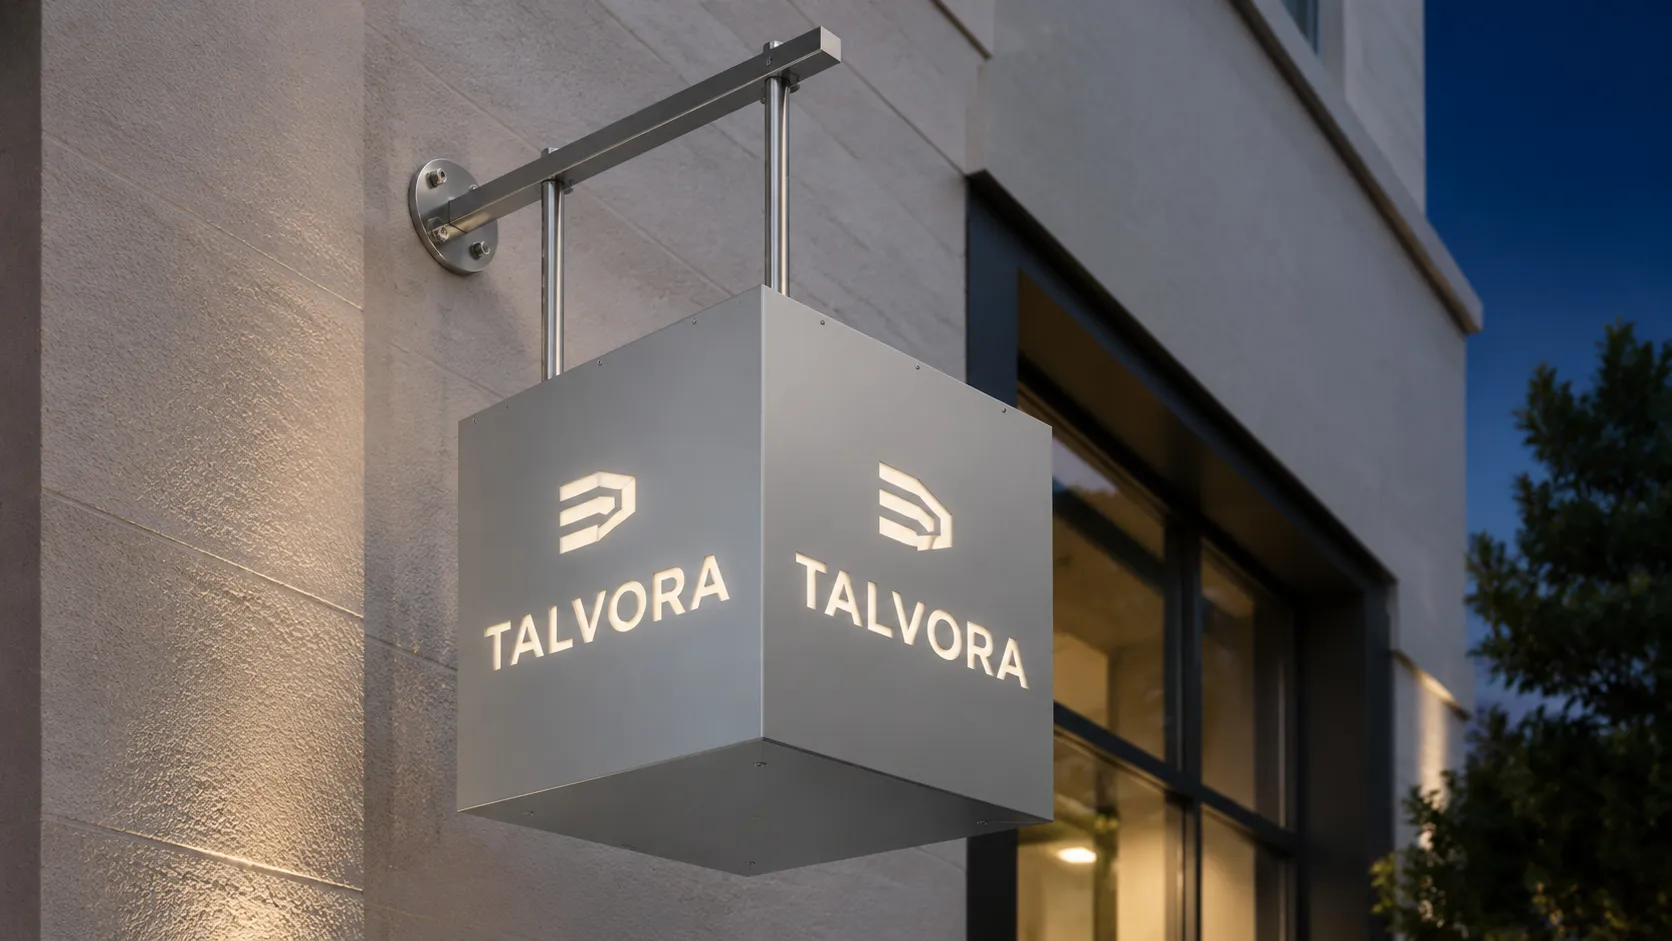
1. Aluminum Cabinet Sign
- · Lightweight, corrosion-resistant and easy to fabricate into different sizes and shapes.
- · Powder-coated aluminum is the most common housing choice for outdoor LED cabinet signs because it reduces installation weight and international shipping costs.
- · It is suitable for wall-mounted, hanging, pylon and large flex-face sign cabinets.
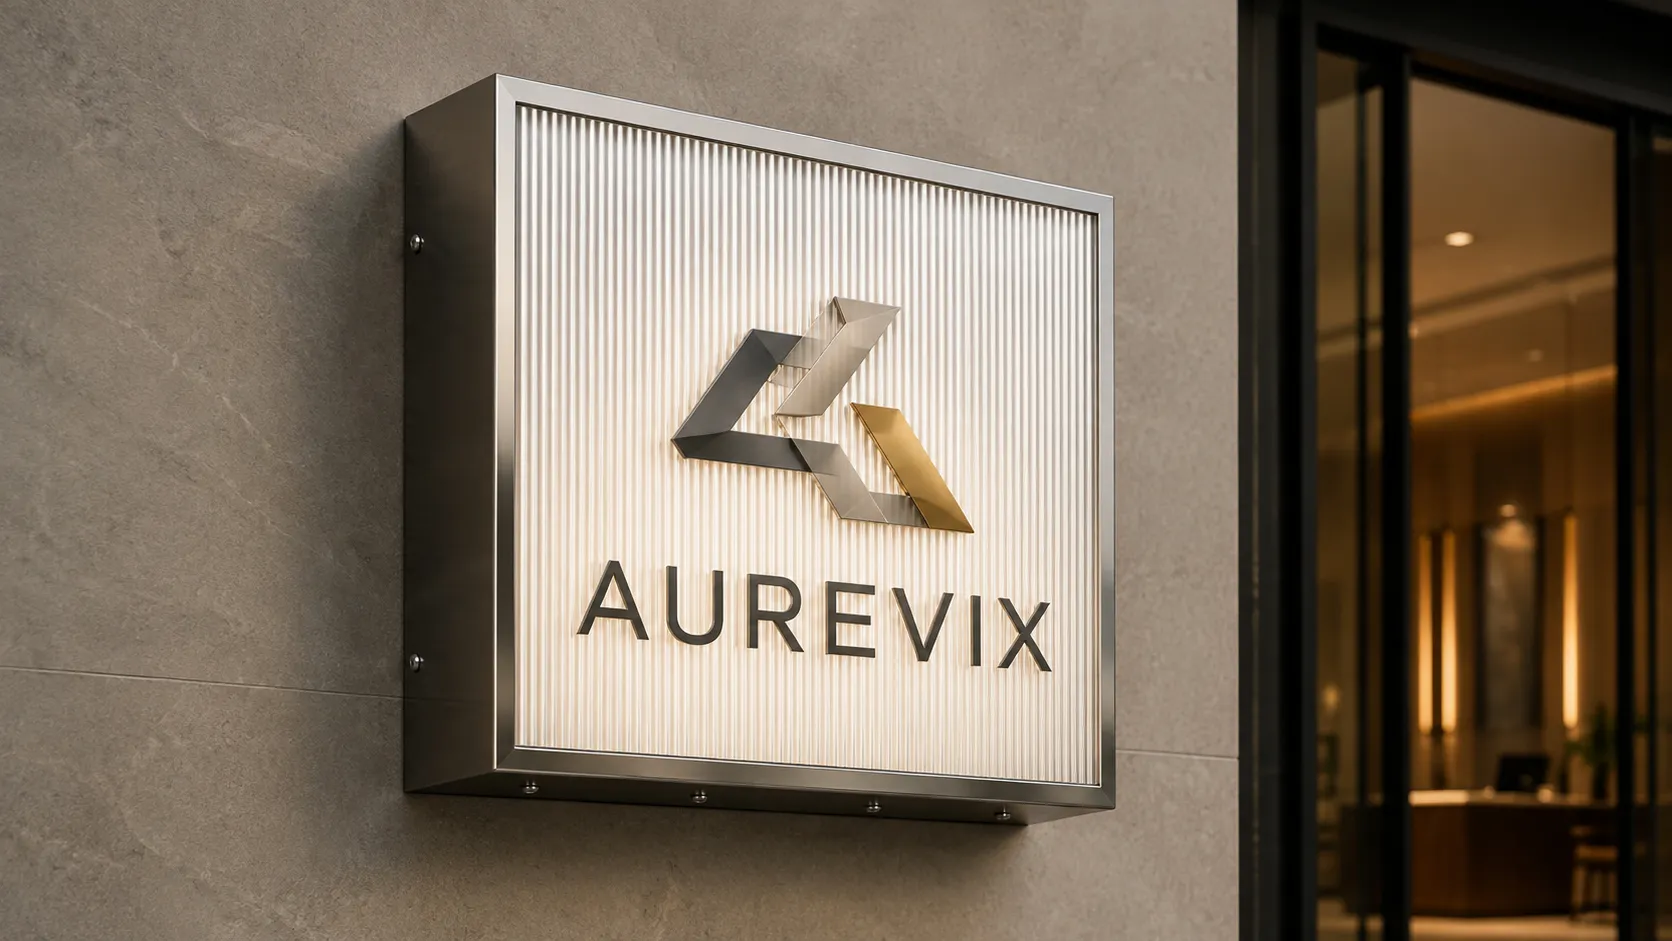
2. Stainless-steel Cabinet Sign
- · Provides high structural strength and premium brushed, mirror-polished or coated finishes.
- · Grade 304 is suitable for most commercial projects, while Grade 316 offers better corrosion resistance for coastal or high-humidity environments.
- · Stainless steel is heavier than aluminum and is generally selected for premium architectural signage.
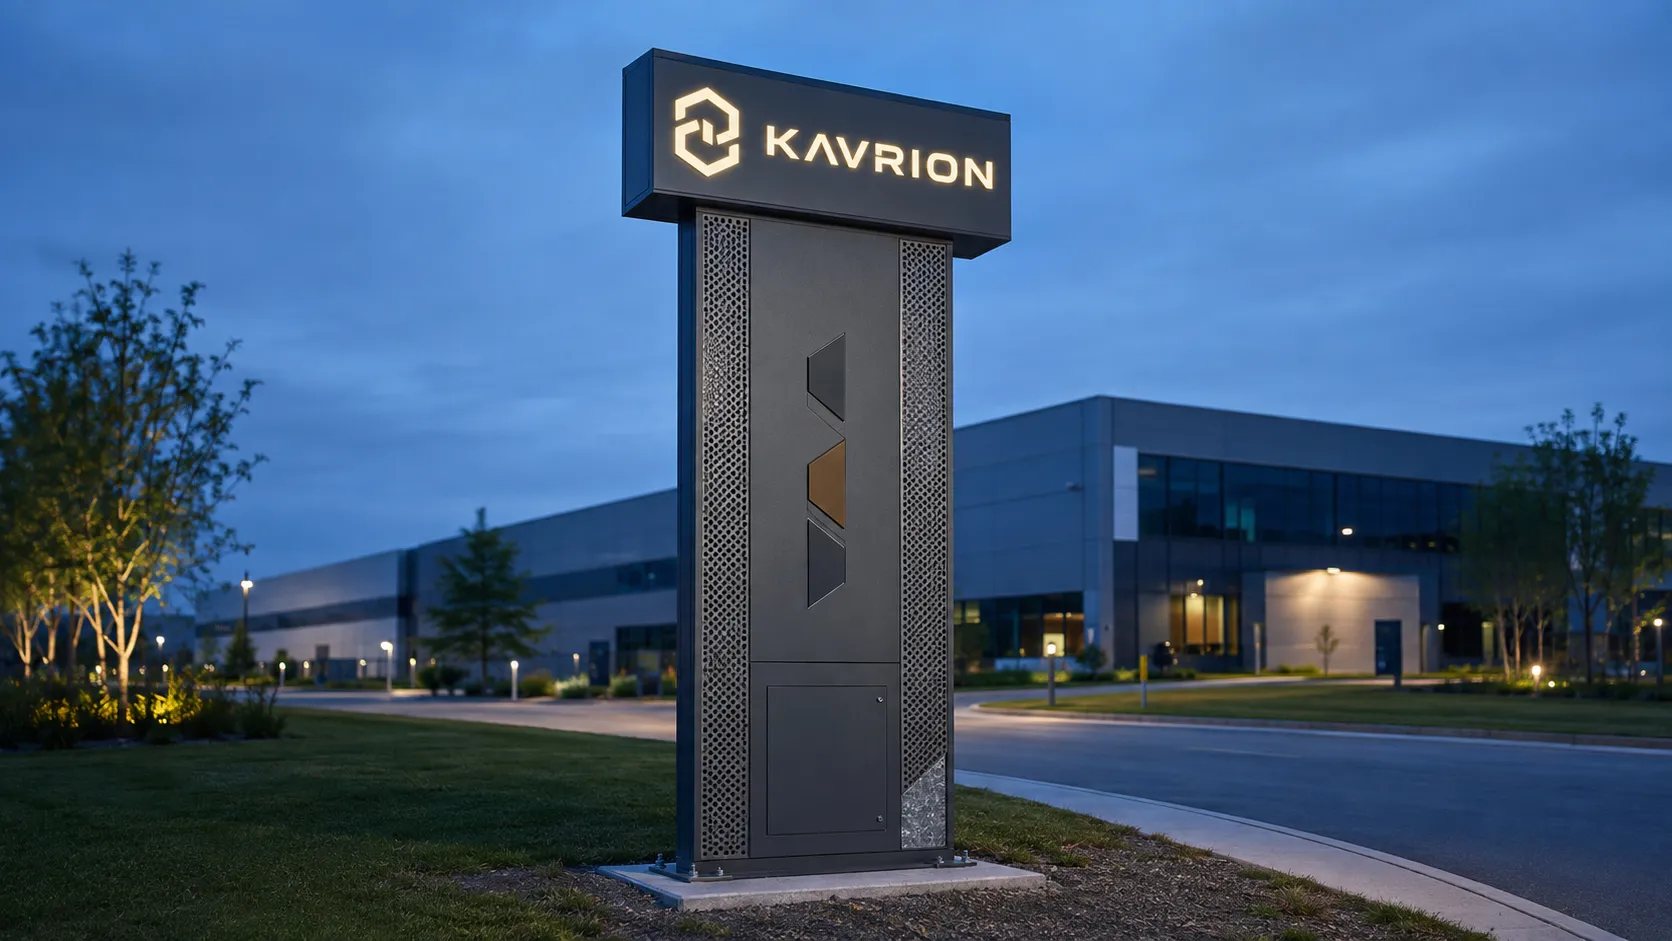
3. Galvanized-steel Cabinet Sign
- · Offers a rigid and cost-effective structure for large sign cabinets, pylon signs and projects requiring additional frame strength.
- · The zinc-coated steel surface should be painted or powder-coated, with particular attention given to welded seams and cut edges.
- · Its higher weight should be considered when designing brackets, supporting poles and export packaging.
Cabinet Sign Selection Information
To prepare an accurate quotation and production proposal, buyers should provide:
- Overall cabinet dimensions and required quantity
- Single-sided or double-sided configuration
- Illuminated or non-illuminated design
- Acrylic, polycarbonate, flex-face or routed metal panel
- Artwork, logo or changeable tenant information
- Indoor, semi-outdoor or outdoor application
- Required voltage, LED color and target waterproof rating
- Wall, pole, pylon, blade or monument installation
- Installation height and available maintenance access
- Project location and wind-load requirements
- Required certifications, packaging and delivery destination
Cabinet Sign Fabrication Equipment and Production Process
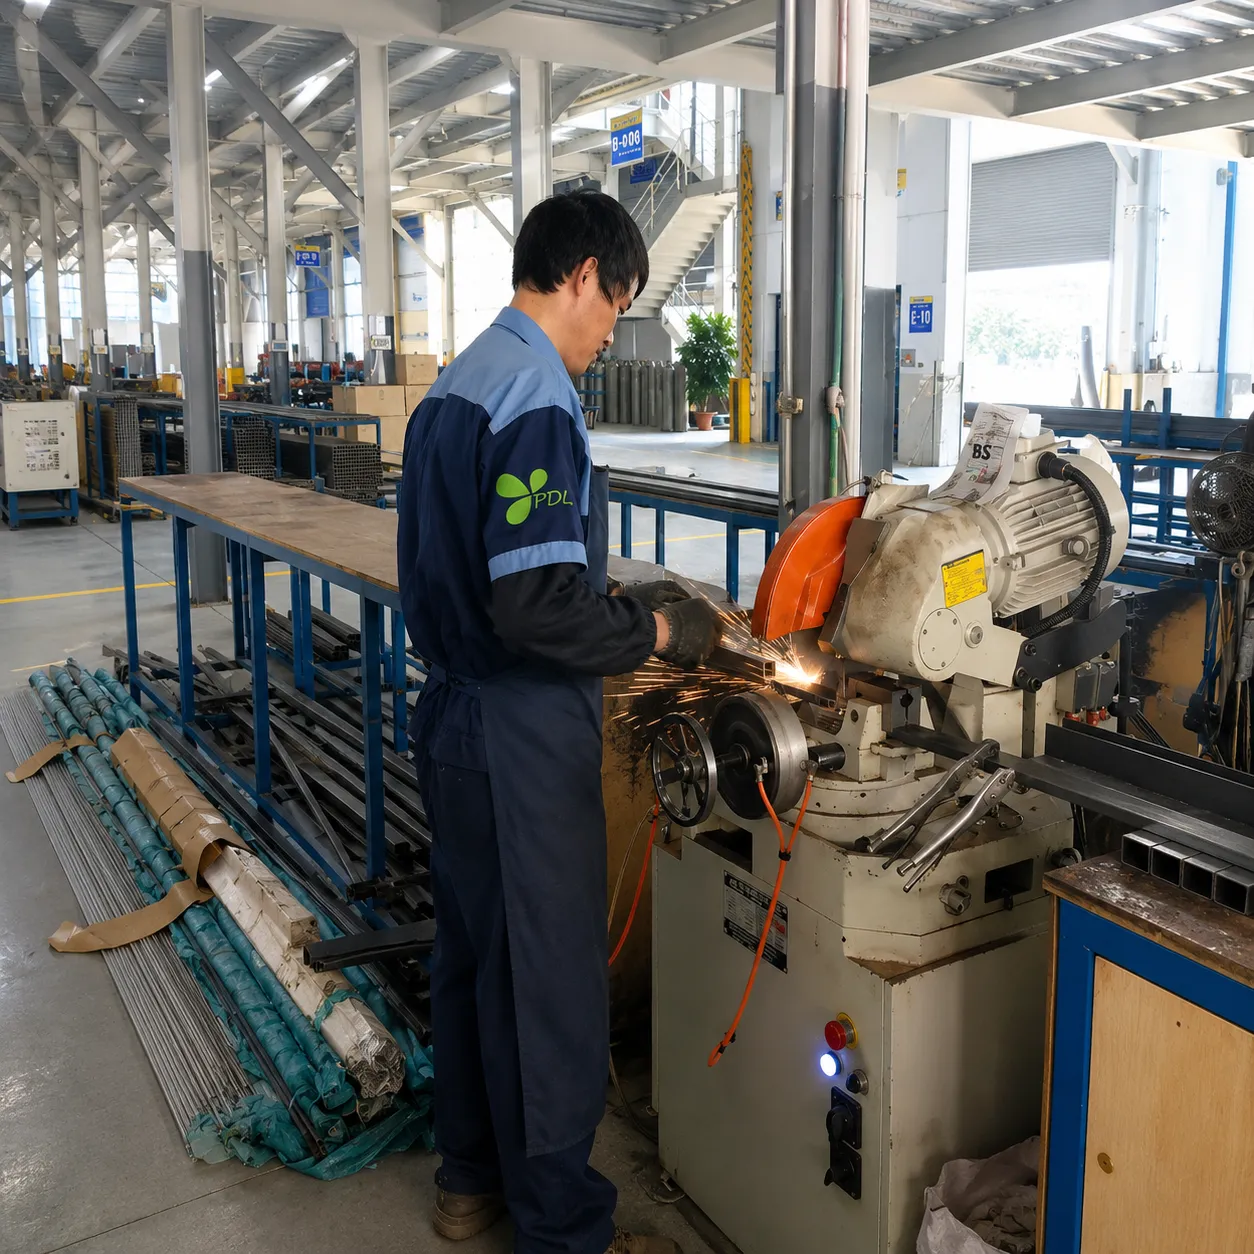
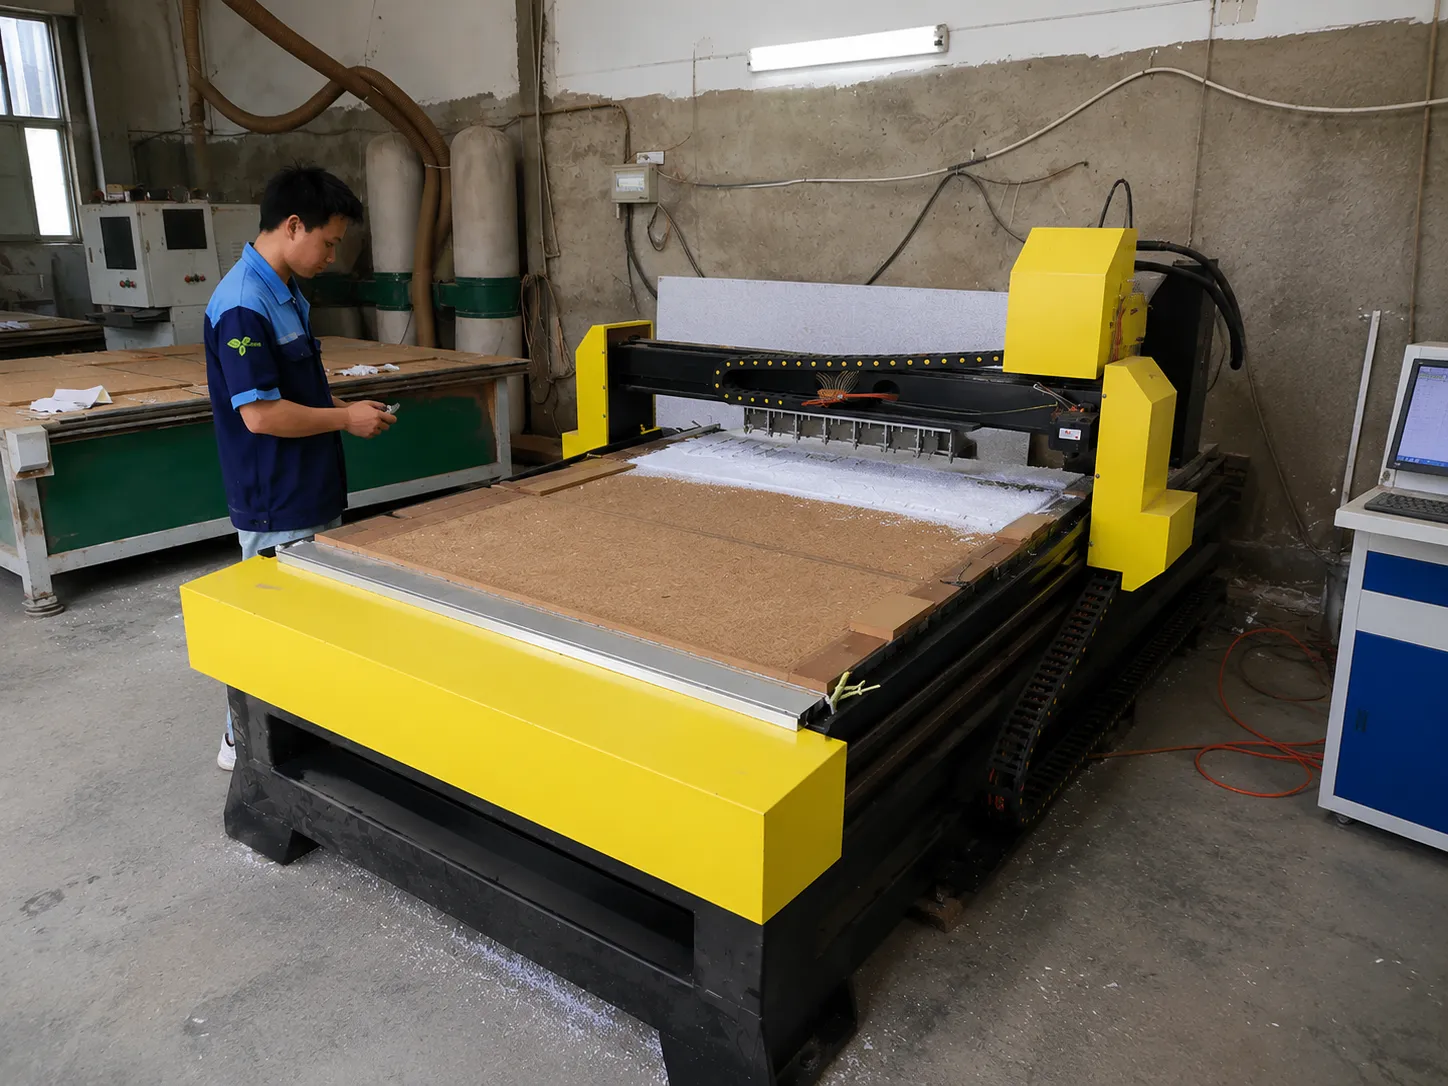
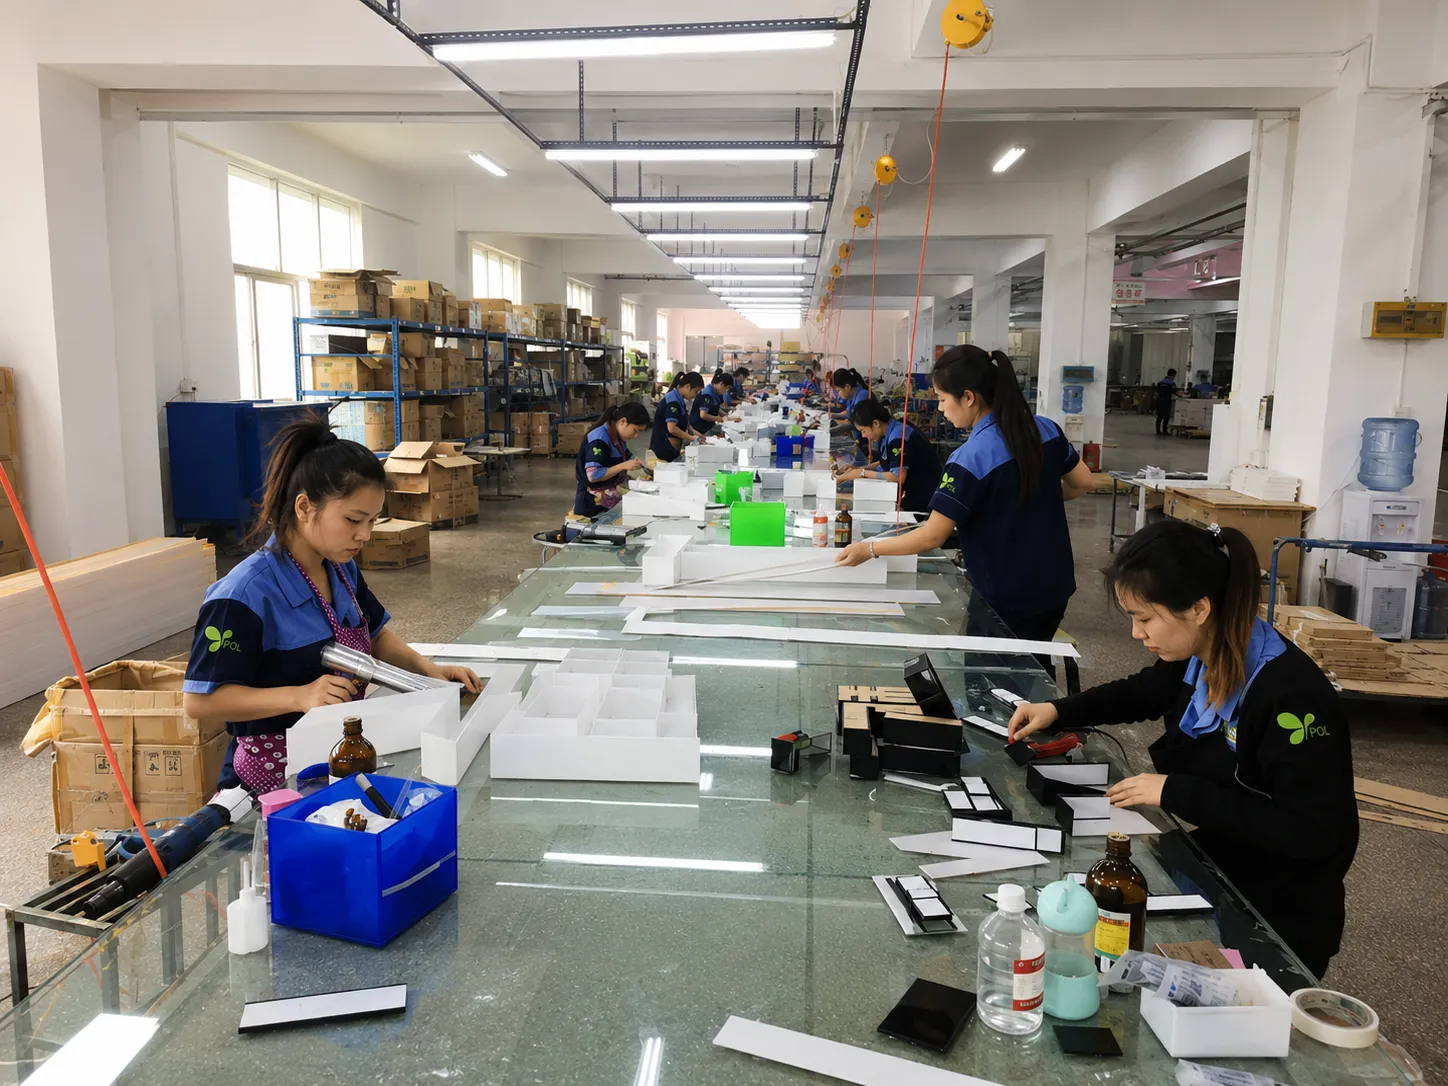
Our manufacturing facility relies on specialized equipment to execute approved drawings with precision.

-
CNC Cutting & Routing
Approved drawings guide cutting and hole positions. CNC routing controls routed openings and push-through profiles accurately.
-
Metal Bending & Welding
Cabinet joints and retaining frames are checked before surface finishing to ensure structural integrity and correct dimensions.
-
LED Assembly
LED modules are positioned strictly according to the approved lighting layout to avoid hotspots.
-
Electrical Inspection
Wiring is labeled for assembly and maintenance. The completed cabinet is illuminated and tested before packing.
Why Cabinet Signs Fail
& How PDL Prevents It
Common cabinet sign problems, their project impact and the preventive measures applied before shipment.
Hot Spots & Dark Areas
Buyer Impact Uneven illumination reduces nighttime visibility and may require rework.
PDL Preventive Solution Optical Layout Planning: Cabinet depth, LED spacing and face opacity are matched before production. Each sign receives a pre-shipment illumination test.
Day-to-Night Color Shift
Buyer Impact Brand colors may appear faded or inaccurate when the sign is illuminated.
PDL Preventive Solution Backlit Color Matching: Translucent graphics, face material and LED color temperature are coordinated for more consistent daytime and nighttime appearance.
Face Bowing or Sagging
Buyer Impact Large faces may distort, loosen or place stress on retaining frames.
PDL Preventive Solution Structural Support: Face thickness, expansion allowance, internal supports and retaining channels are selected according to the cabinet span.
Early LED or Driver Failure
Buyer Impact Dark sections create maintenance costs and service delays.
PDL Preventive Solution Power & Heat Management: Electrical loads, wiring distribution, power reserve and heat dissipation are reviewed before the complete lighting system is tested.
Difficult Maintenance Access
Buyer Impact Replacing graphics, LEDs or power supplies may require unnecessary cabinet disassembly.
PDL Preventive Solution Service-Ready Structure: Removable retainers, accessible service panels and labeled internal wiring simplify future repairs and component replacement.
Shipping Damage
Buyer Impact Scratched faces, cracked panels or bent cabinets can delay installation.
PDL Preventive Solution Export Packaging: Protective film, EPE corner guards, reinforced cartons or plywood crates are selected according to the sign dimensions and shipping method.
Prevent Quality Issues Before Production Starts
Send us your artwork, cabinet dimensions and site information for a free drawing and lighting-layout review before production.
Installation Steps
Engineered for structural integrity and seamless integration. Review our real-world mounting applications designed for enterprise-grade durability.
Surface Preparation
Initial structural assessment and precise template alignment for secure mounting point marking.
Hardware Securing
Industrial-grade fasteners and standoffs applied to ensure maximum wind-load resistance.
Wiring Integration
Safe and concealed routing of CE & RoHS certified electrical components through the mounting surface.
Module Placement
Locking the custom fabricated LED letter housings into the pre-installed mounting brackets.
Face Assembly
Attaching the acrylic faces with trim caps, ensuring a weather-tight seal for outdoor durability.
Final Inspection
Illumination testing and structural verification to guarantee optimal brand visibility day and night.
Need detailed technical specifications or mounting hardware diagrams for your project?
Cabinet Sign Project Support & Services
See how our engineering and fabrication services translate into actual commercial signage solutions. We provide end-to-end OEM/ODM support for enterprise projects.
Engineering & Drafting
Shop drawing support, internal wiring diagrams, LED layout review, and bracket clearance checks.
Quality & Consistency
Mass-production consistency control, pre-shipment illumination checks on all faces, and strict sample approvals.
Export Packaging
Industrial-grade plywood crates, EPE corner protection, and reinforced cartons for safe global shipping.
Actual Product Cases
Download high-resolution reference photos
-
Large-Format Flex-Face Cabinet
Tension fabric / Flex-face • Aluminum frame with internal bracing
-
Double-Sided Projecting Cabinet
Hanging/Blade installation • Internal LED backlighting
-
Thermoformed Acrylic Face Cabinet
Vacuum-formed acrylic panel • Custom profile with retaining frame
-
Multi-Location Custom Shaped Cabinets
Storefront wall-mounted • Front-lit with edge detailing
Cabinet Sign Project Communication
We maintain clear communication across critical project nodes to ensure what we manufacture matches your exact site requirements.
- Artwork review
- Cabinet drawing approval
- Color sample confirmation
- Material confirmation
- Production update
- Pre-shipment photographs
- Packing list check
- Module label check





Cabinet Sign Application Scenarios
Versatile cabinet signs suit indoor and outdoor deployments. Available in wall-mounted, hanging and freestanding pylon configurations for retail, hospitality, institutions and roadside branding projects. Supports single-sided, double-sided and custom-shaped builds, with optional LED digital message display integration.
Retail
-
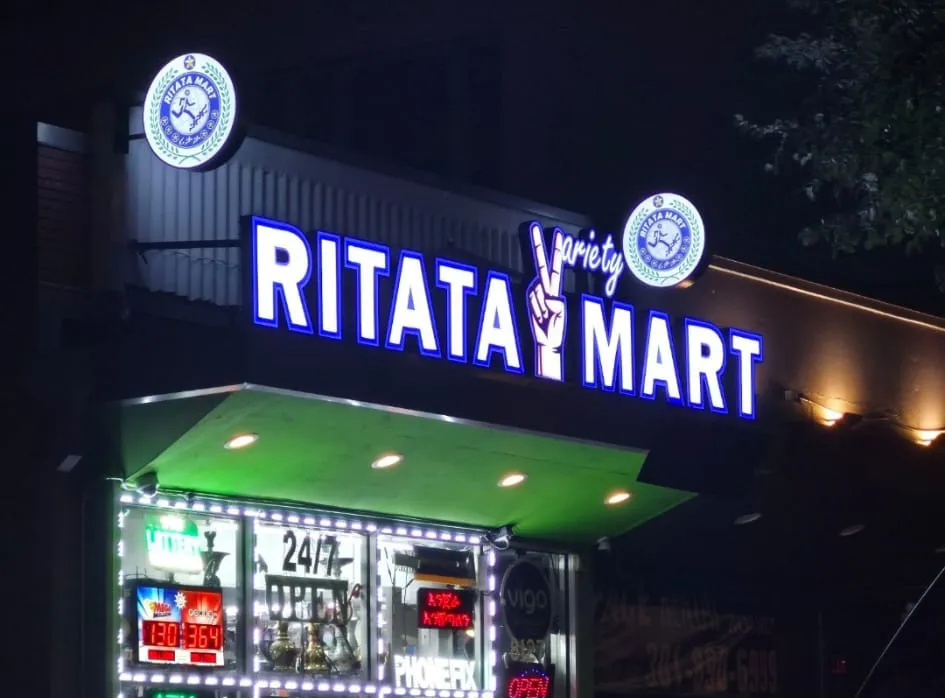
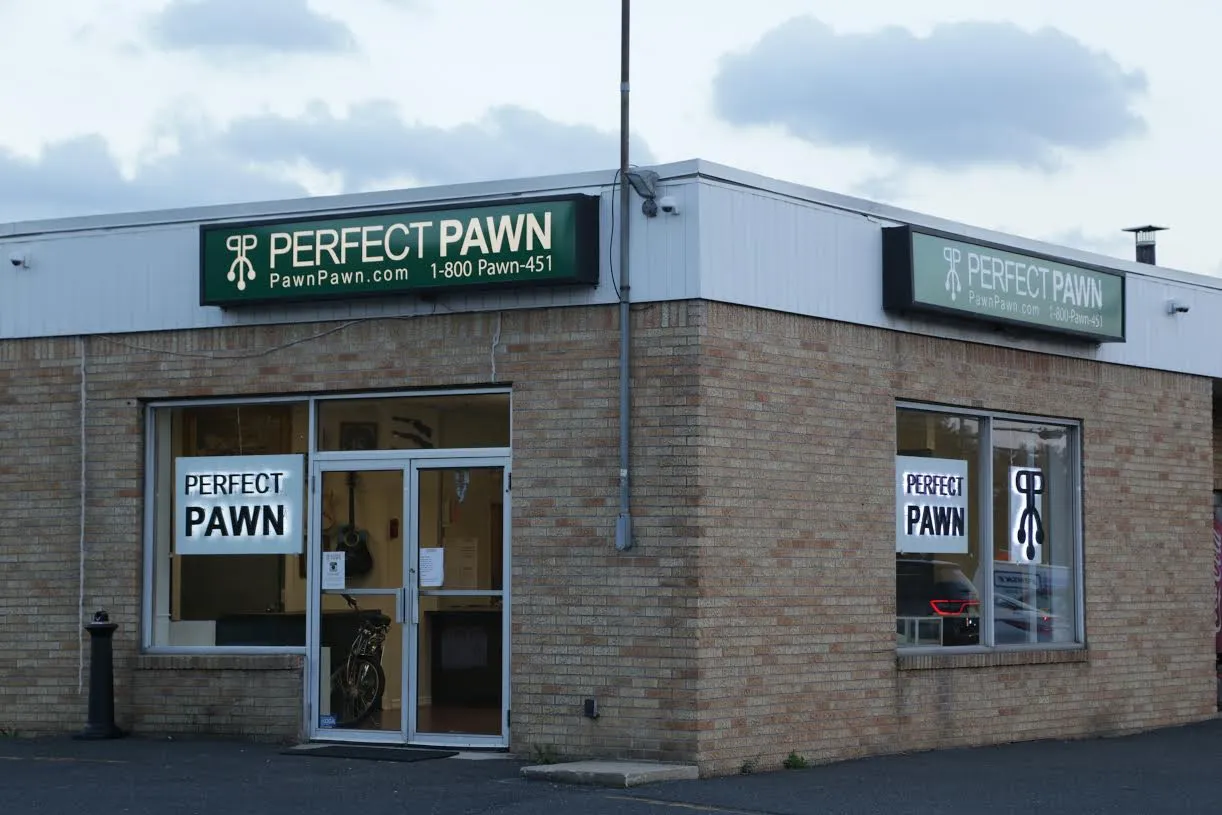
Storefront fascia wall-mounted cabinet signs for shops, convenience stores, pharmacies, salons and boutiques. (Requires checking wall installation clearance and rear power entry)
-
Multi-tenant tenant-changeable cabinet signs for strip malls and shopping plazas. (Requires front maintenance access for easy face replacement)
- Shopping mall interior and entrance identification signs.
- Gas station brand and service cabinet signage.
Hospitality & Food
-
Restaurant, café and bar exterior wall-mounted or blade hanging cabinet signs. (Requires checking bracket strength and overhead viewing direction)
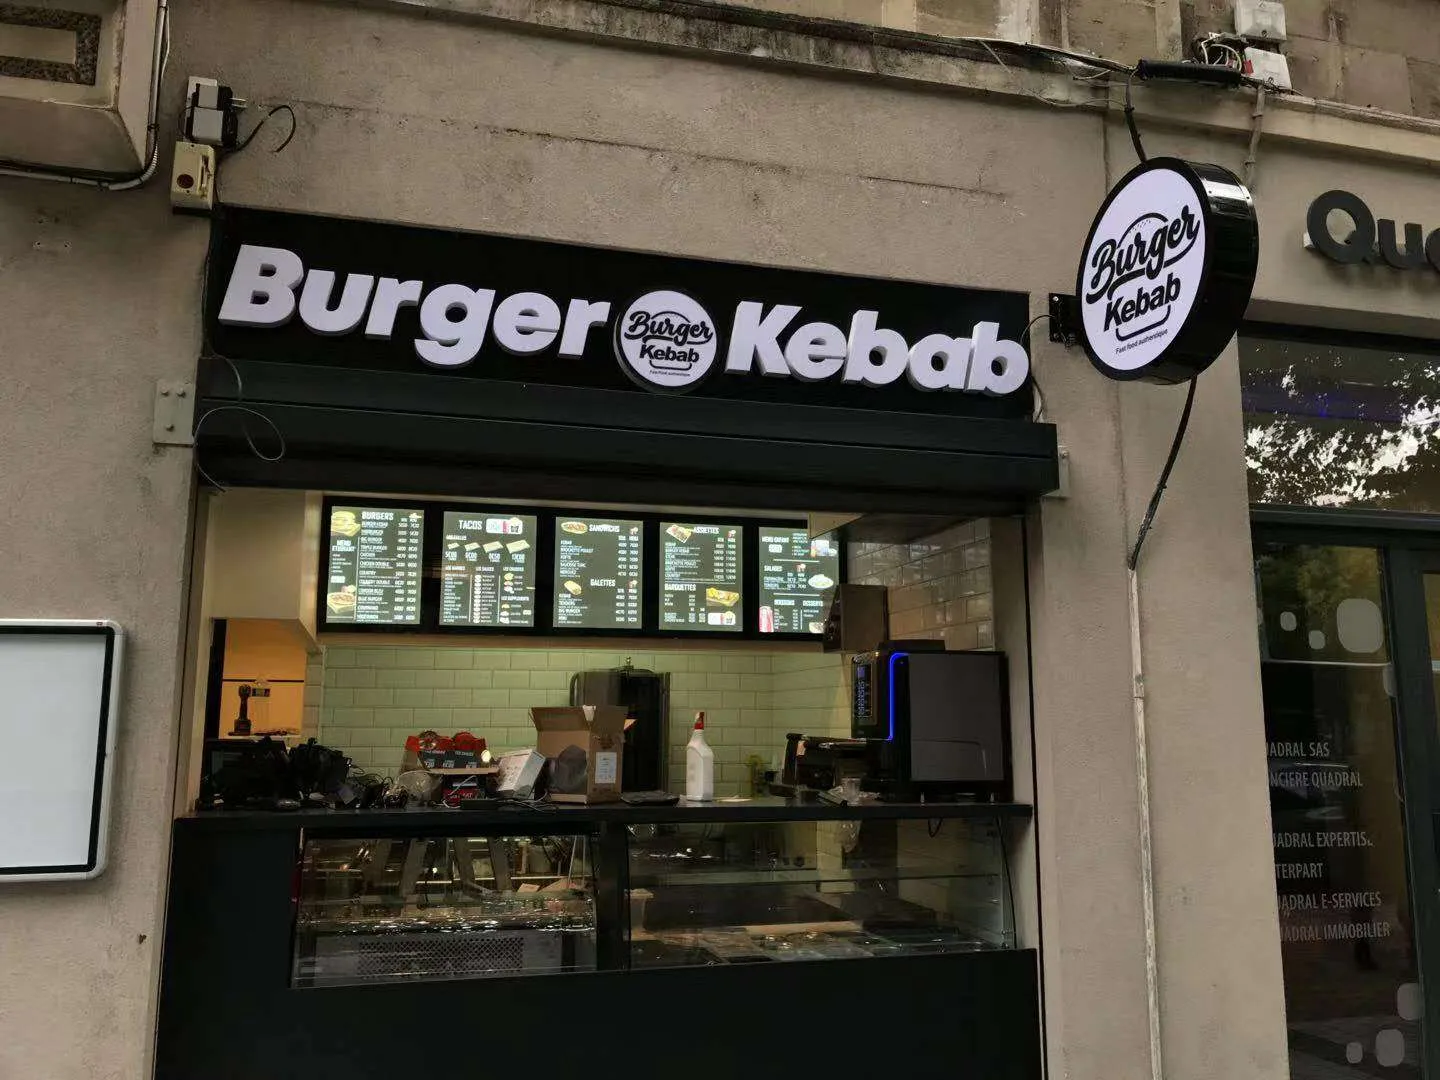
- Fast-food store front-lit cabinet signage.
-
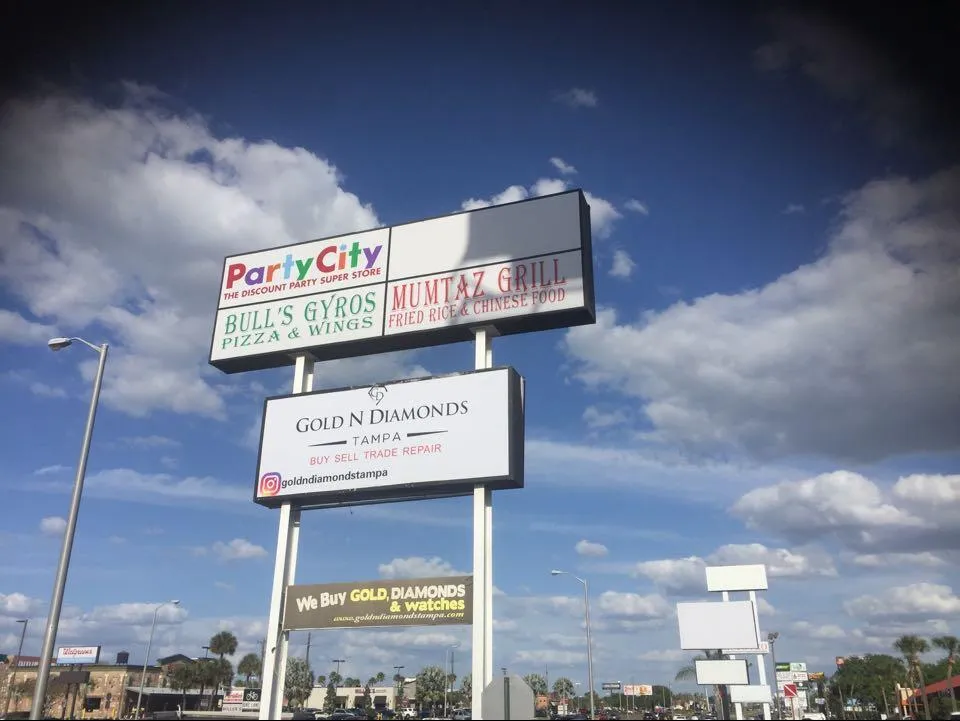
Hotel roadside pylon cabinet signs and building identity signs. (Requires engineering for local wind exposure)
Roadside & Sites
-
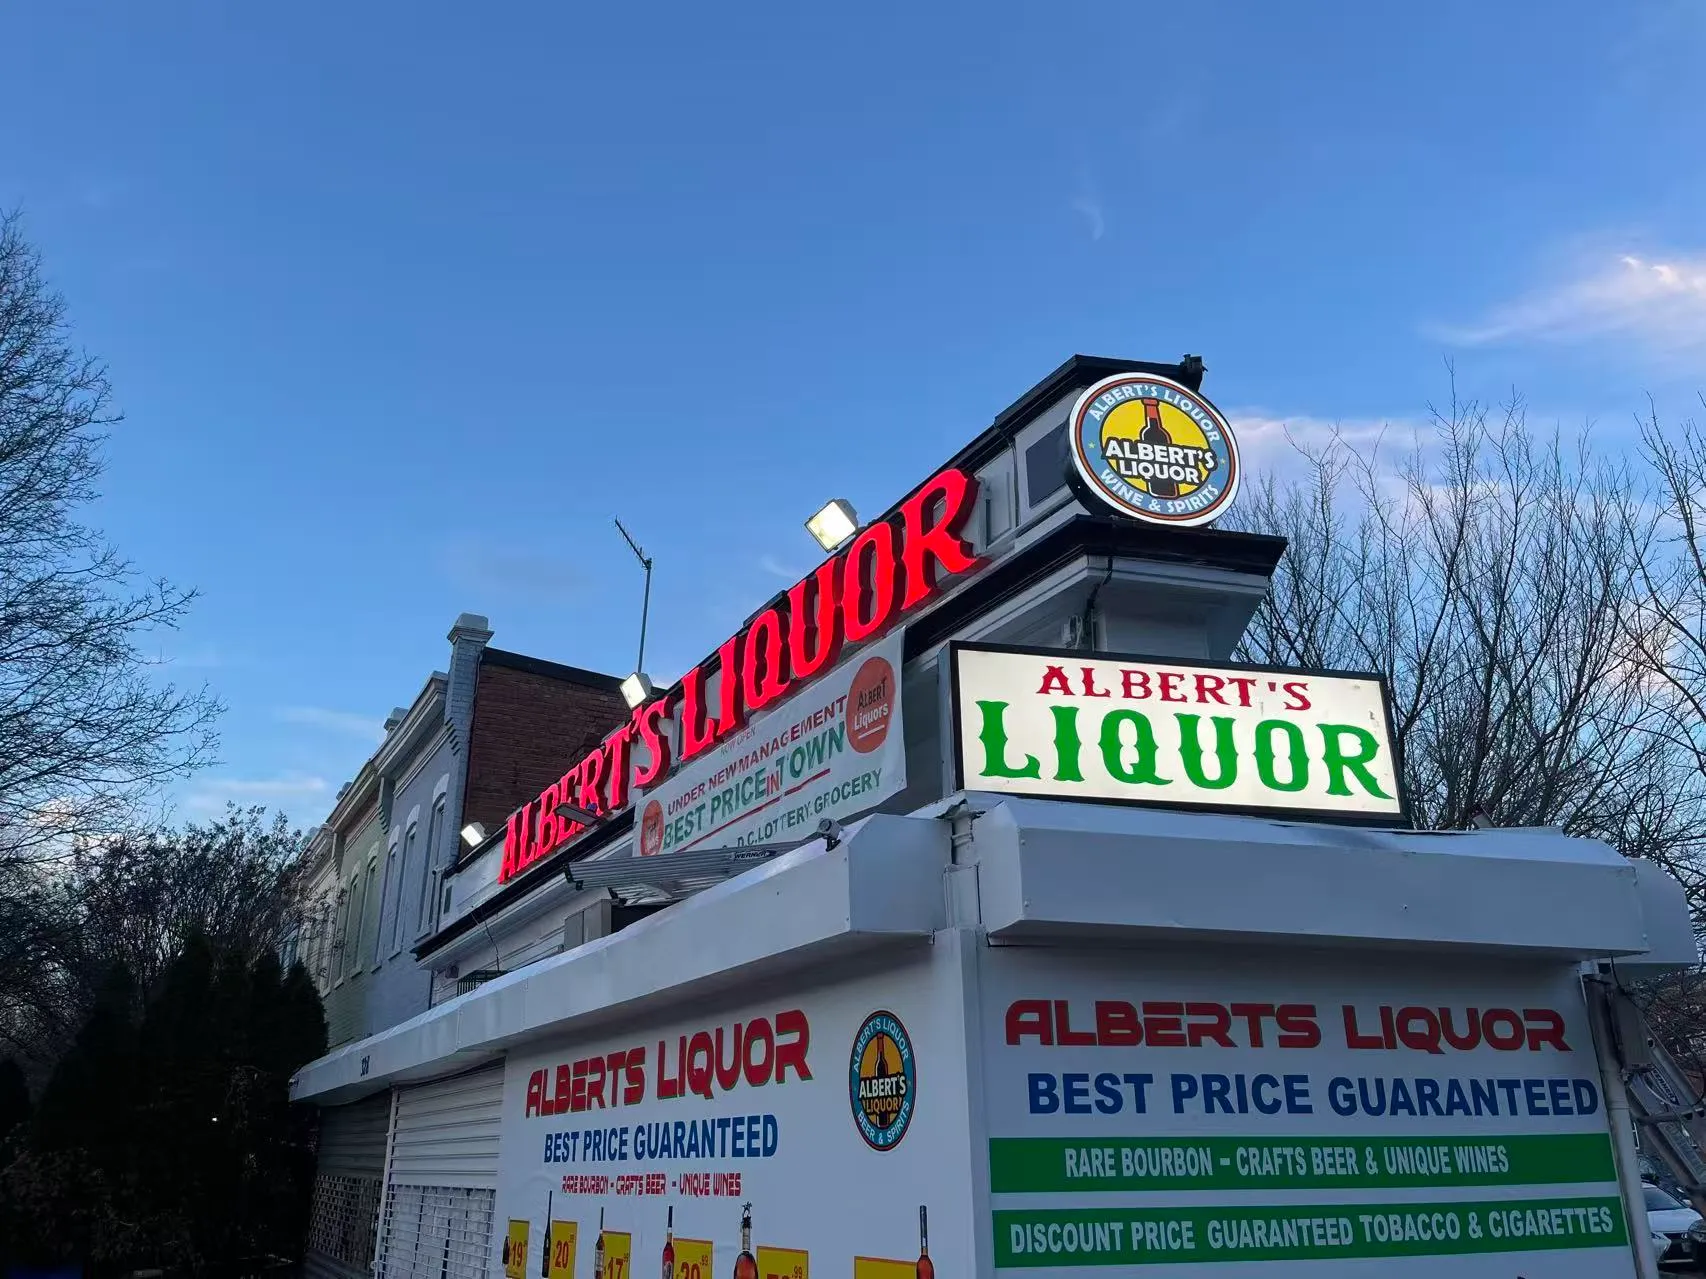
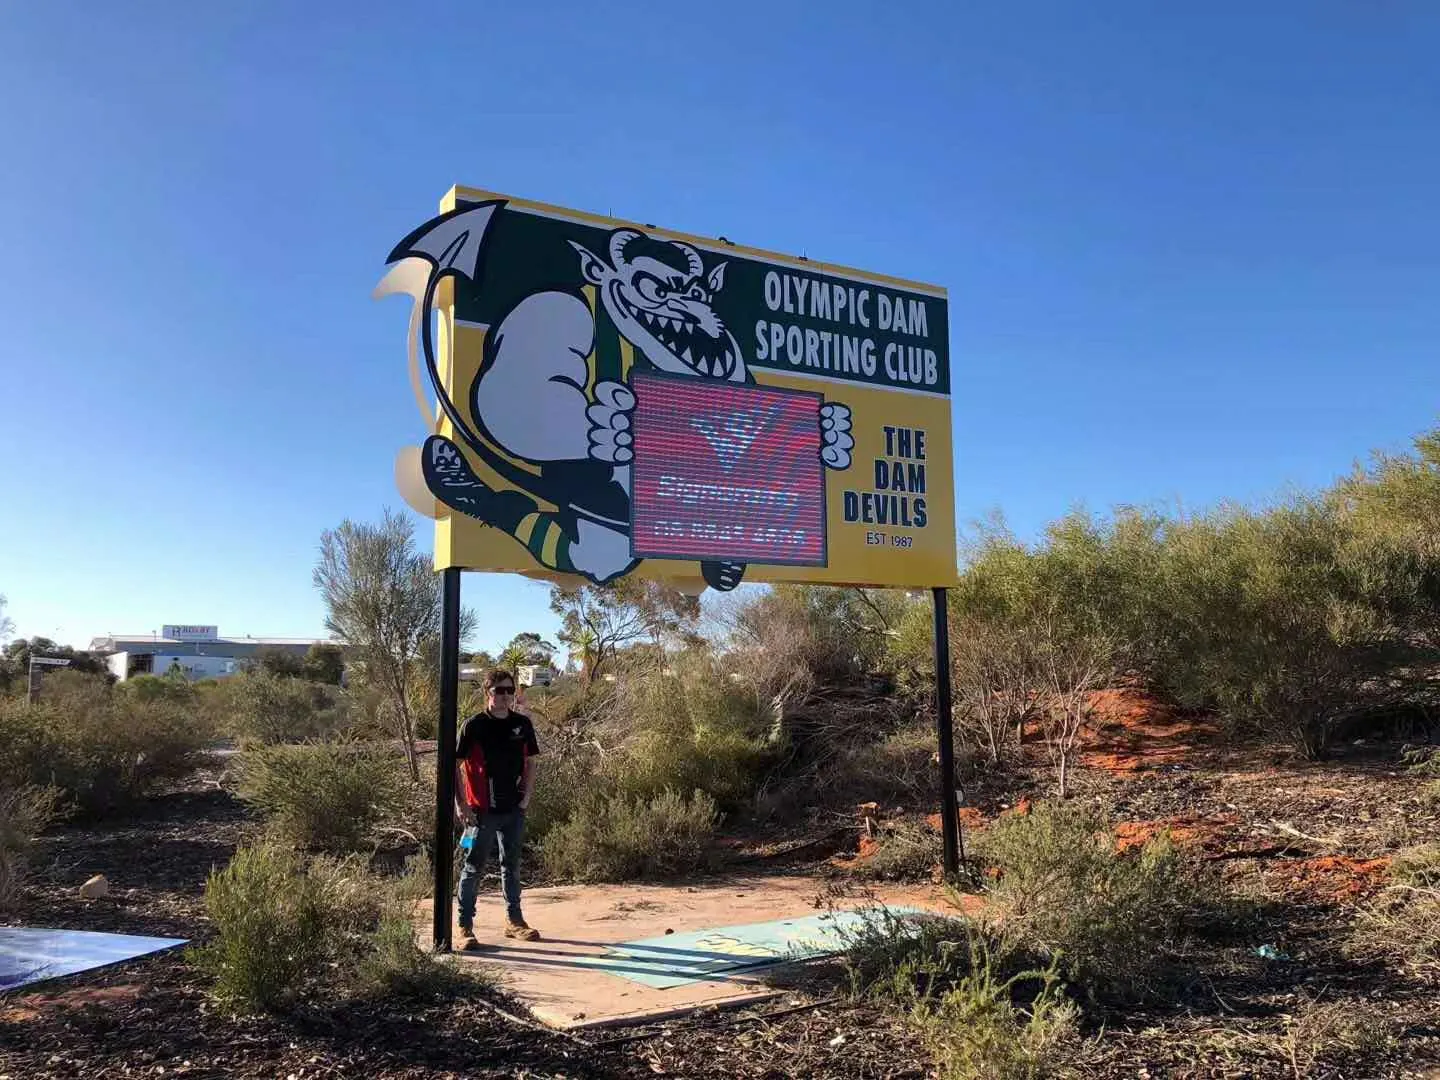
Pylon or monument cabinet signs for business parks, churches, schools and sports clubs. (Requires structural foundation planning)
-
Roadside double-sided cabinet signs along highways and main streets. (Requires high mounting height for long-distance visibility)
- Parking lot entrance identification and directional cabinet signs.
- Commercial complex directory pylon signs, including configurations integrated with LED digital message displays.
Corporate & Inst.
- Office building exterior wall-mounted cabinet signs.
-
Hospital, clinic and government facility identification signage. (Requires clear, high-contrast faces for 24/7 legibility)
- Church and religious center freestanding cabinet pylon signs.
- Industrial park site marker cabinet signs.
Interior Apps
-
Lobby and reception cabinet light-box signs. (Requires shallow cabinet depth and controlled LED brightness)
- Indoor directional and wayfinding cabinet signs.
- Food-court menu display cabinet signs.
Special Custom
- Custom-shaped round or irregular cabinet signs for brand-specific store branding.
-
Flex-face tension-fabric cabinet signs for large-format supermarket and event-venue signage. (Overcomes size limits of rigid acrylic panels)
-
Weather-sealed non-illuminated cabinet signs for locations without a power supply. (Requires durable painted or vinyl finishes)
Striking Visibility in Broad Daylight
Our premium channel letters are engineered for maximum visual impact. Experience pristine aesthetics when unlit and brilliant luminosity when powered on, proven across real-world commercial installations.
Daytime Effect: Unlit vs. Illuminated
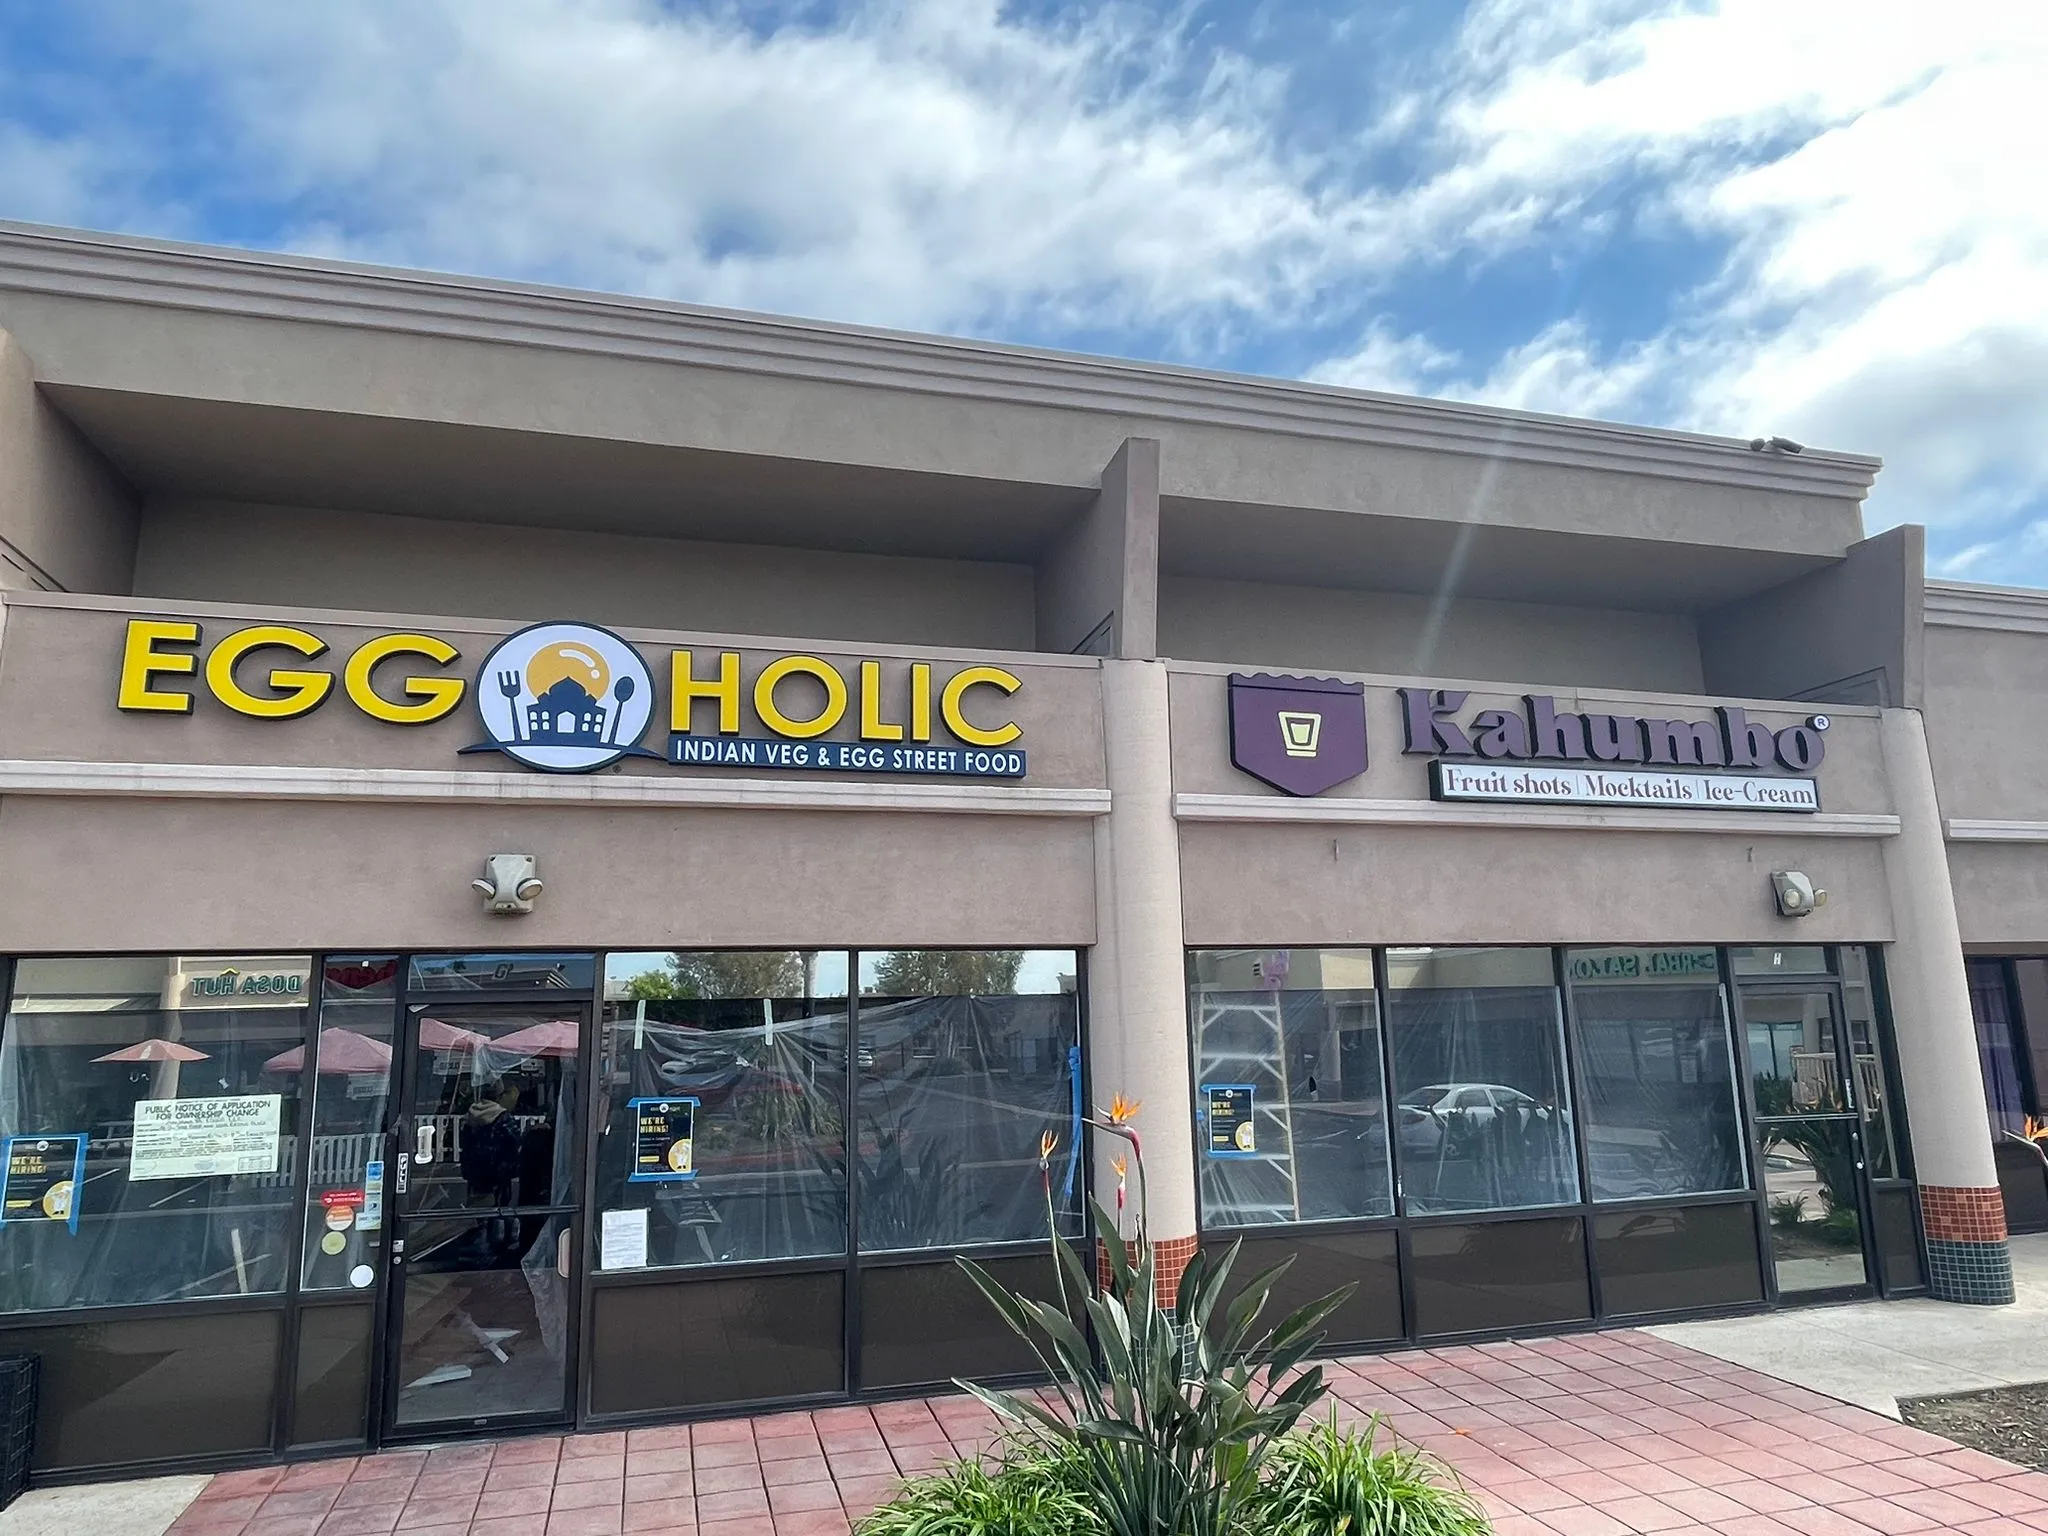
Even without power, the precision-crafted acrylic faces and robust metal returns maintain a sharp, professional brand presence under natural sunlight.
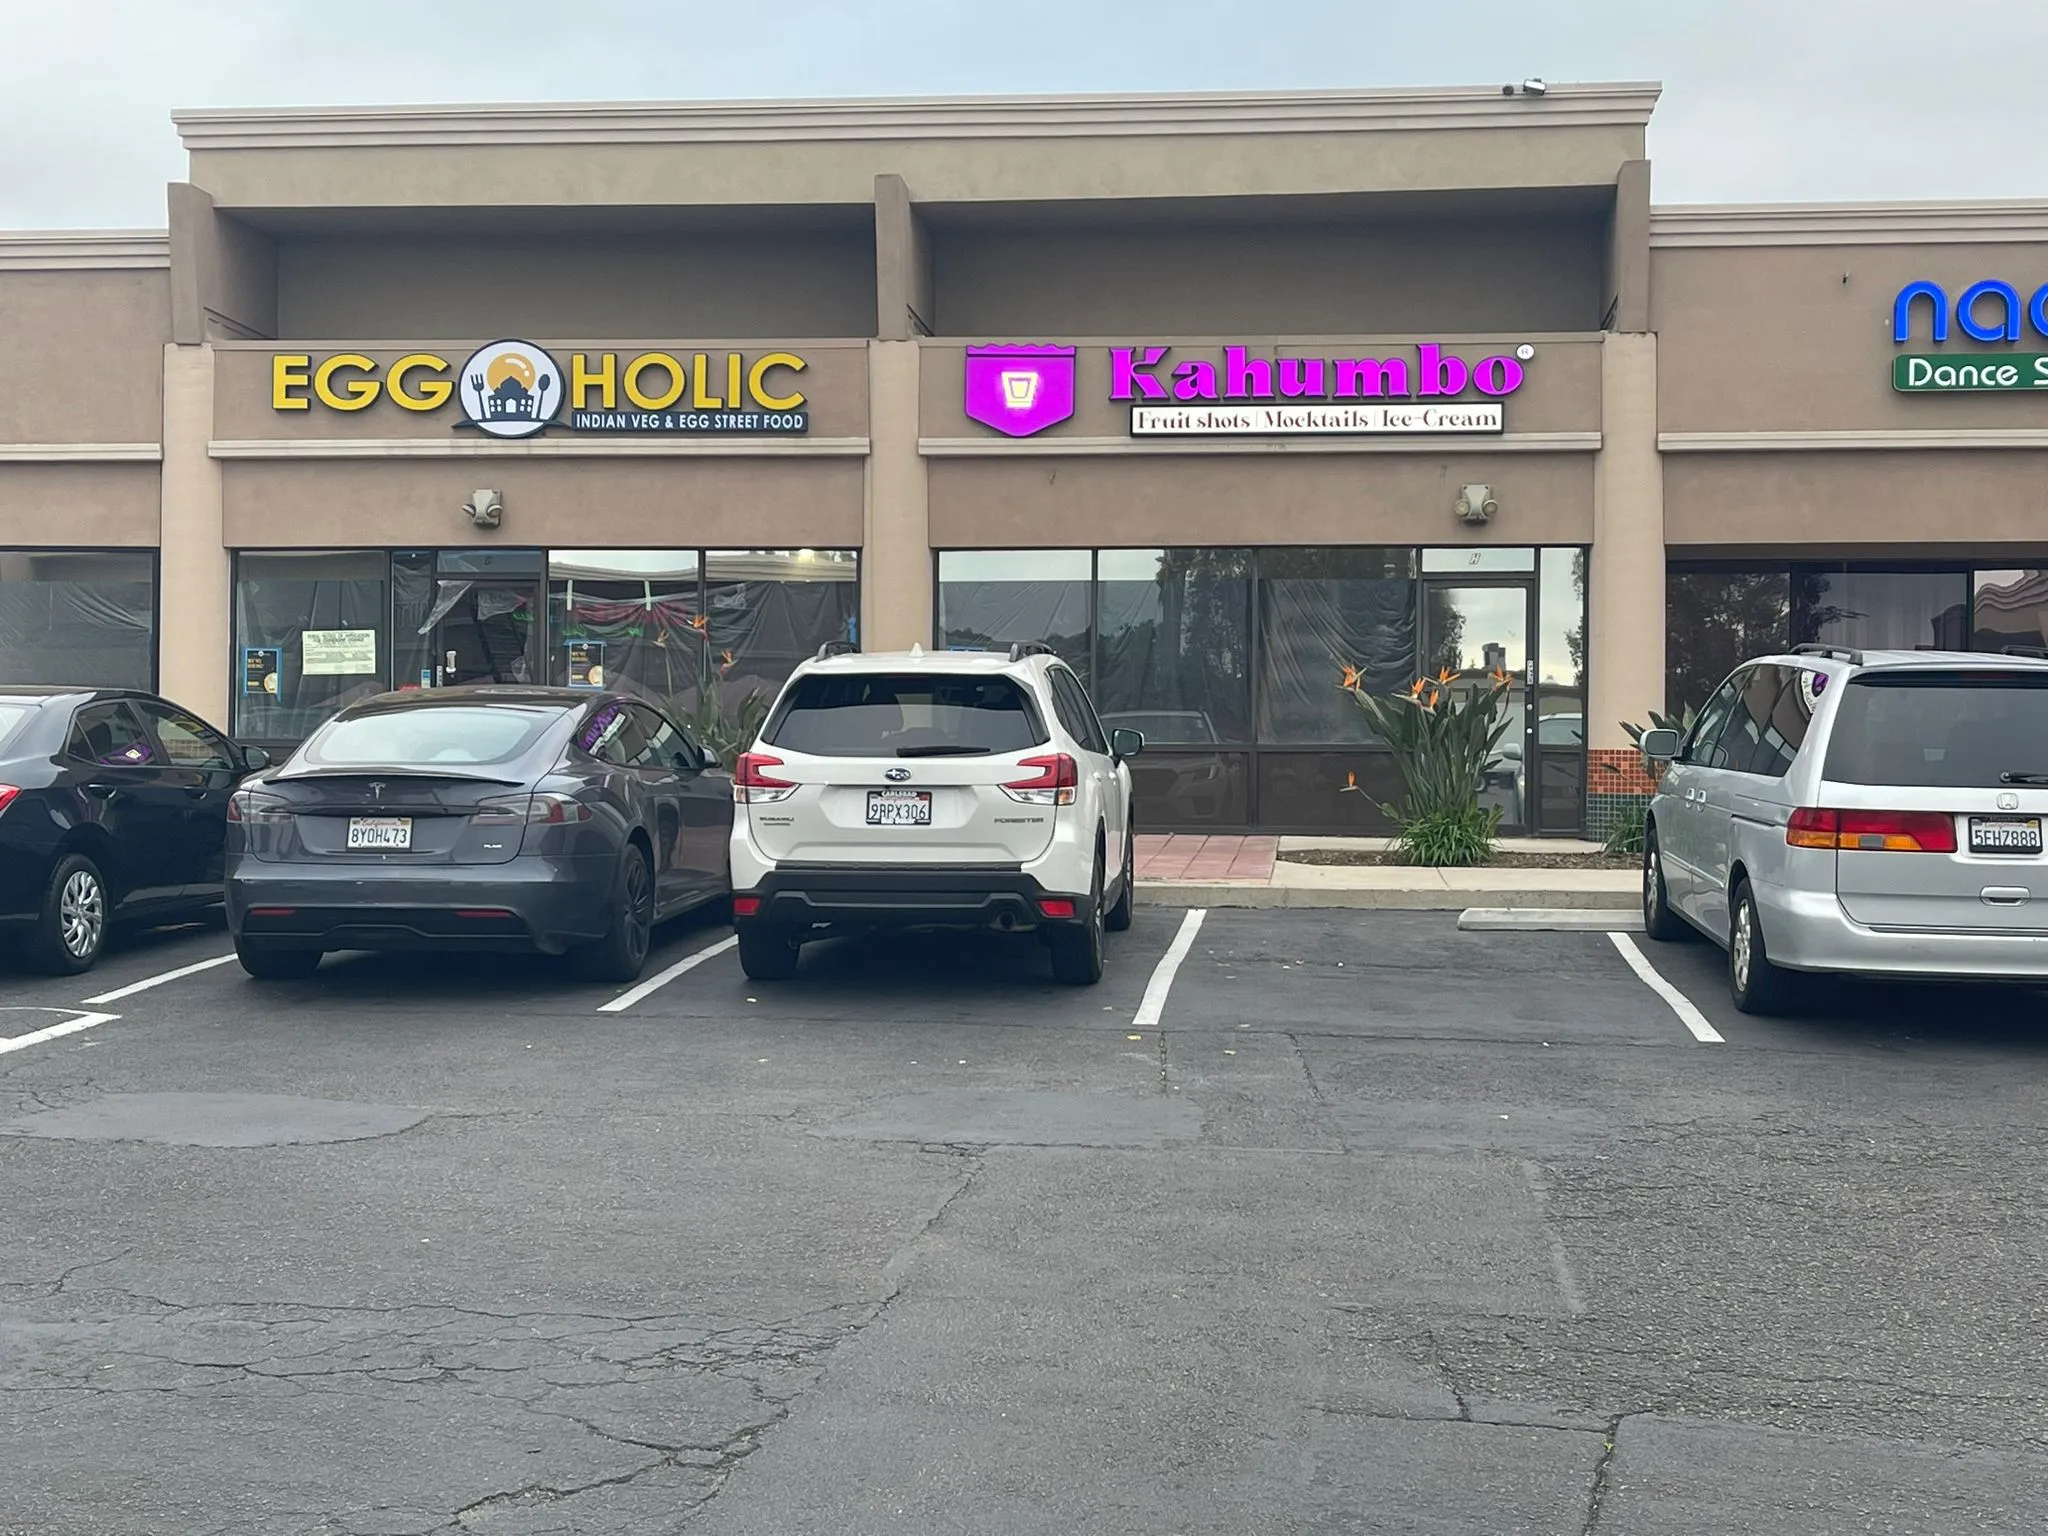
Powered by high-intensity, CE & RoHS certified LED modules, the signage cuts through daylight glare, delivering vibrant, uniform illumination without hot spots.
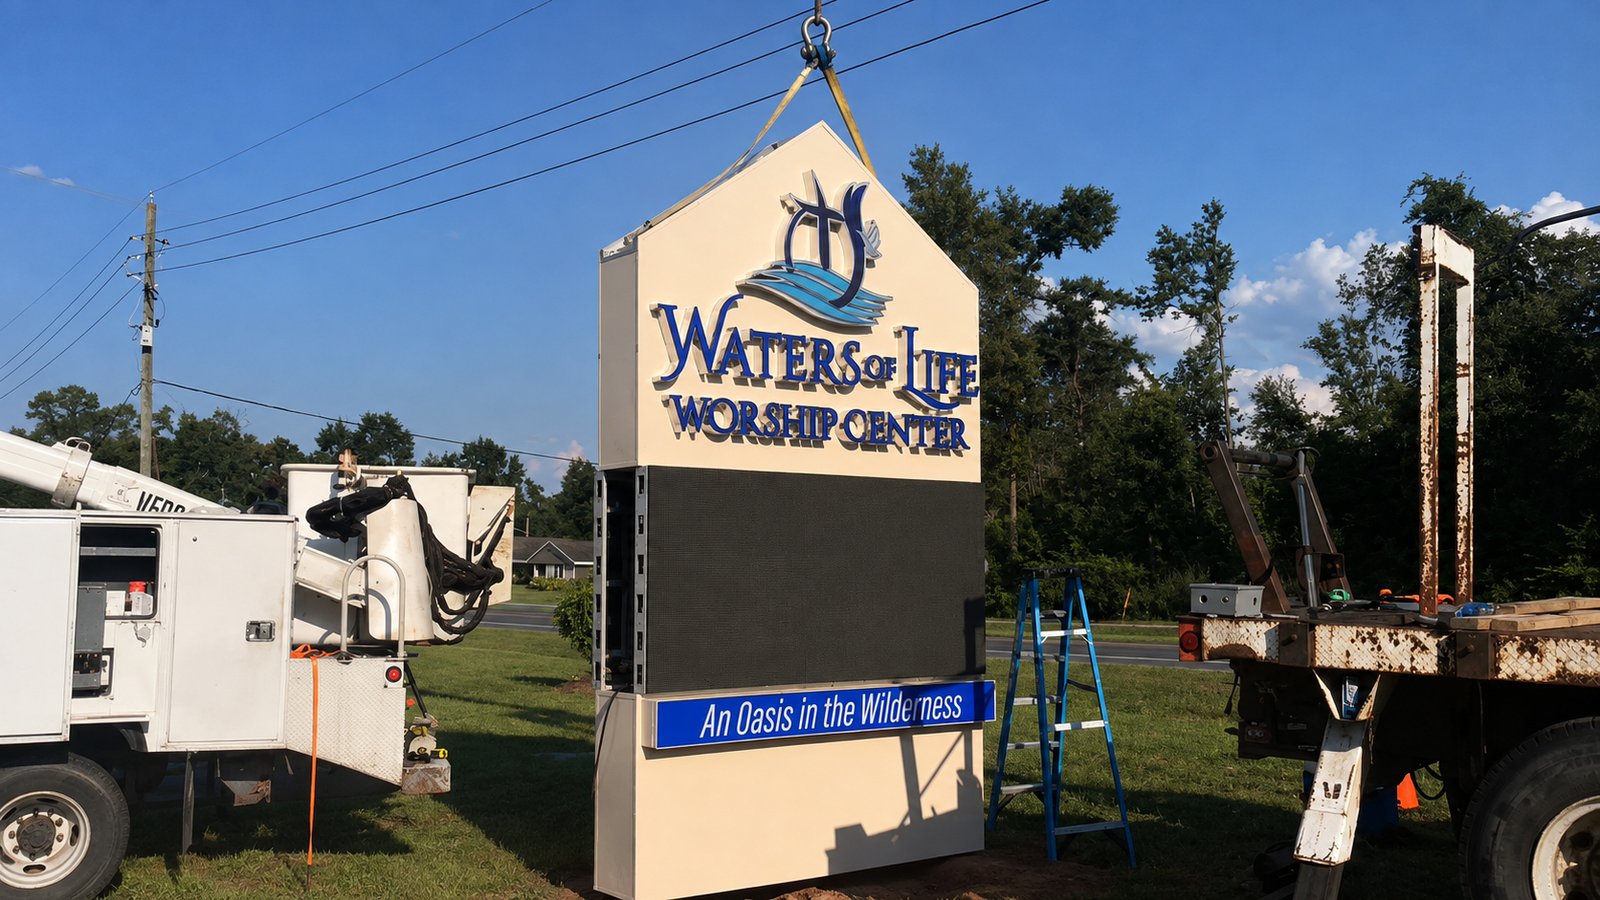
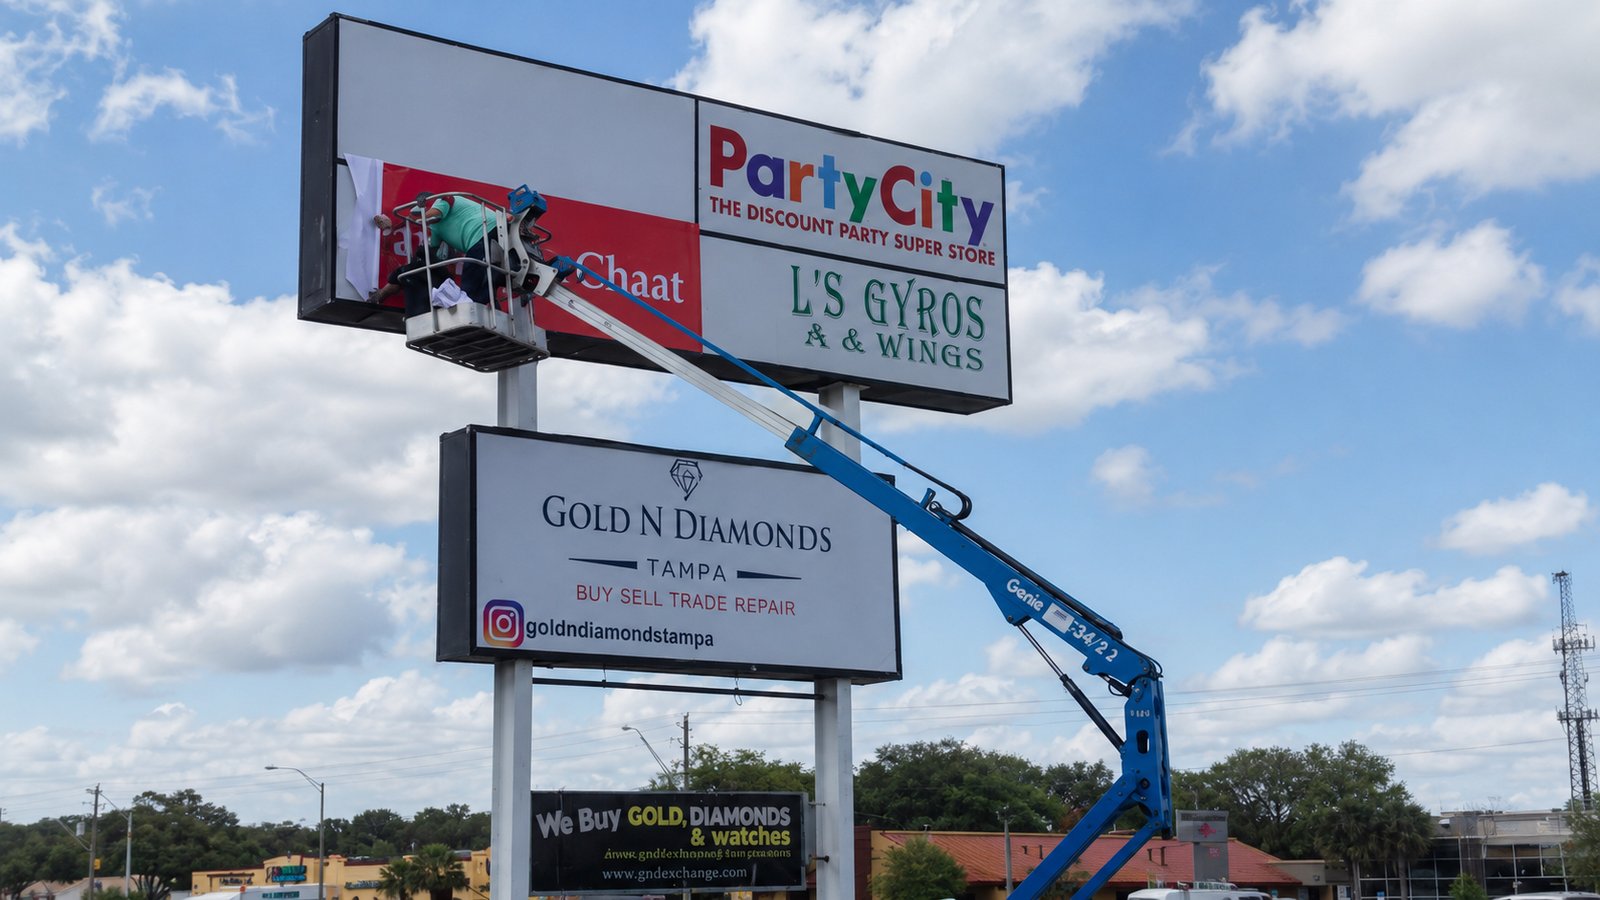
On-Site Installation Showcase
From factory floor to architectural integration. See how our custom signs seamlessly integrate into diverse commercial environments, ensuring long-lasting durability and striking aesthetics.
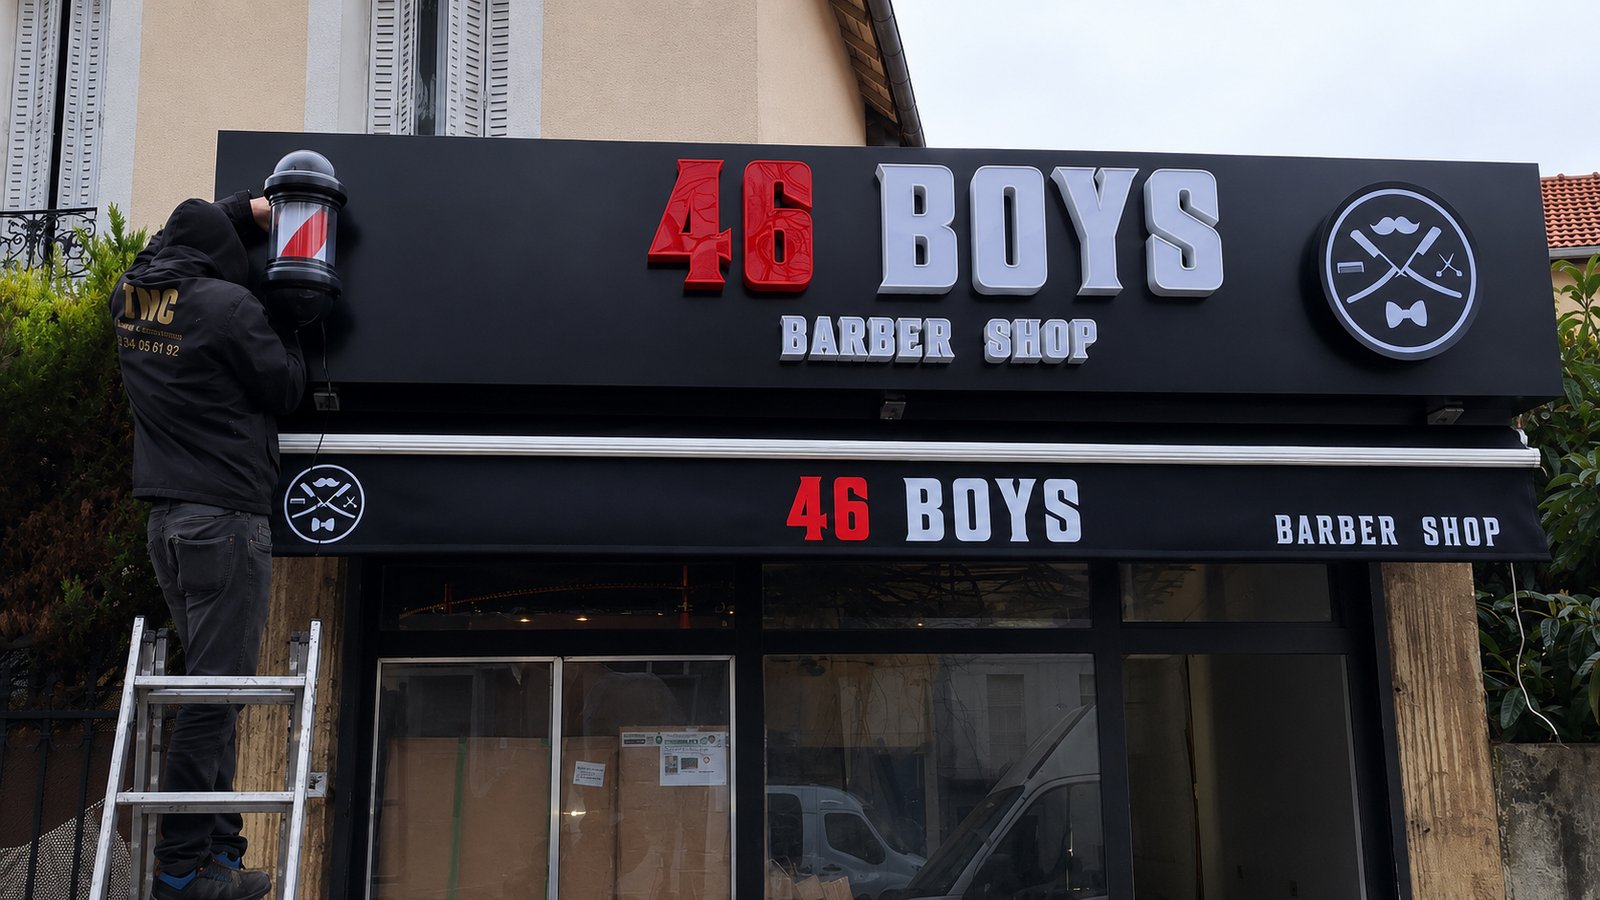
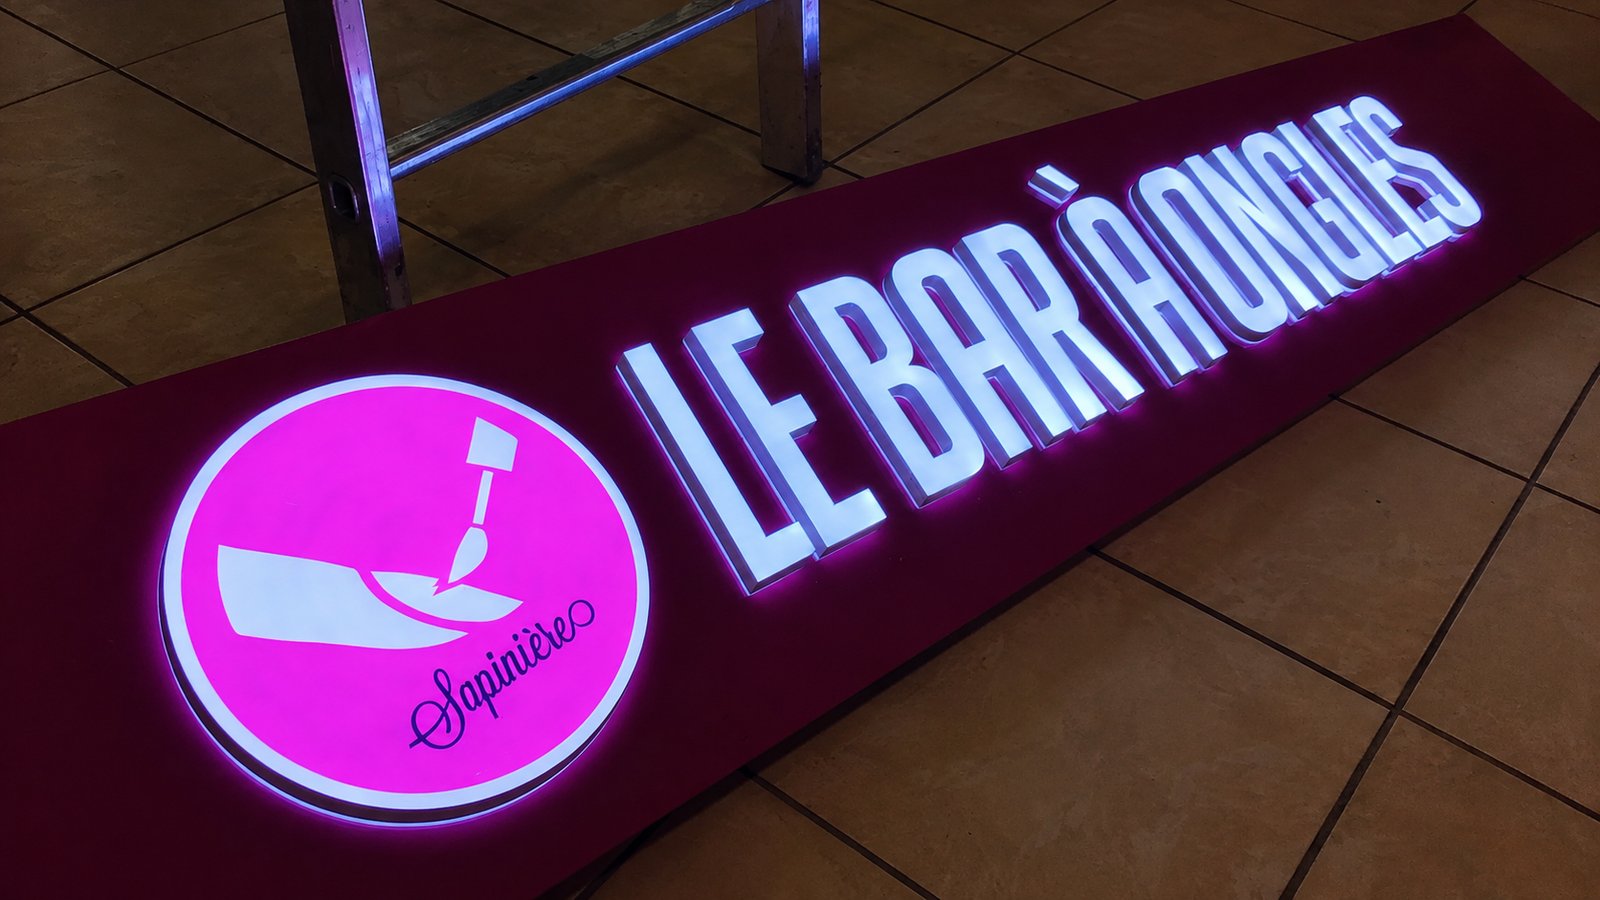
Custom Cabinet Sign Options for OEM/ODM Projects
Configure your sign based on structural needs, brand colors, and site electrical requirements.
Appearance
- Color
- Font style
- Shape
- Logo design
- Surface finish (brushed / mirror / matte / painted)
- Edge color
- Face color
- Return color (side color)
Size & Structure
- Overall sign dimensions
- Custom length
- Logo proportion
Note: Cabinet depth, single-sided or double-sided structure must be confirmed according to dimensions, LED layout and installation position.
Material
- Acrylic face
- Stainless steel
- Aluminum
- Galvanized steel
- PVC
- Composite materials
Lighting
- Color temperature (Warm White / Natural White / Cool White)
- Single color lighting
- RGB color changing
- LED module type
- LED strip type
- Brightness level
- Front illumination effect
- Front & back illumination effect
Installation
- Wall mounted
- Backer panel mounted
- Hanging installation
- Stand-off installation
- Flush mounted
Also supporting pole, pylon, blade and monument installation setups.
Electrical
- Voltage options (12V / 24V / customized)
- Power supply specification
- Waterproof rating
- Indoor / outdoor configuration
Project & Branding
- OEM branding
- ODM design support
- Engineering drawings
- Packaging customization
- Multi-location projects
- Bulk order solutions
Extra Functional
- Waterproof level
- UV resistance
- Anti-corrosion treatment
- Energy-saving LED option
- Smart control system
- Dimming function
- Remote control
- Timer function
A shallow wall-mounted cabinet may require a revised LED spacing layout to reduce visible hotspots, while a deeper pylon cabinet affects frame weight, service access and shipping volume.
Certificates
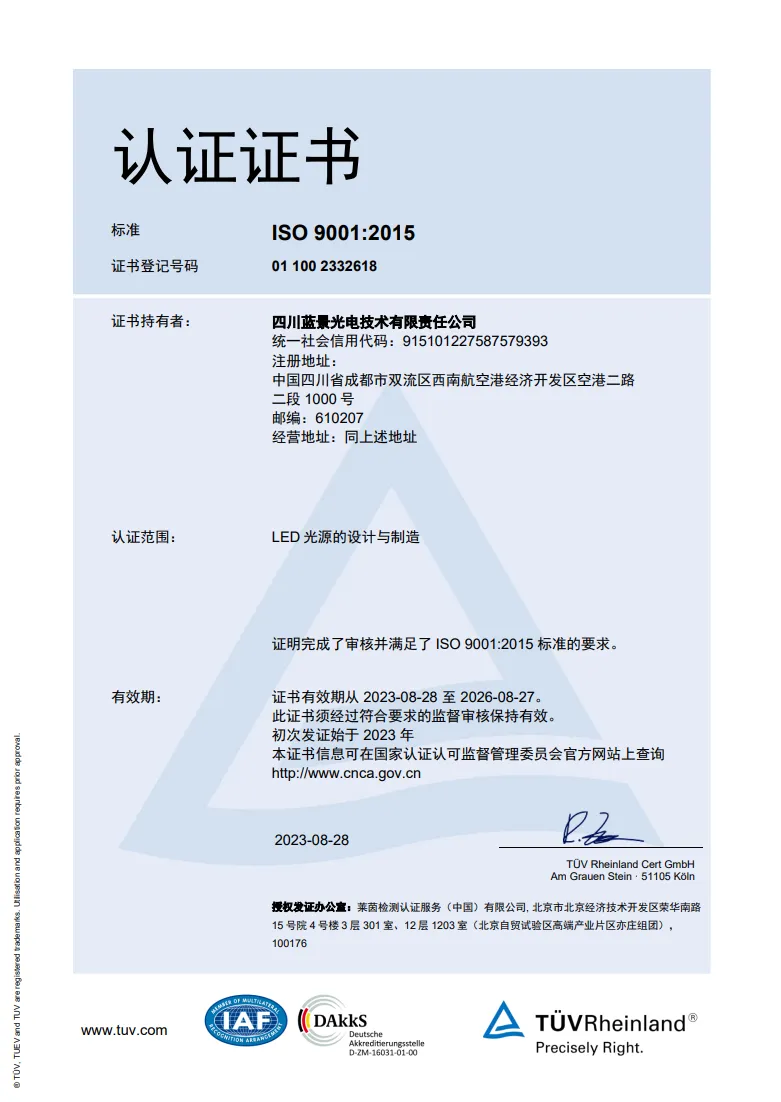
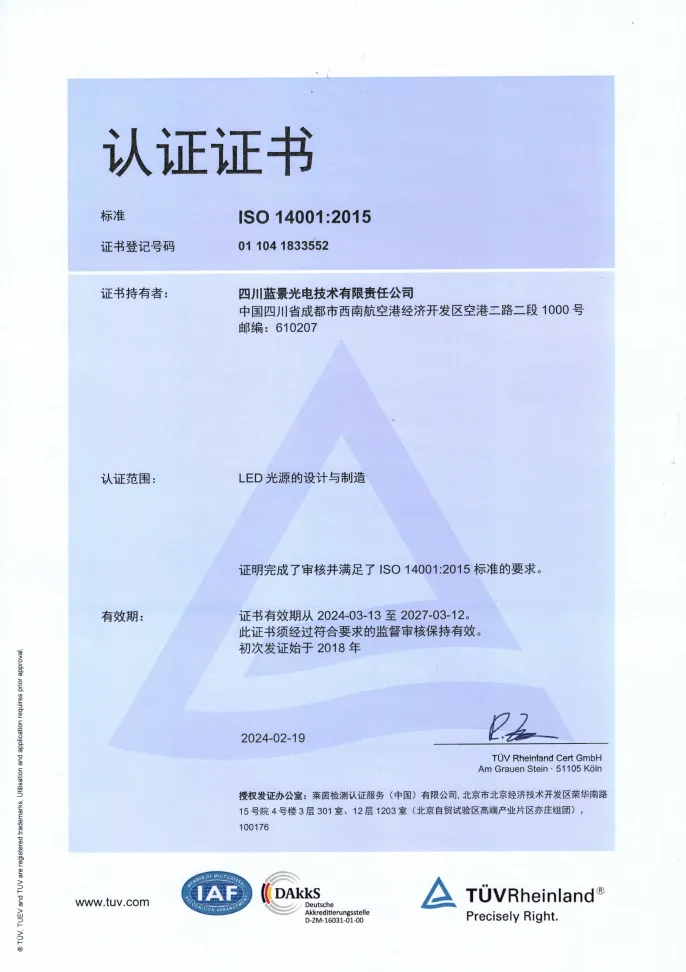
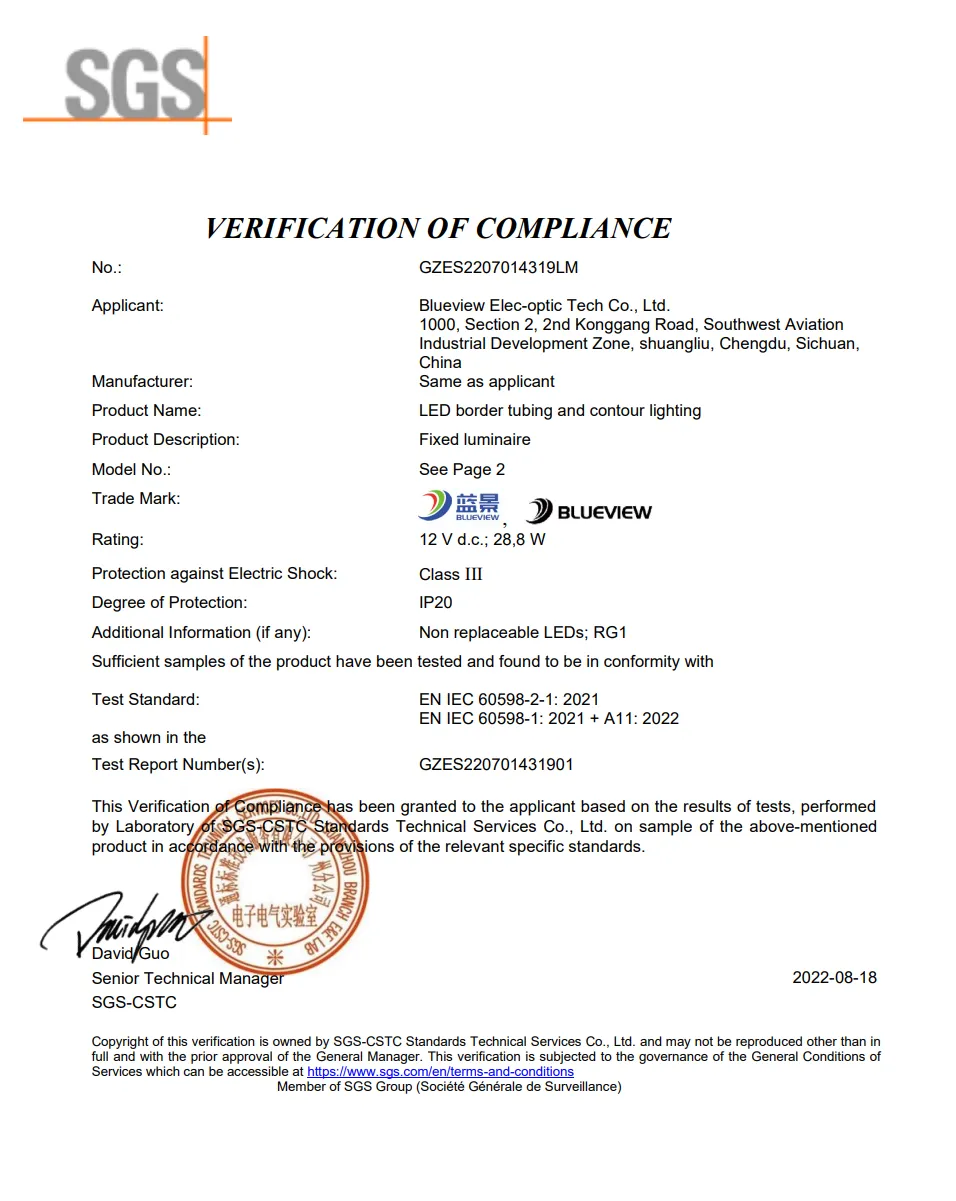


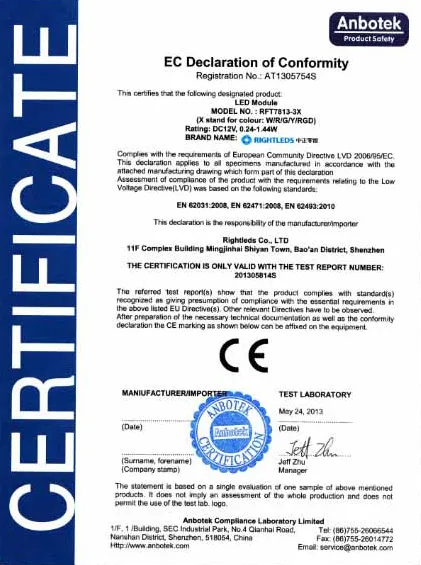
Buyers can confirm certificate scope, applicable product configuration, component documents, declaration documents, and destination-market requirements before placing an order.
Cabinet Sign Installation Steps
This general guide applies to wall-mounted, pole-mounted, pylon, hanging, blade and monument cabinet signs. Always follow the approved installation drawings and local building and electrical codes.
Pre-Installation Preparation
- Survey the site and verify the wall, pole, foundation or supporting structure.
- Confirm cabinet dimensions, weight, wind-load requirements and installation permits.
- Check mounting brackets, bolts, sign faces, LED drivers, wiring and accessories.
- Confirm the power supply, conduit, junction box and grounding arrangement.
- Prepare PPE, access equipment and rated lifting equipment for large cabinets.
1 Step 1: Mark the Installation Position
- Mark the sign centerline, installation height and fixing points using a level and measuring tape.
- Use the mounting drawing or installation template to confirm alignment.
- Check for hidden cables, pipes, structural framing and underground utilities before drilling.
2 Step 2: Install the Supporting Structure
Select the correct fixing method for the project:
- Wall-mounted: Fix brackets or rails to concrete, masonry, structural studs or blocking—not decorative cladding alone.
- Pole-mounted / Pylon: Confirm poles, crossbars, anchor bolts and foundation comply with the structural drawing.
- Hanging / Blade: Secure the projecting bracket to the building structure and install a secondary safety restraint where required.
- Monument: Align the cabinet with the foundation, base plate or embedded support frame.
Use anchors and fasteners suitable for the substrate, cabinet weight and calculated wind load. Check that the complete support is level, plumb and securely tightened.
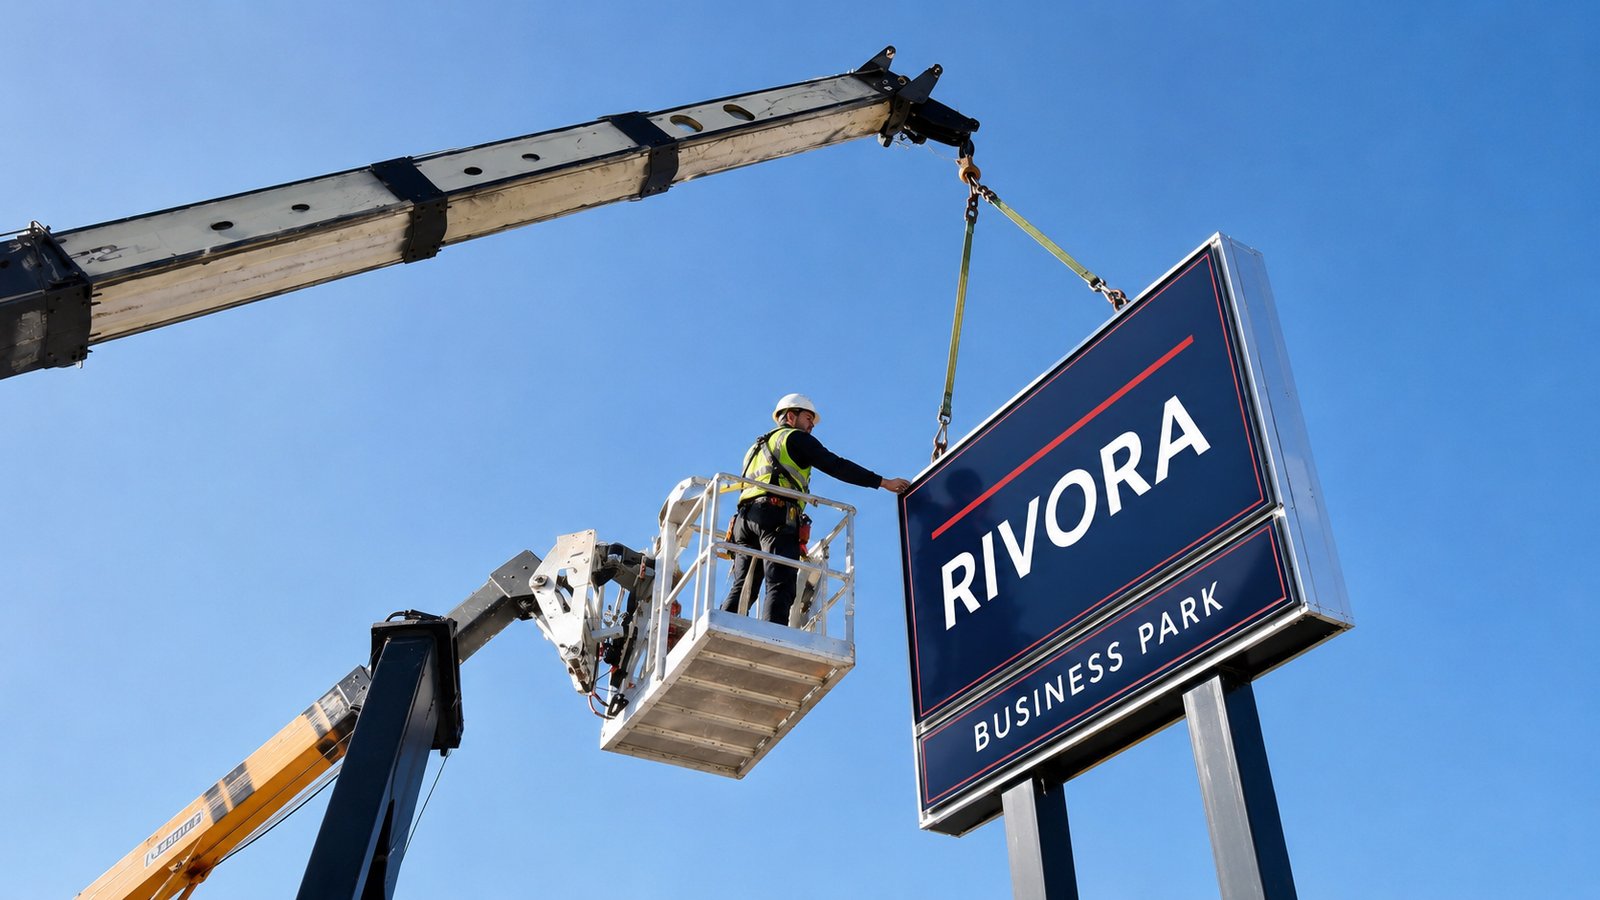
3 Step 3: Lift and Secure the Cabinet
- Attach rated slings only to the designated lifting points.
- Secure removable faces and access panels before lifting.
- Lift the cabinet into position and align it with the brackets or support frame.
- Install all bolts and tighten them gradually to avoid cabinet deformation.
- Recheck level and plumb; use corrosion-resistant shims if adjustment is required.
4 Step 4: Complete the Electrical Connection
Electrical work must be completed by qualified personnel.
- Switch off, isolate and verify the power supply before wiring.
- Route the supply cable through weatherproof conduit to the designated cable entry.
- Connect the branch circuit to the cabinet disconnect, junction box or LED driver input according to the wiring diagram.
- For multi-section cabinets, connect the labeled wiring harnesses and confirm polarity.
- Ground and bond the metal cabinet as required by local electrical codes.
- Seal cable entries with weather-rated fittings or compatible sealant.
Factory-wired LED modules should not be modified unless instructed by the manufacturer.
5 Step 5: Refit the Sign Face and Weather-Seal
- Reinstall acrylic, polycarbonate, metal or flex faces and secure all retainers.
- Seat the gaskets correctly and close all service panels.
- Apply exterior-grade sealant around cable entries, fixing penetrations and required wall joints.
- Do not block factory drainage holes, ventilation openings or service access points.
- For flex-face cabinets, tension the fabric evenly to prevent wrinkles.
6 Step 6: Test and Inspect
- Restore power and check for flickering, dark areas or uneven illumination.
- Test both faces of a double-sided cabinet sign.
- Check all brackets, bolts, sign faces, gaskets and access panels.
- Confirm that drainage openings remain clear.
- Clean the sign surface and provide wiring and maintenance documents to the customer.
Important Safety Notes
- Follow approved structural drawings and local installation regulations.
- Do not install during rain, lightning or strong winds.
- Keep personnel clear of suspended loads during lifting.
- Use lifting equipment rated for the complete cabinet weight.
- Do not drill into unapproved cabinet locations.
- Proper grounding is required for outdoor illuminated cabinet signs.
- Do not block drainage or ventilation openings.
Download Installation Guide
Get the complete step-by-step document for your site team.
Download DOCXContact Our Experts
 WhatsApp
 WhatsApp
Protective Packaging for Cabinet Faces and Metal Housings
We engineer our packaging to mitigate the risks of international transport, ensuring your signs arrive ready for installation.
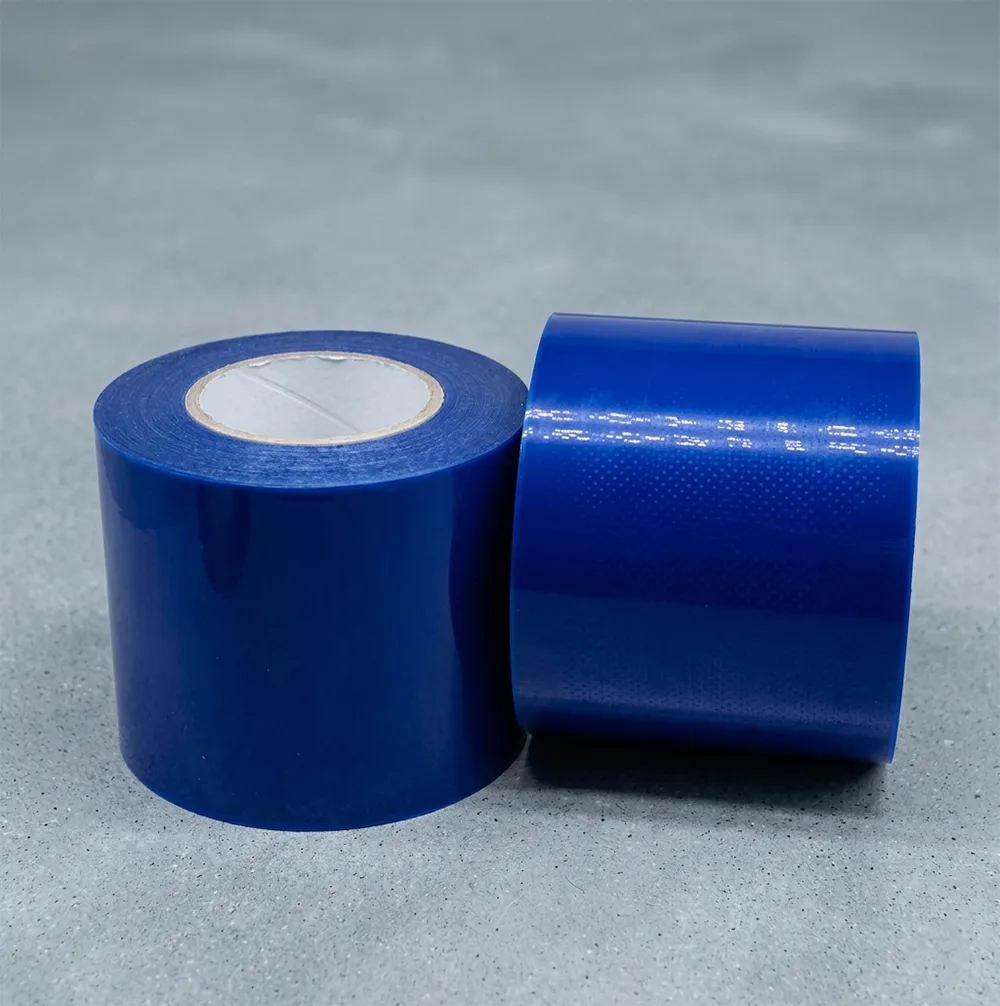
Protective Film
Applied to protect the acrylic face, painted surface and metal finish, reducing the risk of scratches during handling and assembly.
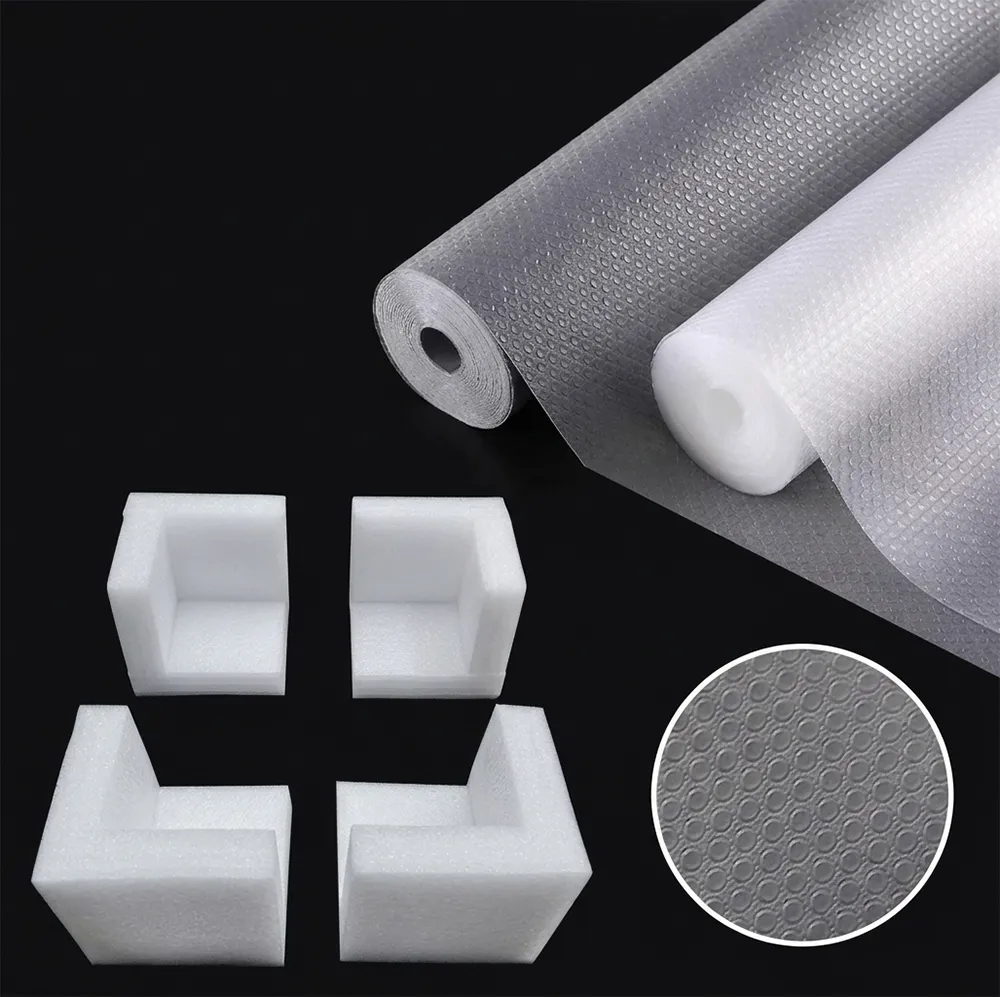
EPE Corner Protection
Thick EPE foam safeguards cabinet corners, panel edges, and the retaining frame, significantly lowering transport collision risks.

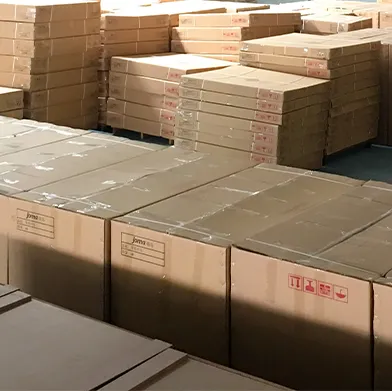
Different Carton Sizes
Carton dimensions are specifically selected and customized according to the exact product dimensions and weight to prevent internal movement.
Reinforced Packing
Large, custom-shaped, or fragile cabinet signs utilize a reinforced carton or a structural plywood crate for maximum export security.

Loading Verification
Before loading, our team verifies the outer carton labels, quantities, orientation arrows, and specific project numbers.

Shipping Documentation
The finalized packing list, module label details, and delivery destination documents are strictly matched to your approved project data.
Technical Knowledge for Commercial Cabinet Sign Projects
Essential engineering specifications and compliance checks for B2B buyers. Read more in our technical resources.
1. Electrical Compliance & Safety Certification
Electrical requirements must be confirmed before shop drawings are released.
Engineering Note: Approved power supplies or LED modules do not automatically make the complete cabinet sign a listed product. Component approval and complete-sign certification are separate requirements.
| Market | Main References | Documents to Confirm |
|---|---|---|
| United States | UL 48 for electric-sign product safety; NEC Article 600 for installation and field wiring. | Wiring diagram, circuit layout, component datasheets and listing/label status required by the local Authority Having Jurisdiction. |
| EU / EEA | Applicable legislation may include LVD, EMC and RoHS, depending on the product configuration. | EU Declaration of Conformity, technical documentation and supporting component records. IP test evidence is required when a specific IP rating is claimed. |
| United Kingdom | Great Britain and Northern Ireland follow different marking rules. Great Britain may accept UKCA or CE marking for applicable product sectors. | Confirm the current product-specific marking, declaration and importer requirements using official UK government guidance. |
2. Site Data Required for Structural Planning
Accurate cabinet drawings require verified site information:
- Mounting Structure: Concrete, structural steel, masonry or verified structural backing
- Support Dimensions: Wall area, pole diameter, steel frame and bracket clearances
- Environmental Data: Installation height, local design wind criteria, exposure category and seismic requirements where applicable
- Electrical Entry: Rear, top or bottom cable entry and incoming supply voltage
- Installation Access: Lifting route, equipment clearance and service space
Engineering Note: Brick veneer, EIFS and drywall finishes should not be treated as the sole load-bearing structure without confirming suitable structural backing. Factory shop drawings define the cabinet; local anchors and stamped calculations remain subject to site engineering and local approval.
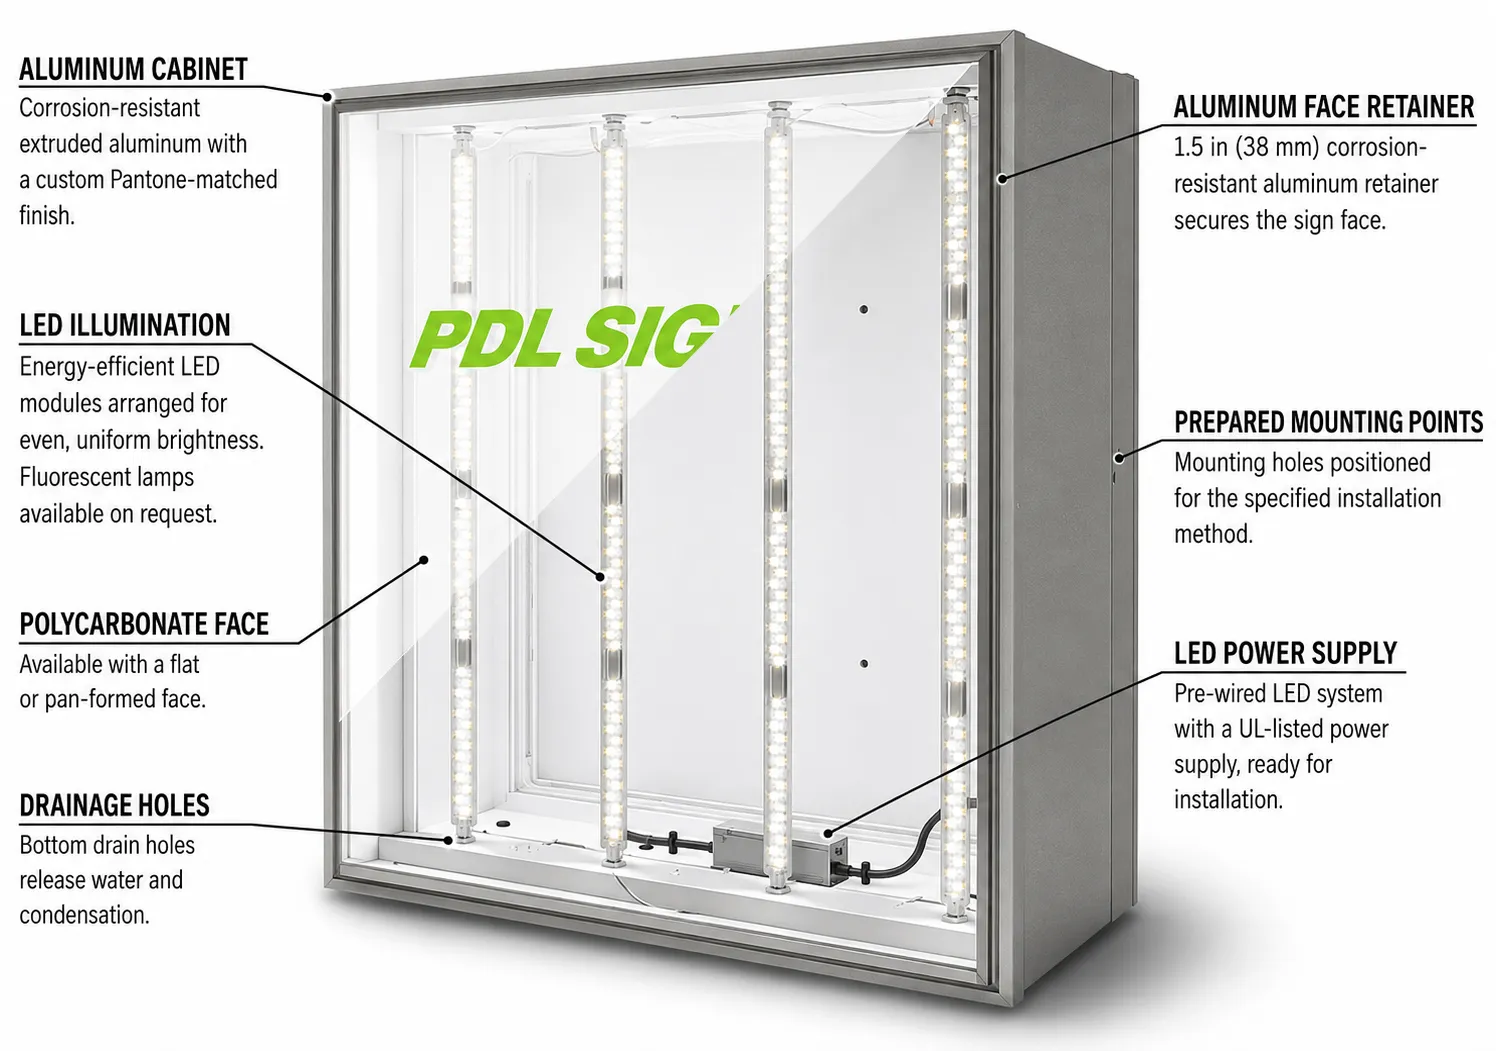
3. Oversized Cabinet Sectioning & Modular Assembly
Modular construction may be required when a cabinet exceeds factory handling, transport, lifting or site-access limits.
A sectioning plan should define:
- Cabinet and graphic-face joint positions
- Internal splice plates and alignment points
- Pre-drilled field connection locations
- Labeled inter-module wiring connections
- Module identification and assembly sequence
- Support-frame connection details
Engineering Note: Cabinet sectioning, face seams and wiring interfaces should be planned before fabrication. Adding unplanned joints after production can affect alignment and installation efficiency.
4. Multi-Location Brand Consistency Control
Franchise and chain-store projects require a controlled Master Specification File covering:
- Approved master drawings and proportions
- Paint references such as Pantone or RAL
- Physical color samples where appearance is critical
- LED color temperature and accepted tolerance
- Material grades, thicknesses and frame profiles
- Component bill of materials
- Drawing revision and site-version records
Engineering Note: Screen colors and digital artwork alone are not reliable production color standards. The selected substrate, surface finish and illuminated condition can all change the final appearance.
5. Nighttime Luminance & Local Ordinance Rules
Illumination should be specified according to the site rather than using one universal brightness value.
Verify:
- Maximum permitted sign-face luminance in cd/m² or nits
- Illuminance limits measured in lux or foot-candles, where applicable
- Required measurement location and method
- Dimming, photocell or timer requirements
- Permitted operating hours
- Nearby residential windows and traffic signals
Engineering Note: Local authorities may regulate sign area, operating hours and illumination differently. The International Sign Association also notes that sign construction and local conditions vary, so one lighting rule cannot be applied universally.
Ensure Requirements Are Defined Before Production
Submit your architectural elevation, vector artwork, site photographs, support dimensions and destination requirements for a pre-production drawing and manufacturing review.
Cabinet Sign FAQs
1. What Is a Cabinet Sign?
2. Should I Choose a Single-Sided or Double-Sided Cabinet Sign?
Single-sided: Usually mounted flat against a storefront or building wall.
Double-sided: Used for pole, pylon or projecting installations where the sign must be visible from two directions.
3. Which Cabinet Sign Face Material Should I Choose?
Acrylic: Smooth appearance and uniform light transmission.
Polycarbonate: Greater impact resistance for exposed outdoor locations.
Flex Face: Lighter and more suitable for large-format sign cabinets.
The recommended material depends on sign size, installation height and environment.
4. Are Cabinet Signs Suitable for Outdoor Use?
5. What Installation and Electrical Options Are Available?
6. What Affects the Price of a Custom Cabinet Sign?
7. What Are the MOQ and Production Lead Time?
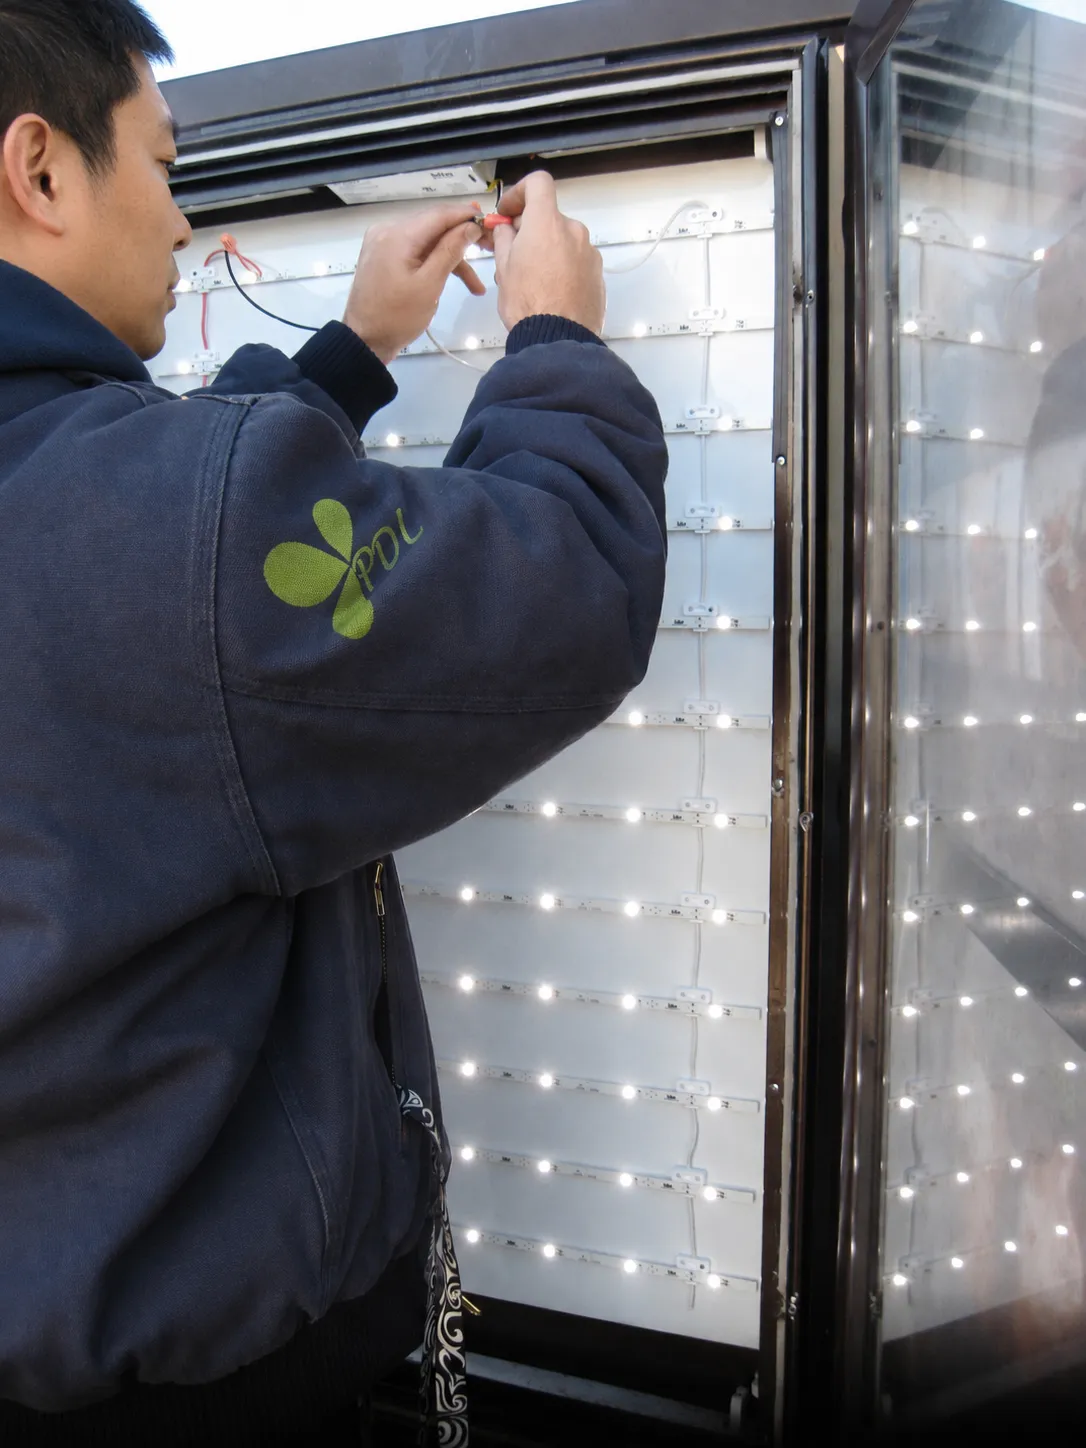
Have a custom project?
Contact Our Sign Experts for material recommendations, production drawings and a quotation.
Commercial Cabinet Sign Planning Guide
Four key design decisions to review before fabrication.
Decision 1: Cabinet Sign vs. Channel Letters
The choice depends on the required appearance, graphic complexity and frequency of future branding updates.
| Selection Factor | Cabinet Sign | Channel Letters |
|---|---|---|
| Best Suited For | Complete logos, detailed graphics, tenant panels and designs contained within one enclosure. | Individually fabricated letters and logos requiring a dimensional architectural appearance. |
| Future Graphic Changes | The sign face can often be replaced while retaining the cabinet. | Changes normally require modifying or replacing individual letters. |
| Illumination Style | Full-face backlighting or focused push-through illumination. | Individual front-lit, halo-lit or dual-lit illumination. |
- Standard extruded cabinets normally use established aluminum profiles for conventional shapes.
- Custom fabricated cabinets are considered when the project requires irregular shapes, special depth or a welded structure.
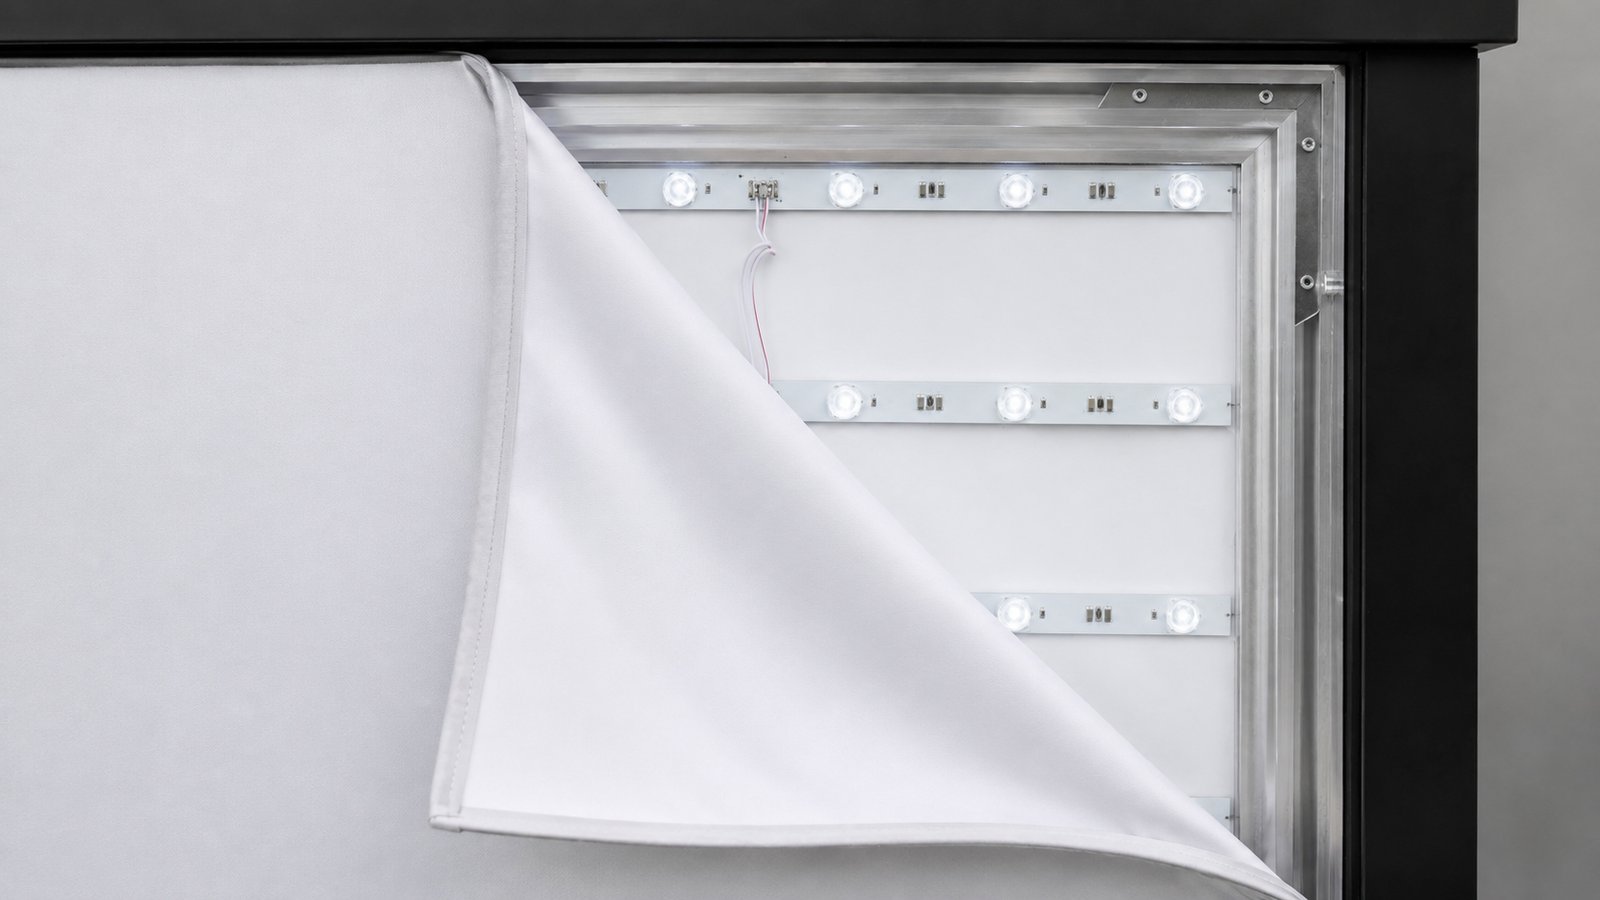
Decision 2: New Build, Reface or LED Retrofit?
Inspect the existing sign before deciding whether complete replacement is necessary.
- New Build: Suitable for new sites or projects requiring different dimensions, shapes or structural layouts.
- Reface: Replaces the graphic panel while retaining a serviceable cabinet, face retainer and lighting system.
- LED Retrofit: Replaces fluorescent tubes or older lighting components while retaining a structurally sound enclosure.
Before reusing a cabinet, check its frame condition, internal space, face-retaining system and existing electrical components.
Decision 3: Selecting the Face Structure
The face structure determines the sign’s visual depth and graphic presentation.
- Flat Face: A smooth panel designed for printed graphics or translucent vinyl.
- Pan-Formed Face: A thermoformed face projecting outward from the cabinet to create subtle dimension.
- Push-Through Face: An opaque routed metal panel with acrylic letters or logos extending through the openings. Only the acrylic elements illuminate.
Decision 4: Planning Viewing Distance and Legibility
A common early-stage reference is approximately 1 inch of letter height for every 10 feet of viewing distance. This is only a starting point—not a final sizing standard.
Also consider:
Get Project-Specific Guidance
Send your vector artwork, proposed dimensions, viewing direction and site photos for a cabinet configuration and production drawing review.
Contact Our Sign Experts
Reach out directly to our team for your custom cabinet sign project.
{{Office Address}}