
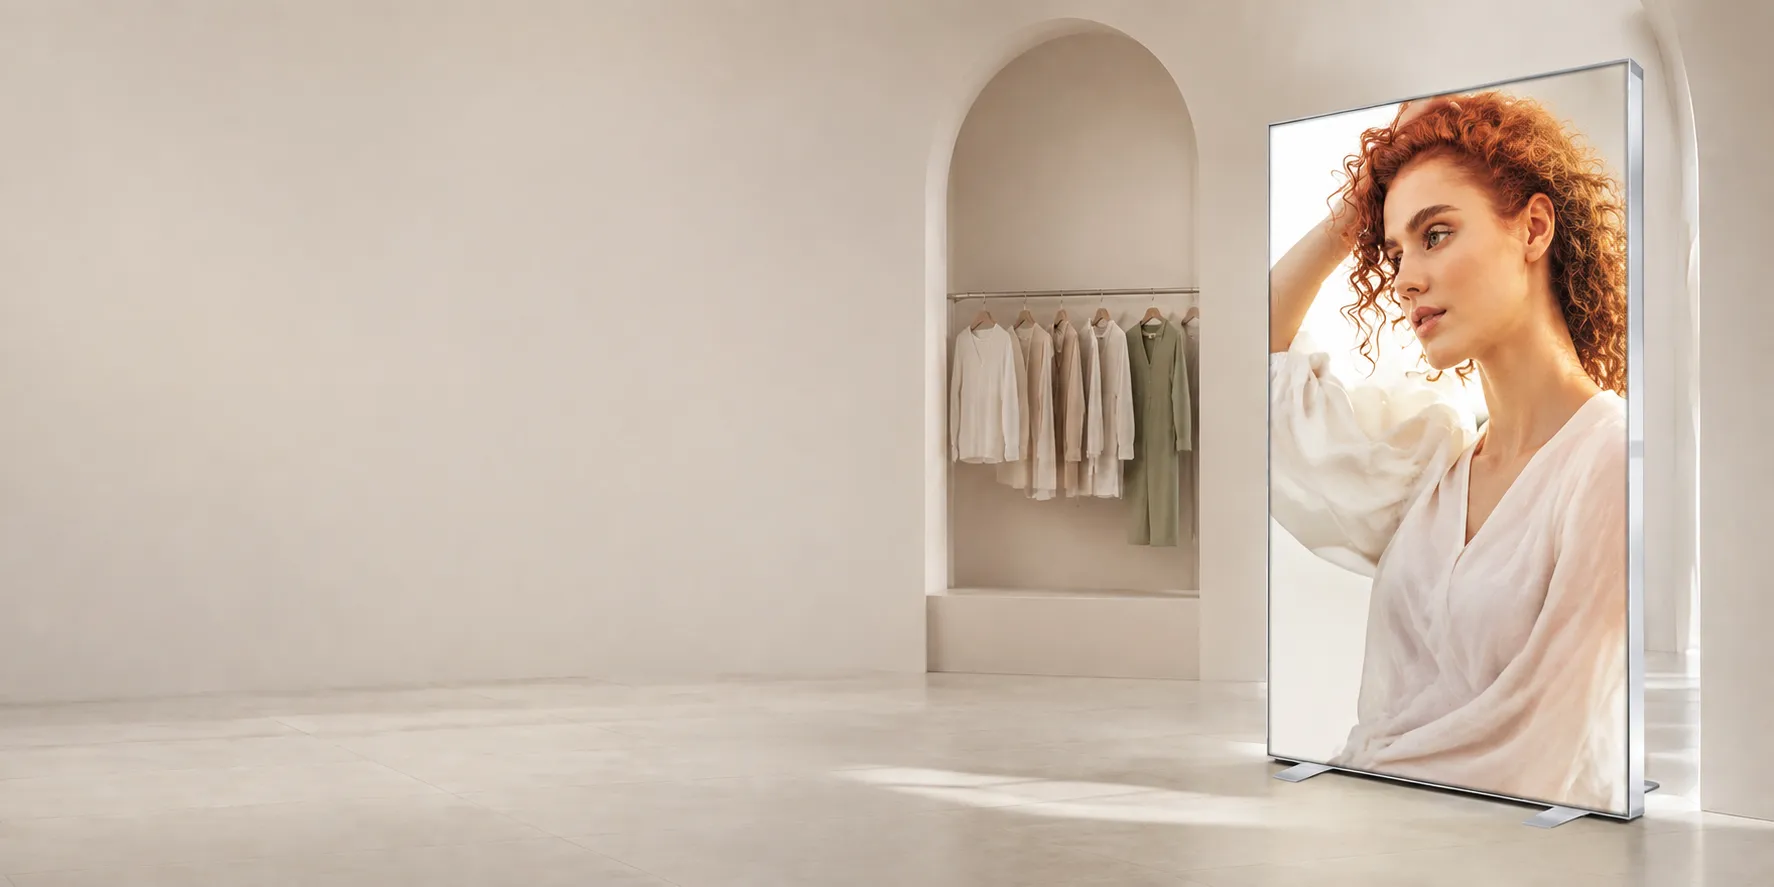
Backlit LED Poster Frame
Illuminate retail promotions, restaurant menus and commercial posters with a slim, edge-lit frame. Choose snap-open or magnetic front access for easy poster changes.
- Custom Poster Sizes
- Tool-Free Poster Replacement
- Wall-Mounted & Freestanding Options
Backlit LED Poster Frame Manufacturer
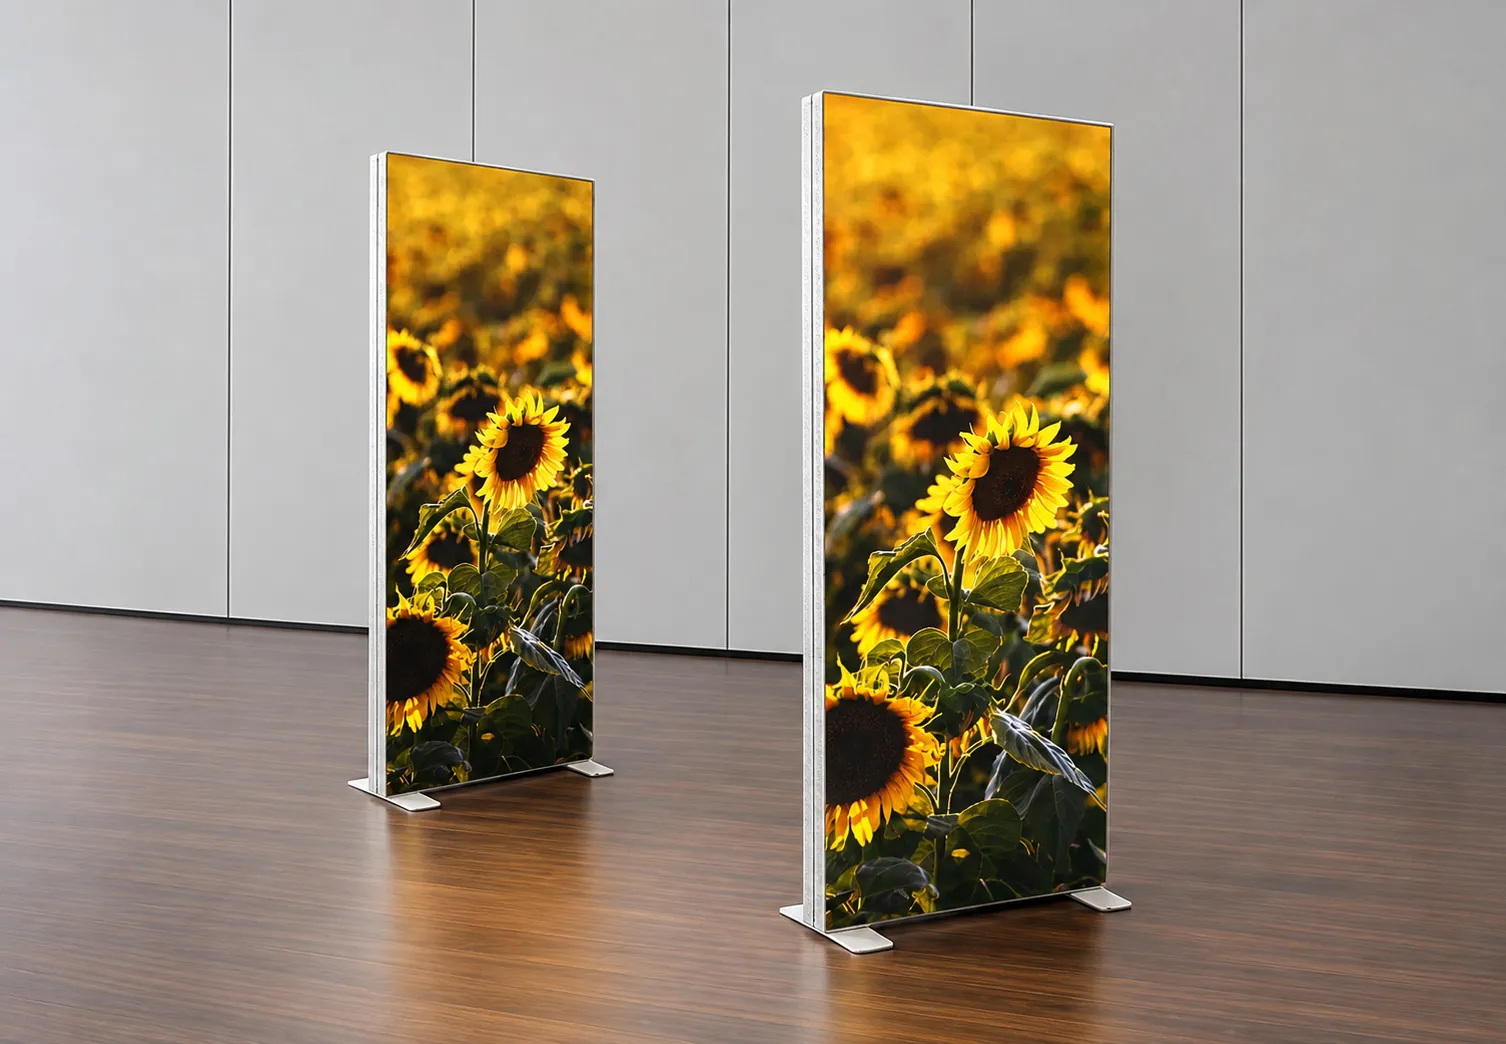
As an OEM/ODM manufacturer, PDL Sign specializes in the complete fabrication of ultra-slim LED light boxes. Our production process ensures precise alignment between the aluminum-profile fabrication and the PMMA light guide panel integration.
We manage frame assembly, LED and power-supply installation, and custom mounting-hole and cable-exit planning. Every unit undergoes strict lighting inspection before shipment and is protected by export packaging to prevent damage to the slim profiles.

Complete Product Classification
Explore our comprehensive industrial-grade Backlit LED Poster Frame configurations designed for diverse commercial, architectural, and retail applications.
1. Classification by Lighting Method
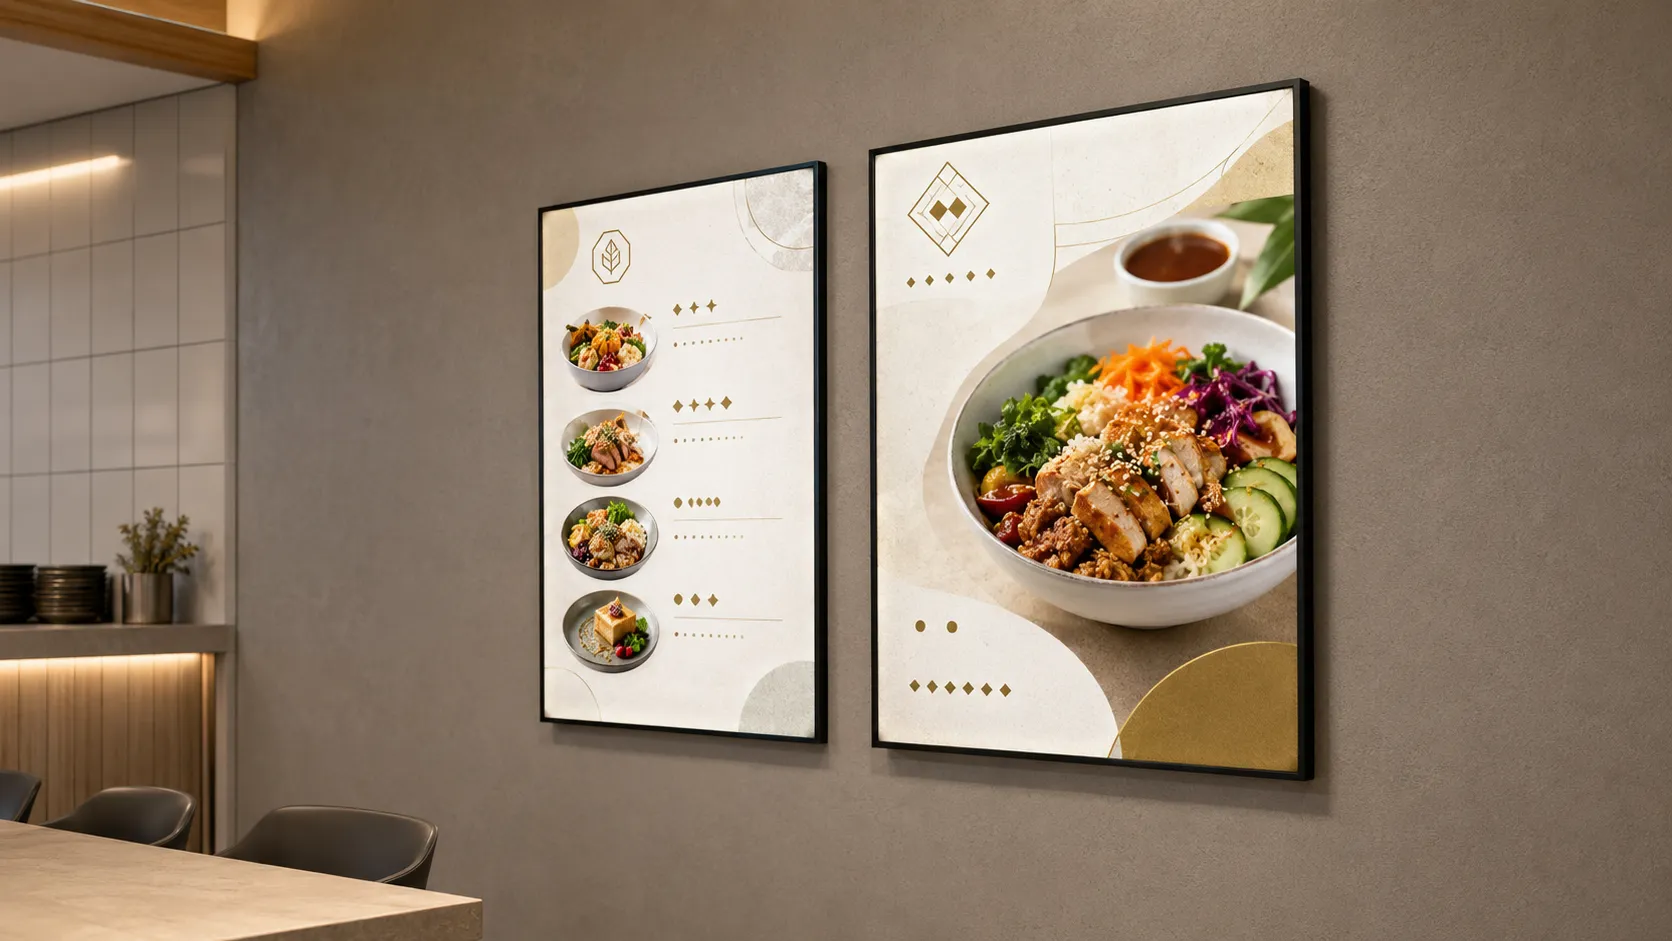
1.1 Edge-Lit LED Poster Frame
LED strips are installed along one or more edges of the aluminum frame. Light is directed through a patterned PMMA light guide plate and diffuser to illuminate the poster evenly.
This structure supports an ultra-slim profile, reduced weight and easy wall mounting. It is commonly used for restaurant menus, cinema posters, retail promotions and indoor advertising displays.
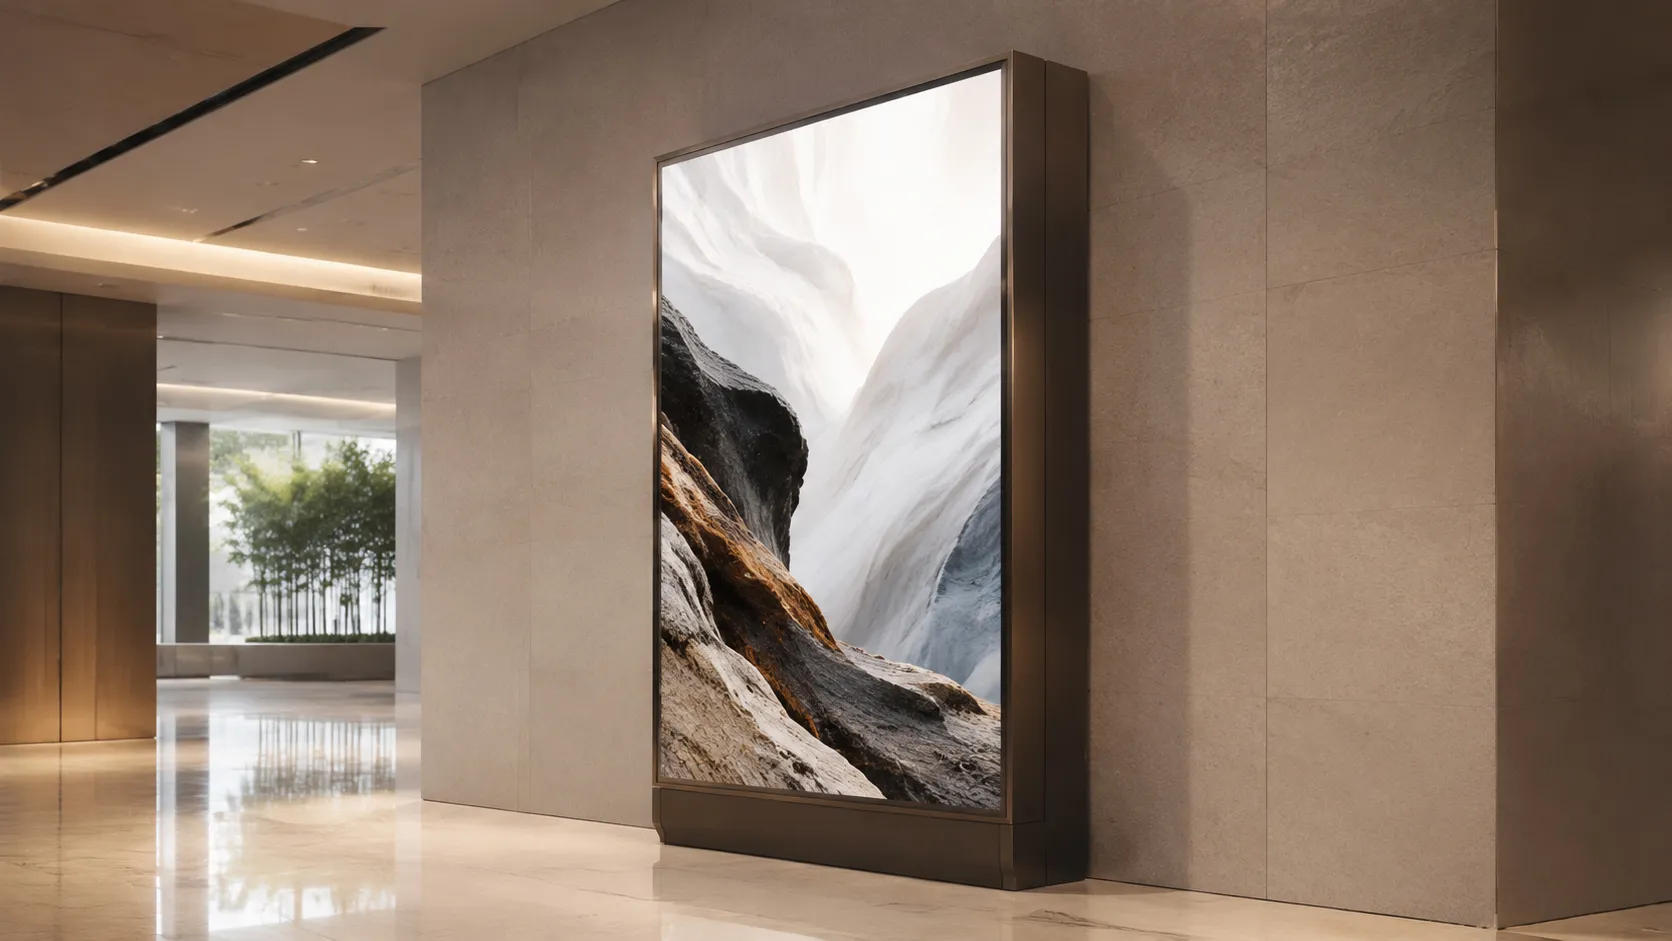
1.2 Direct-Lit LED Poster Frame
LED modules or LED bars are distributed across the rear panel and illuminate the graphic through a diffuser.
Direct-lit construction can provide higher brightness and support larger display formats, but it normally requires a deeper frame. Illumination uniformity depends on LED spacing, cabinet depth, diffuser performance and the distance between the LEDs and graphic.
It is suitable for large-format displays and commercial environments with strong ambient lighting.
2. Classification by Poster-Access Structure
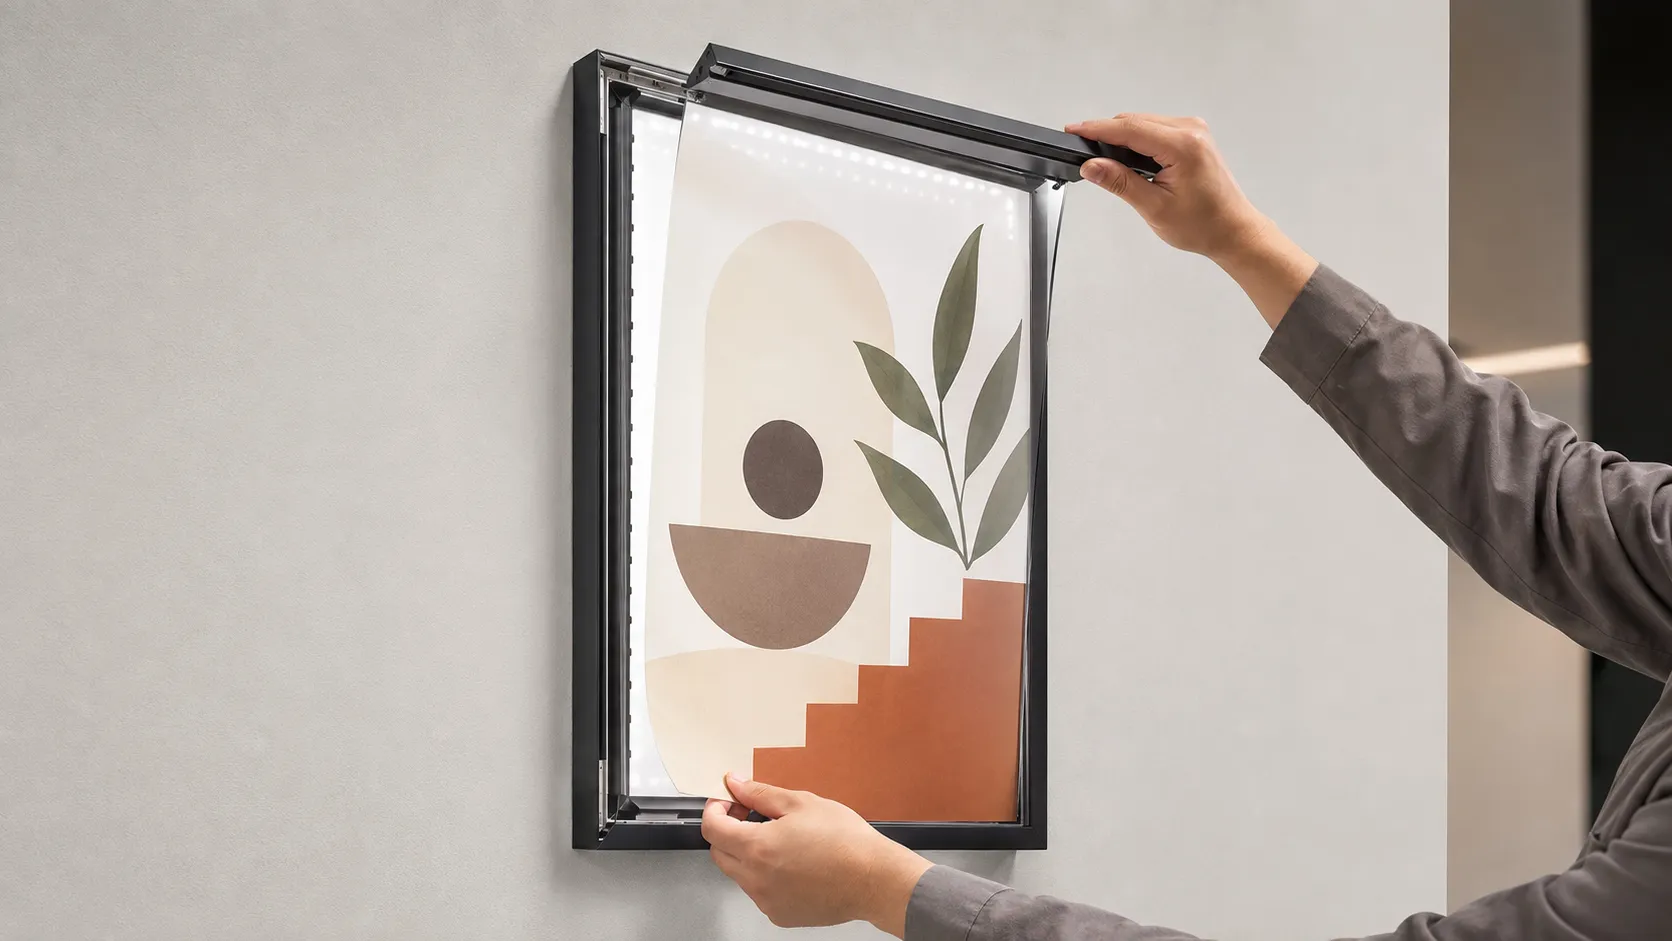
2.1 Snap Frame
Spring-loaded aluminum profiles open from all four sides, allowing tool-free poster replacement.
Black, silver and custom powder-coated finishes are available. Frequently specified for retail chains, restaurants and commercial rollouts.
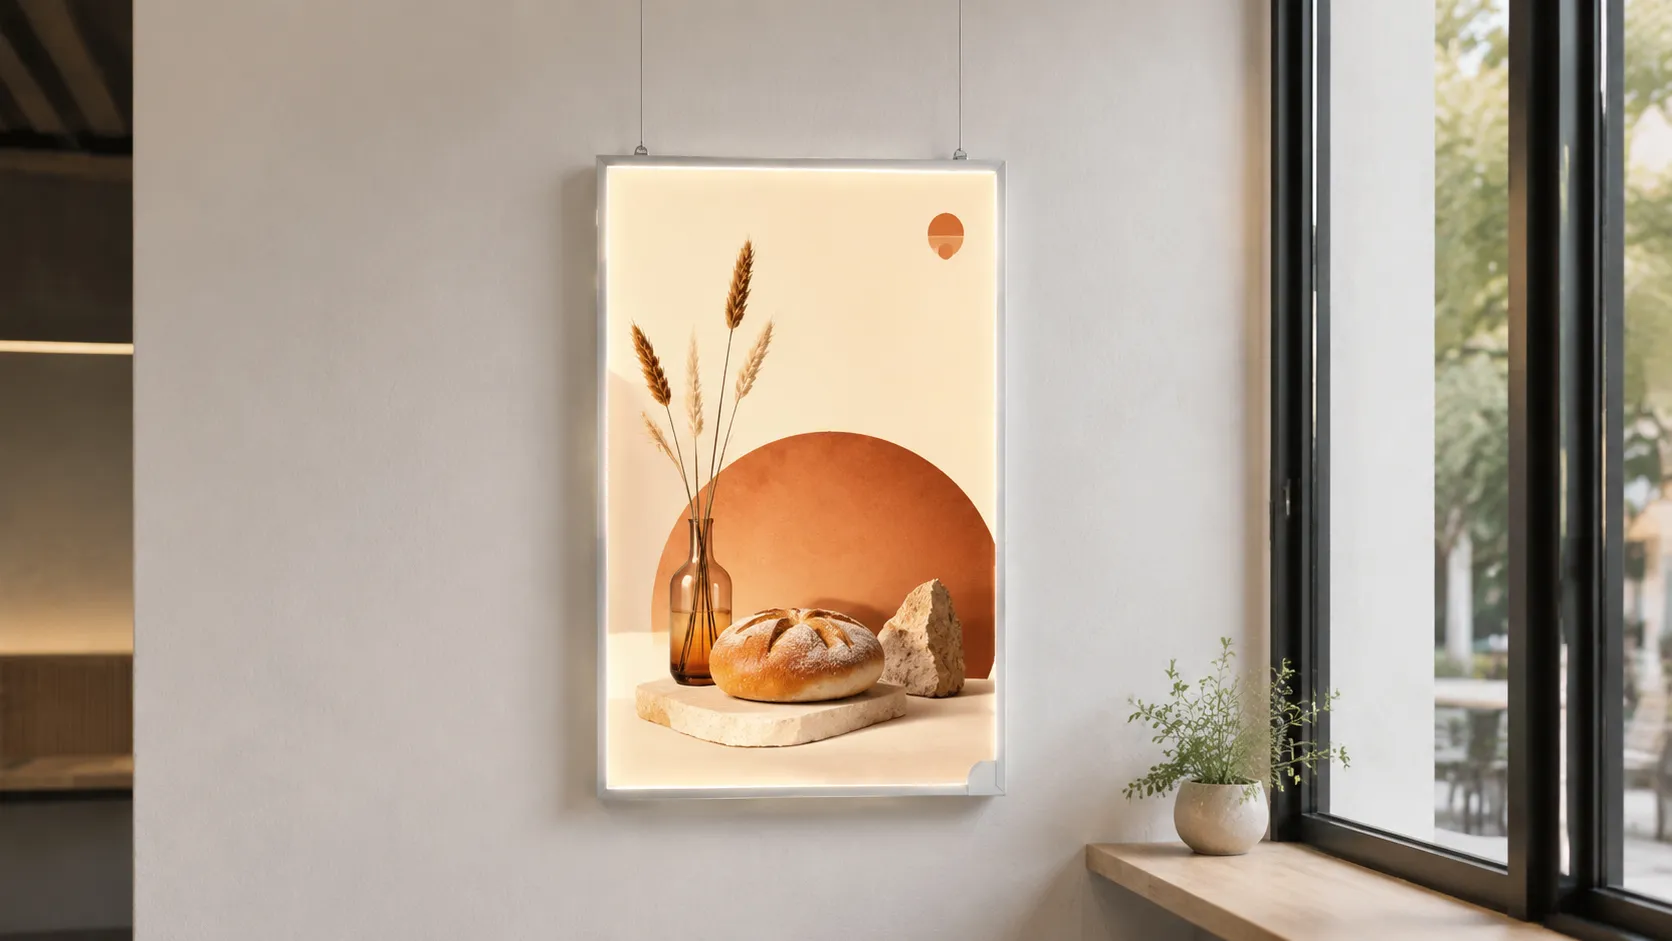
2.2 Magnetic
The clear front cover is secured by magnetic strips or fixing points, providing a clean appearance without visible snap-frame edges.
Suitable for hotel lobbies, shopping malls, offices, and spaces requiring a minimalist style.
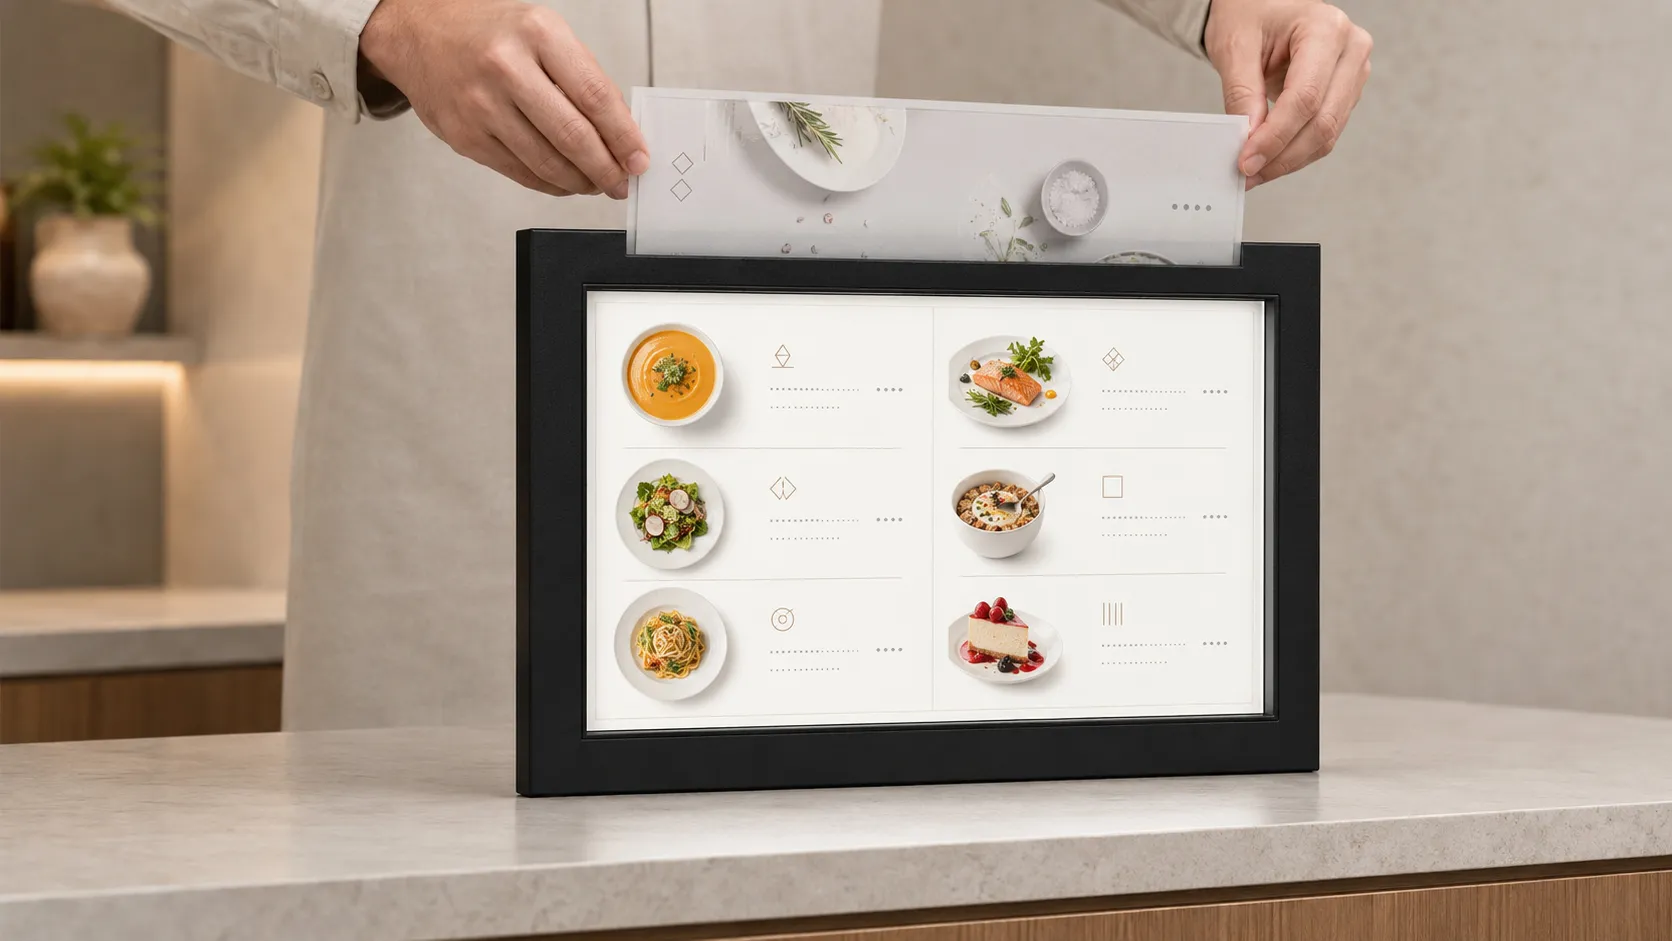
2.3 Slide-In
The poster or printed graphic is inserted through the top or side opening of the frame.
Reduces moving components. Suitable for menu displays, countertop units and frequent graphic changes.
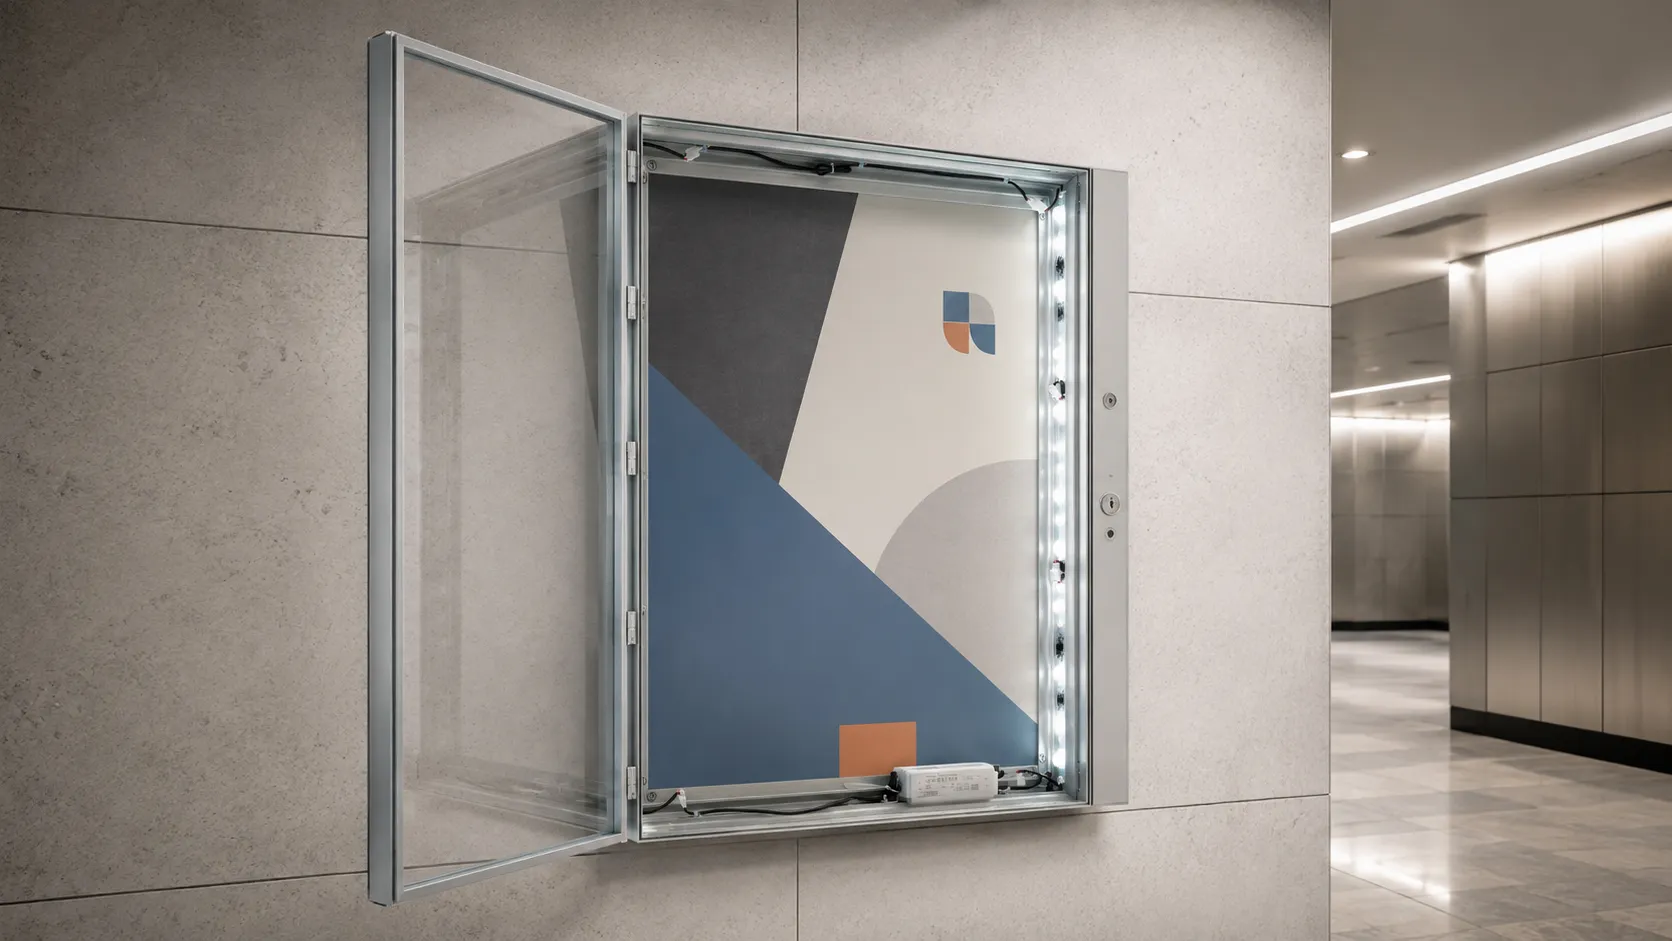
2.4 Lockable / Screw-Fixed
A hinged, lockable or screw-retained front cover helps prevent unauthorized poster removal.
Front panel from polycarbonate, acrylic or tempered glass. Suitable for cinemas and public areas.
3. Classification by Installation Method
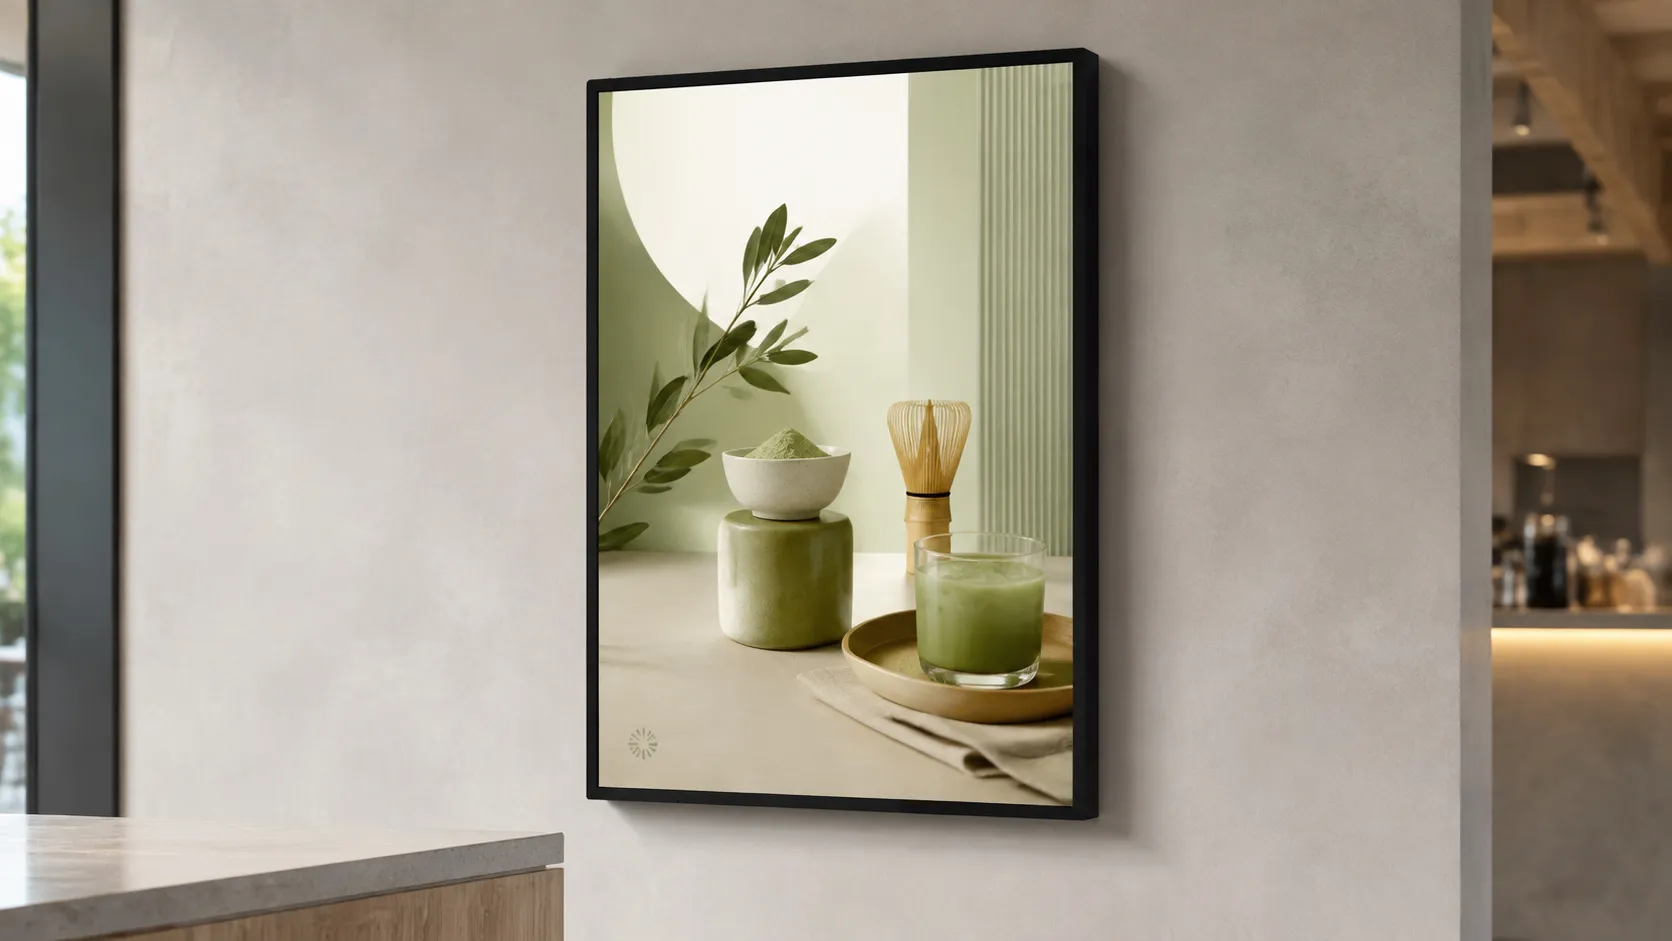
3.1 Wall-Mounted
Designed for direct installation on a wall in portrait or landscape orientation.
Commonly used in retail stores, restaurants, cinemas, office buildings and indoor commercial environments.
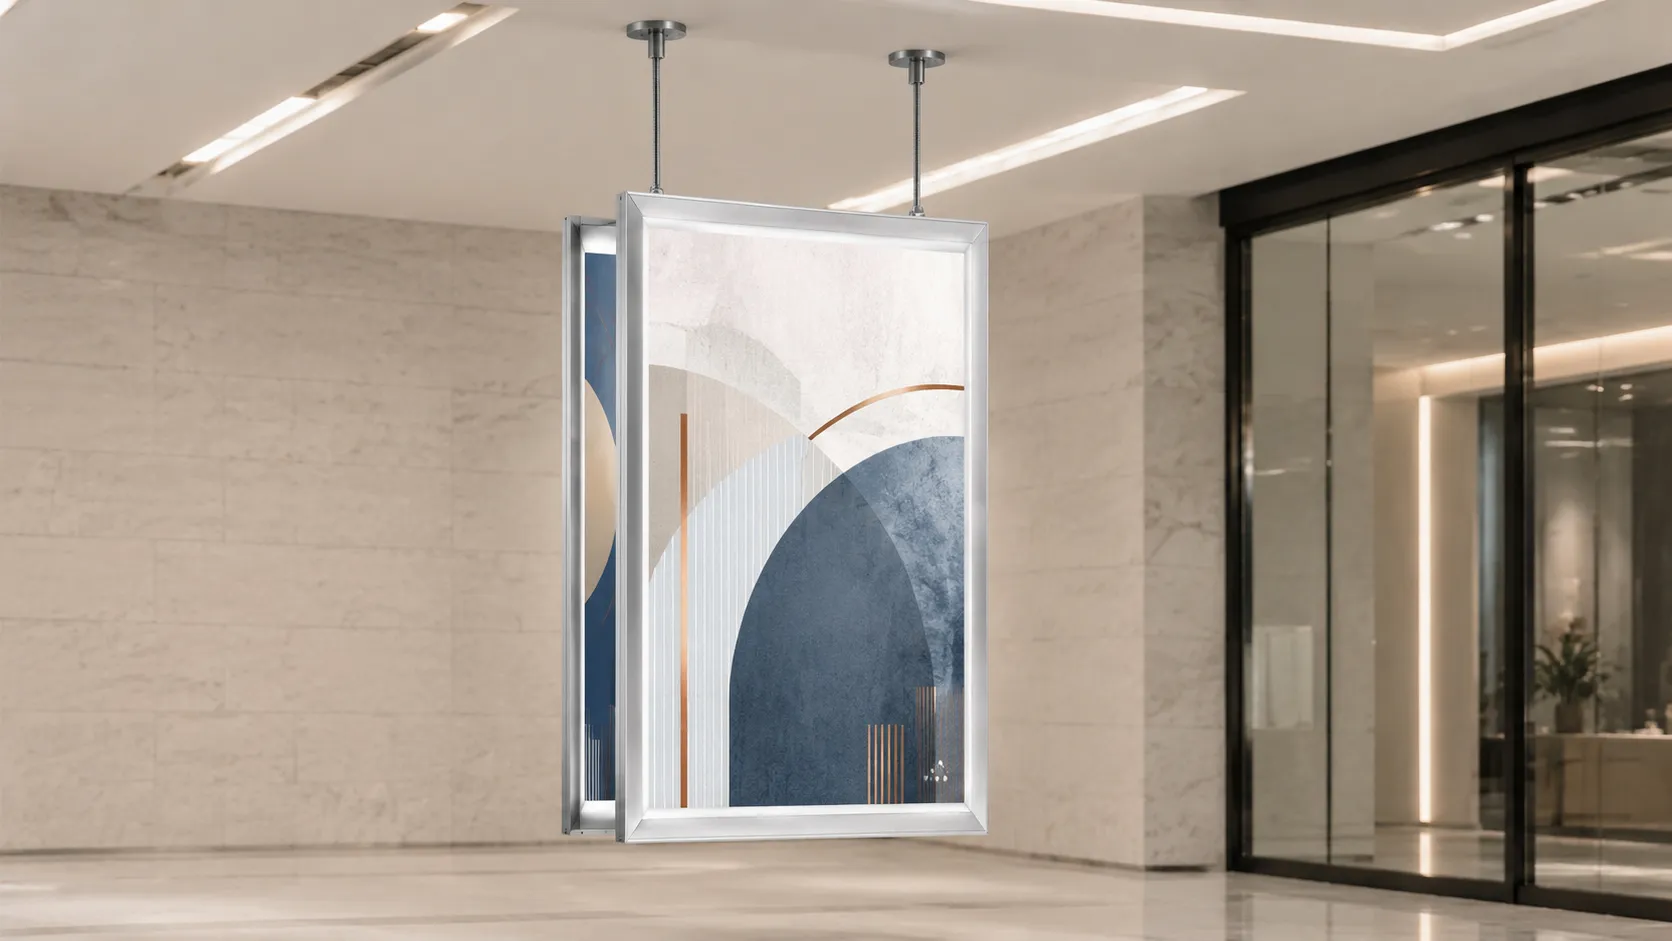
3.2 Ceiling-Suspended
Suspended using steel cables, rods or ceiling-mounted hardware. Single and double-sided versions available.
Suitable for shop windows, shopping-mall corridors, and overhead directional displays.
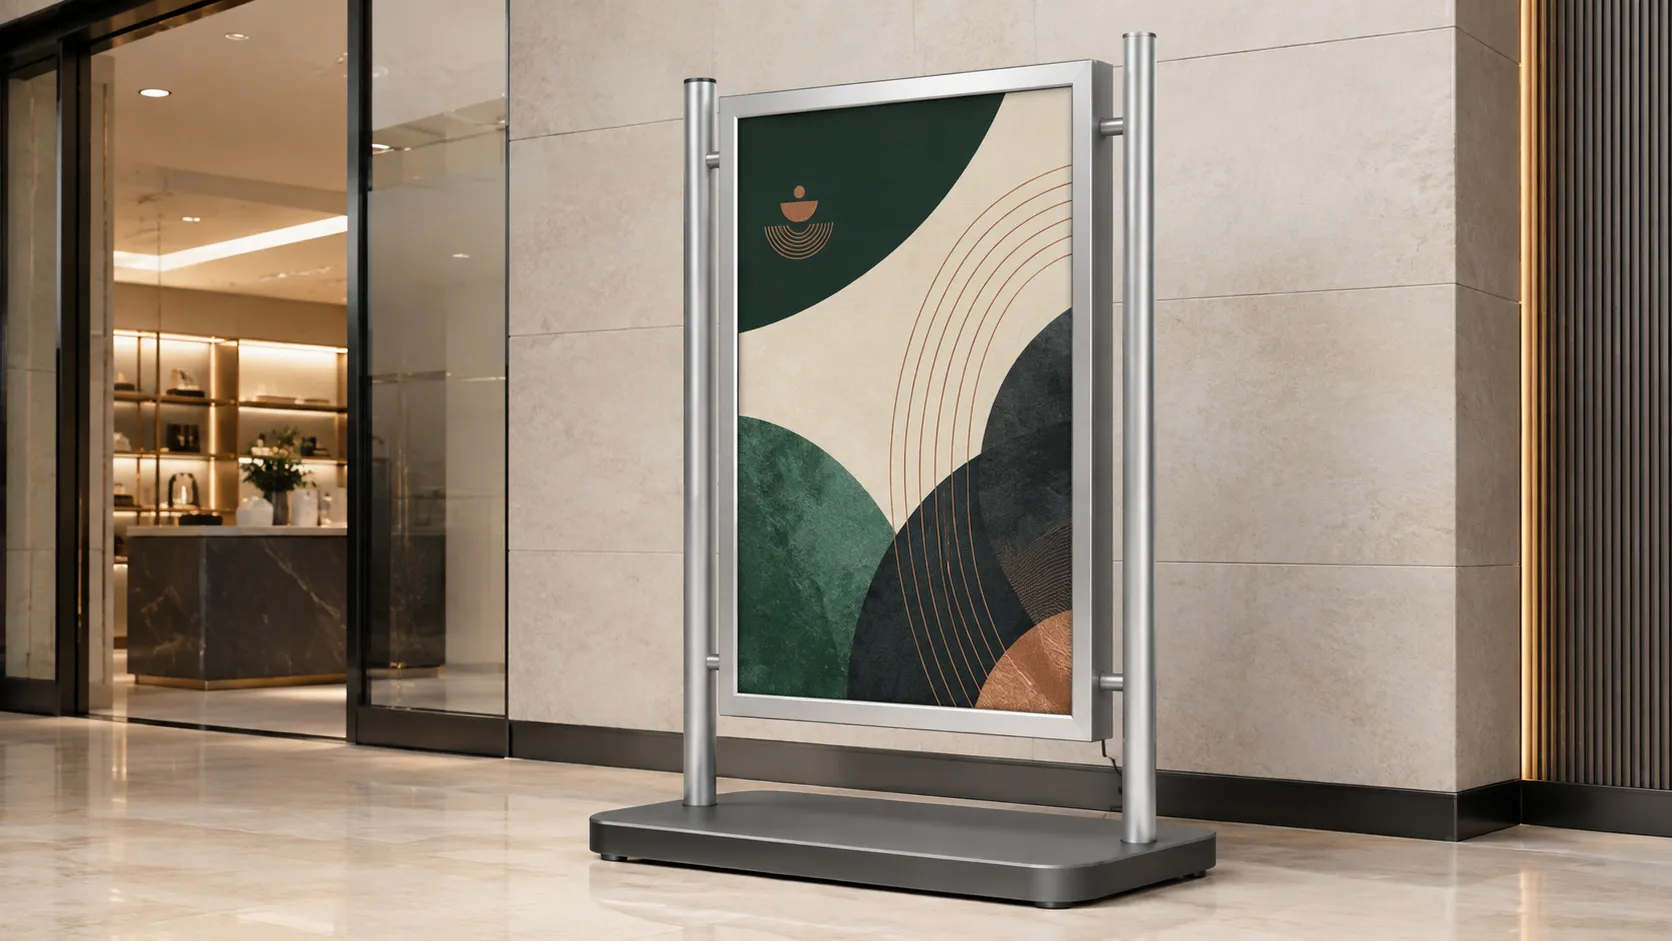
3.3 Freestanding
Mounted on a floor-standing base or support structure without permanent wall installation.
Can be positioned near store entrances, reception areas, exhibition booths and promotional zones.
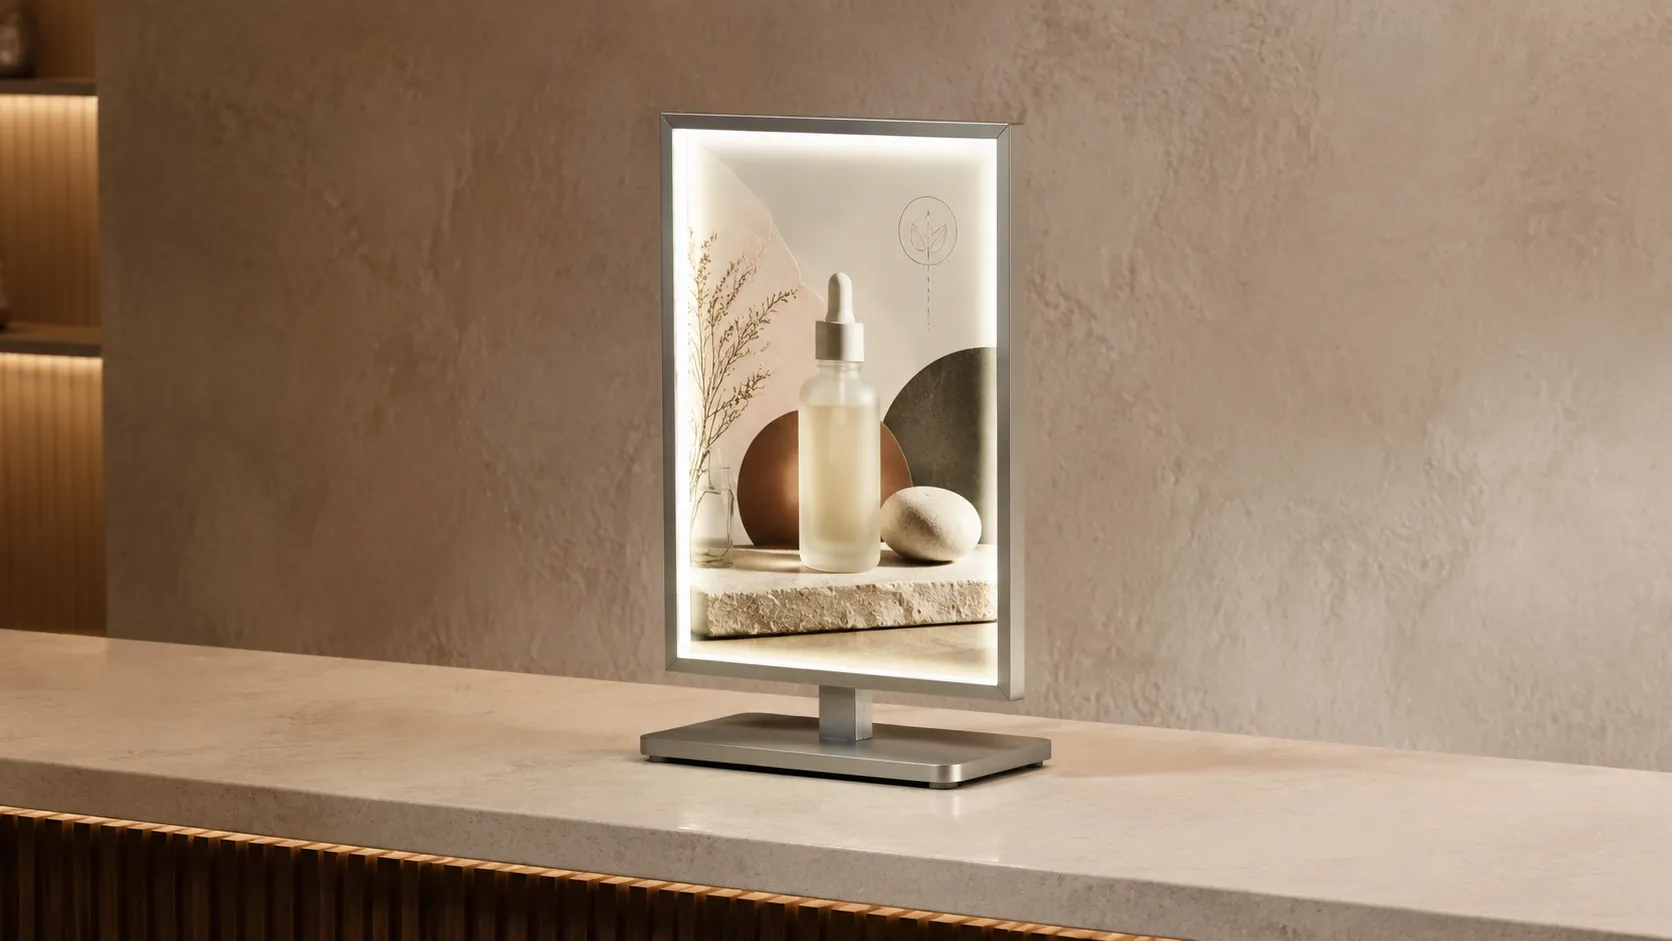
3.4 Countertop
A compact illuminated frame equipped with a tabletop or counter base.
Designed for reception desks, restaurant counters, product displays, price lists and temporary promotions.
4. Classification by Visible Sides
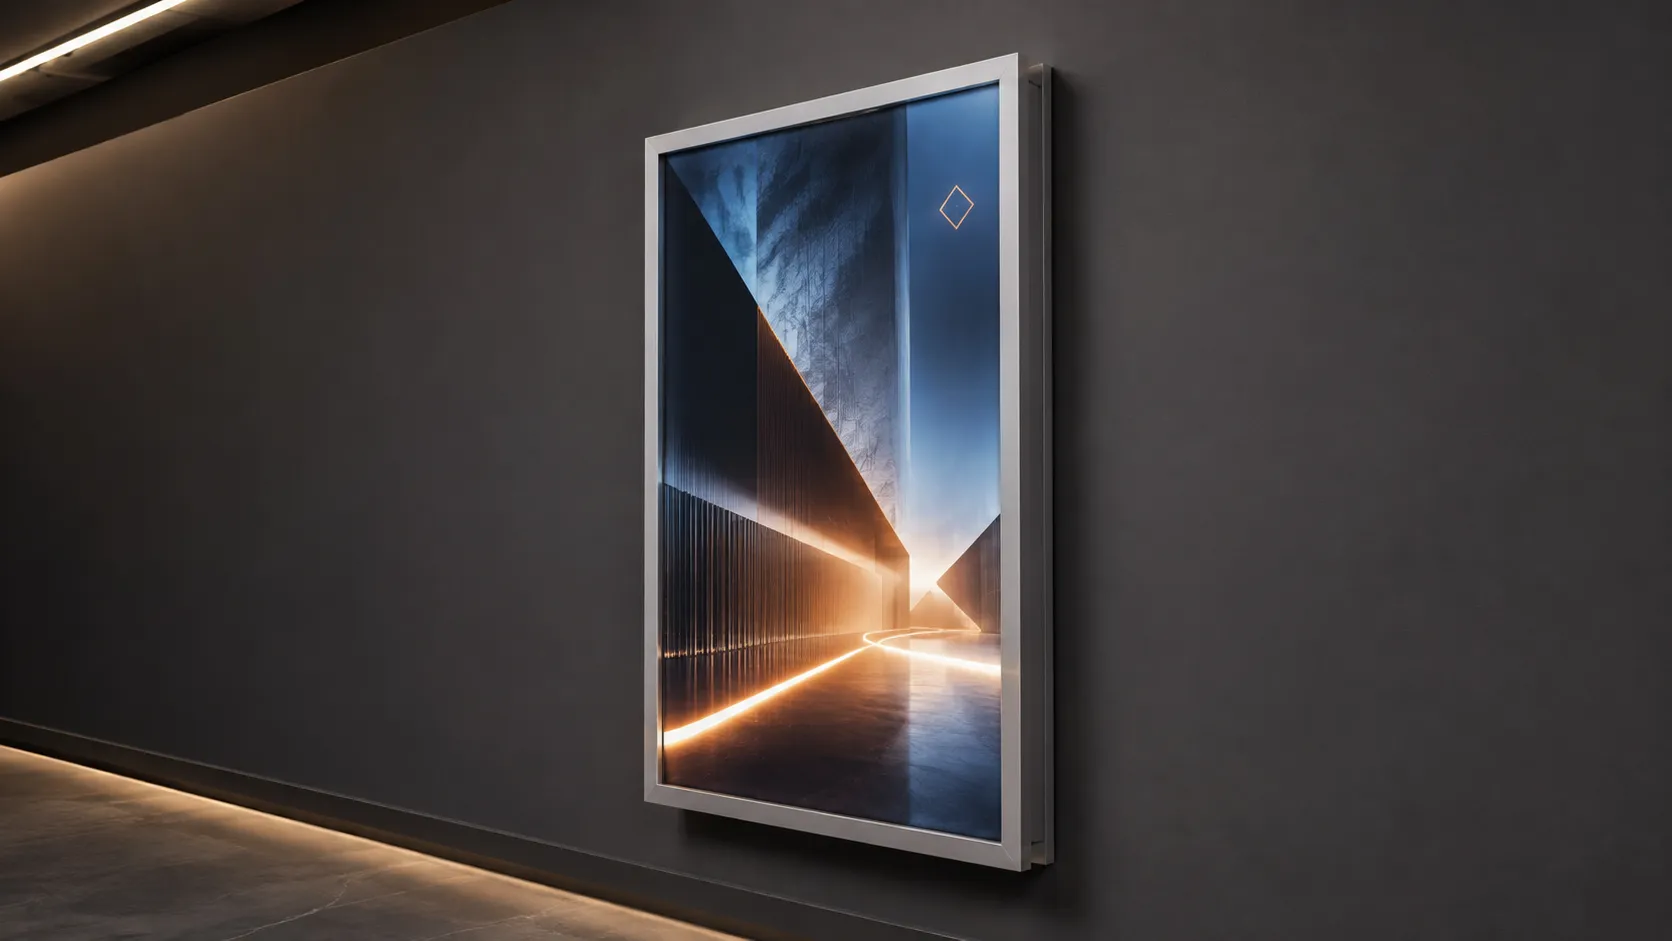
4.1 Single-Sided
One illuminated graphic face with the rear panel used for mounting, wiring or structural support.
It is the standard configuration for wall-mounted poster frames and menu light boxes.
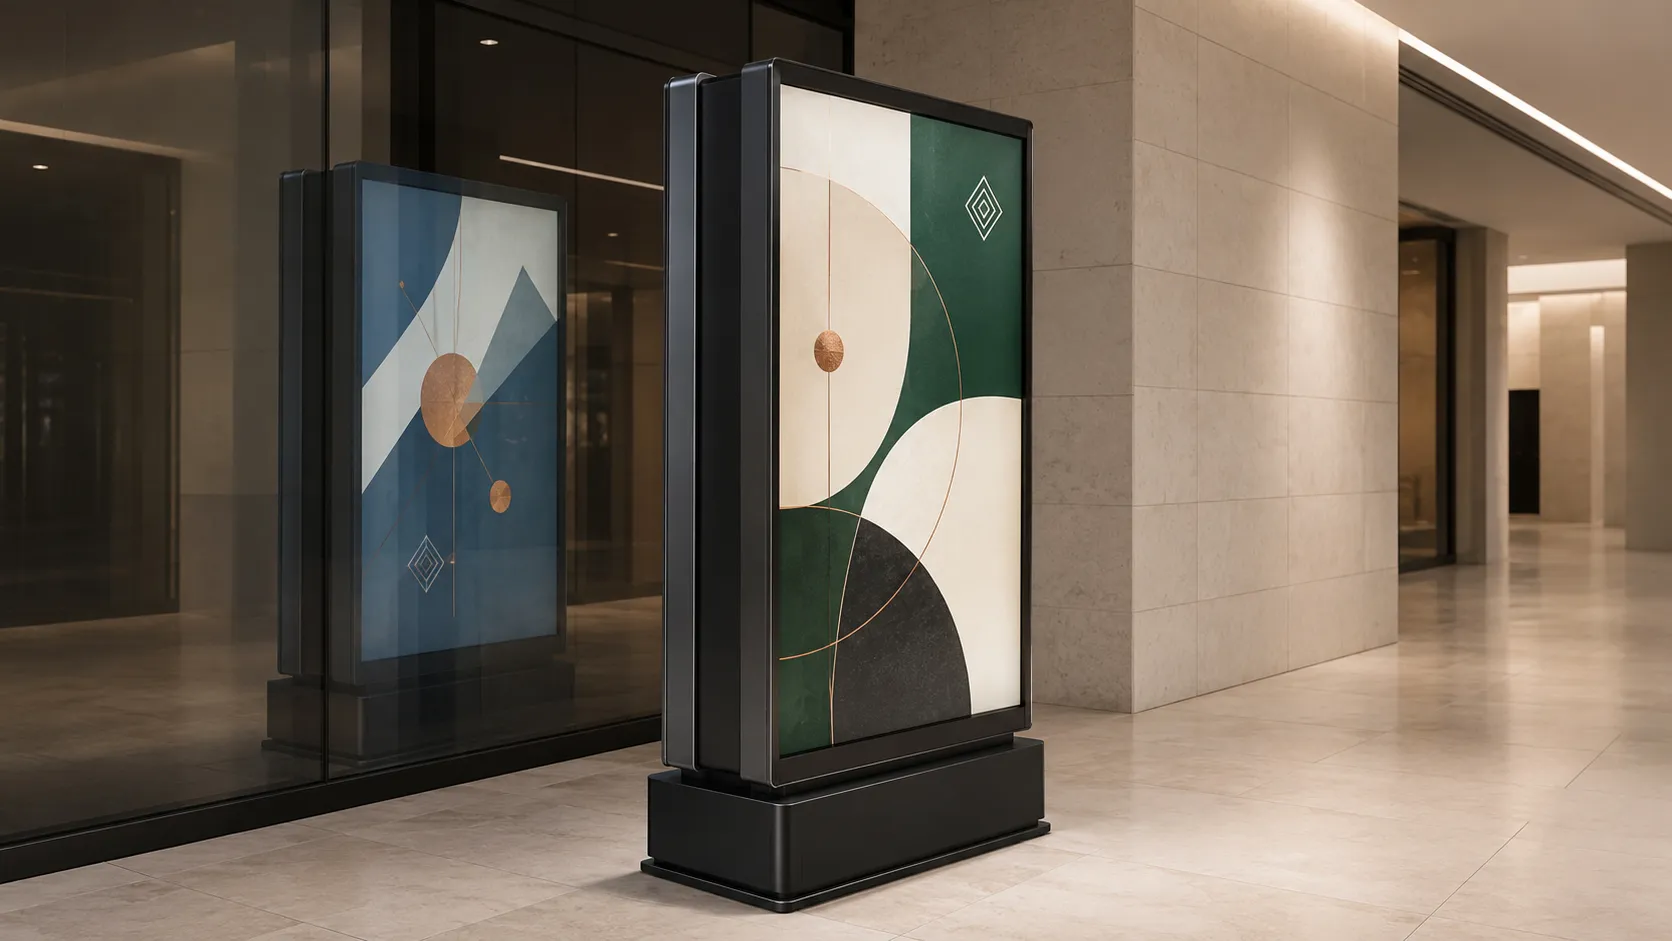
4.2 Double-Sided
Displays illuminated graphics on both sides to increase visibility from opposite directions.
It is commonly used for ceiling suspension, shop-window displays, shopping-mall aisles and freestanding advertising units.
5. Classification by Application Environment
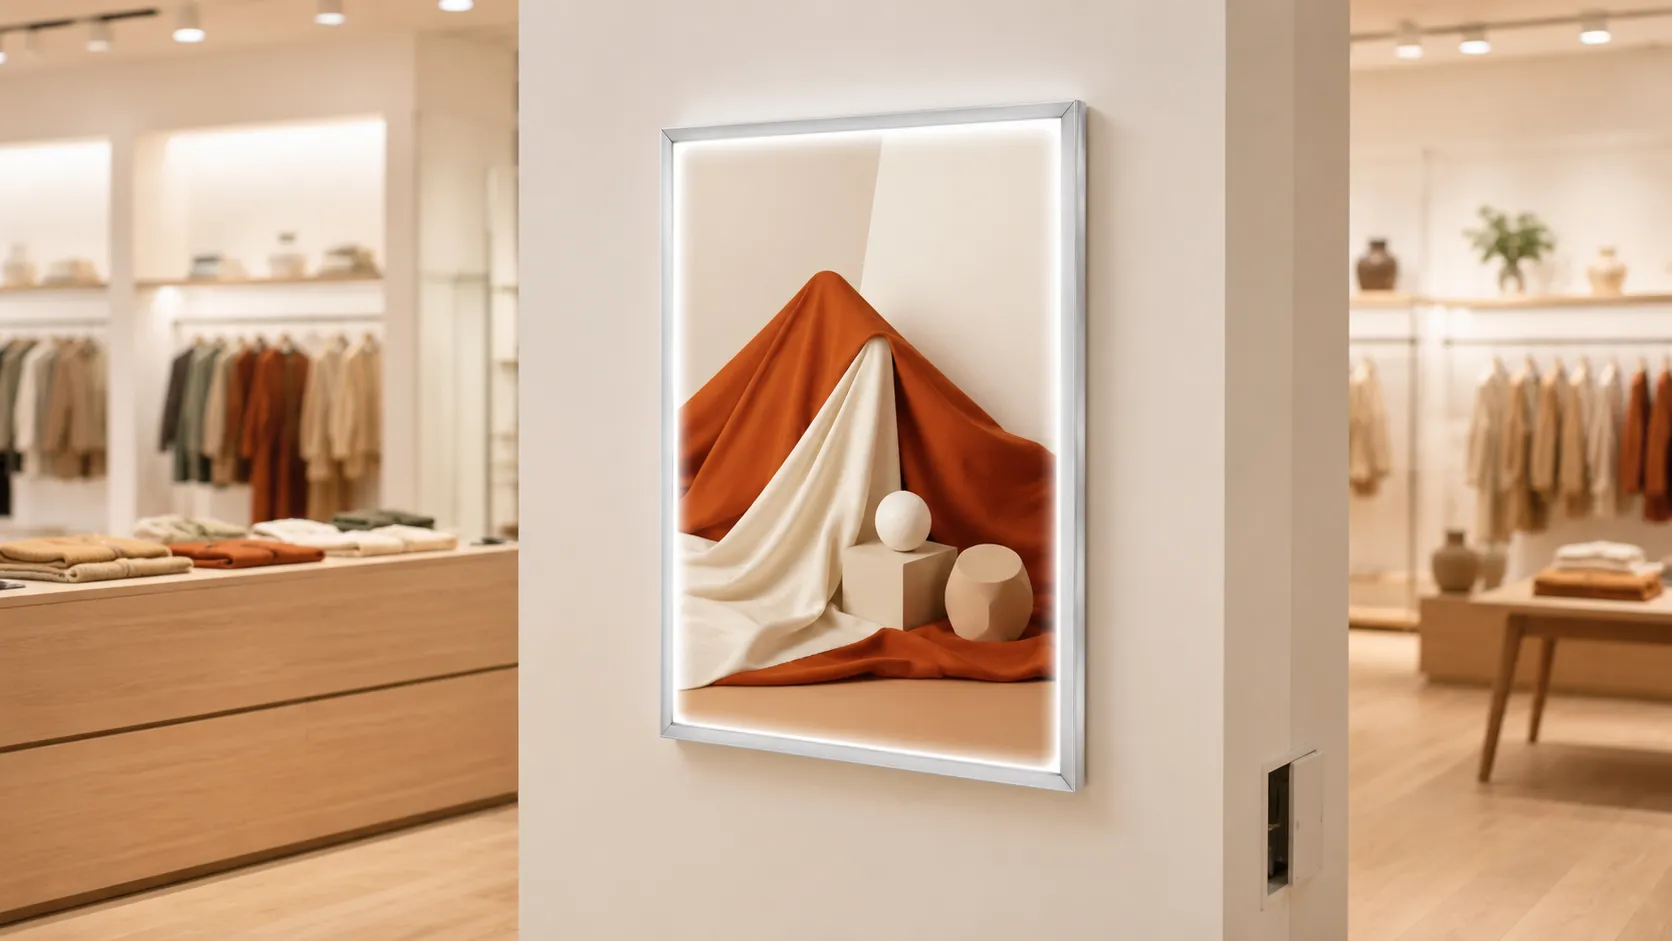
5.1 Indoor
Designed for controlled indoor environments and generally powered by a 12V or 24V DC LED system connected to an external power adapter.
Standard indoor models should not be exposed to rain, condensation or excessive humidity unless an appropriate IP rating is specified.
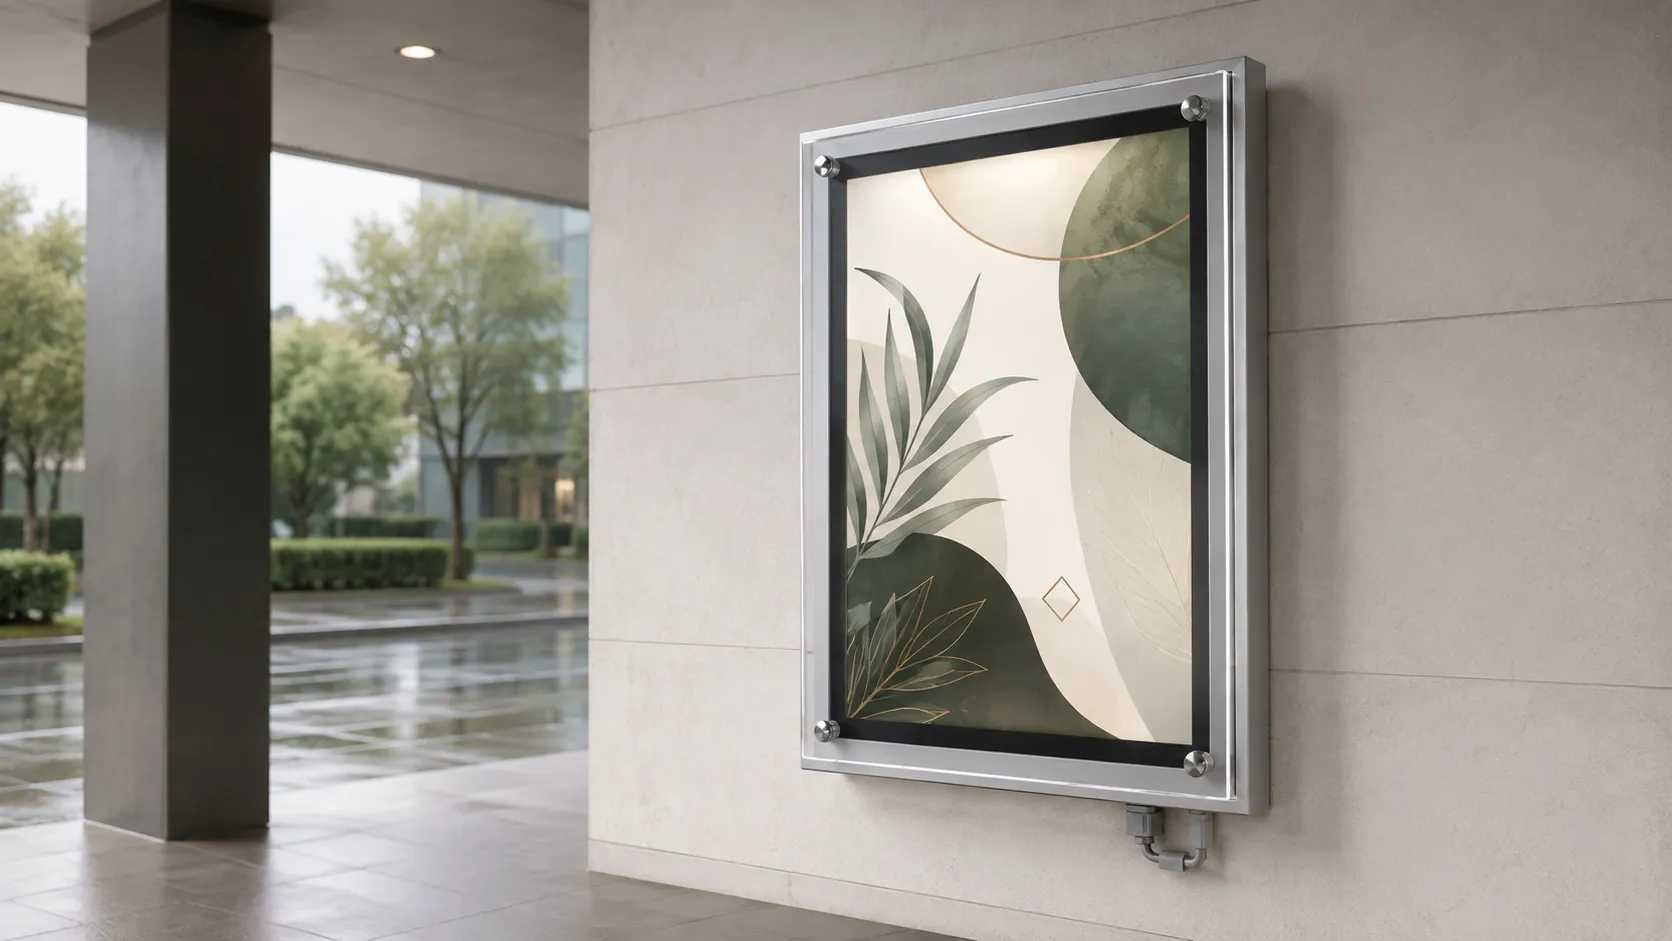
5.2 Sheltered / Semi-Outdoor
Designed for covered entrances, sheltered walkways and semi-outdoor commercial areas.
Depending on the tested construction, these frames may include an IP44 or IP54 enclosure, sealed cable entry and moisture-resistant electrical components.
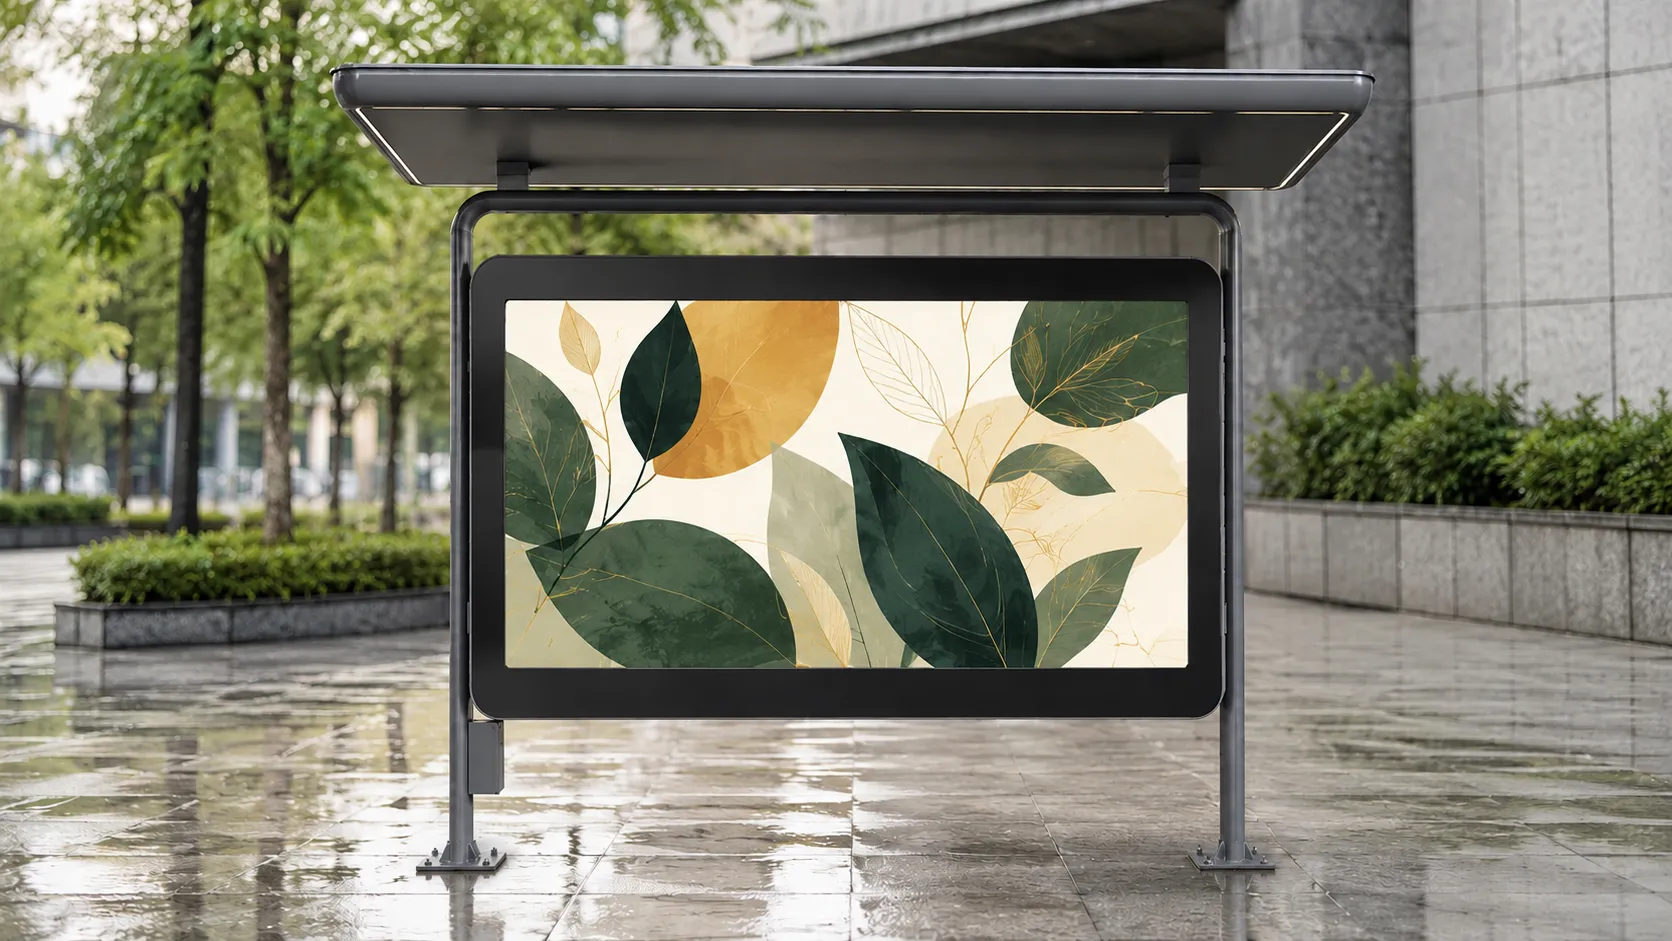
5.3 Outdoor Waterproof
Uses a sealed enclosure, gaskets, protected cable entries and weather-resistant front cover. IP65 models are dust-tight and protected against water jets.
Outdoor projects should separately specify UV resistance, corrosion-resistant finishes, drainage design, operating temperature and wind-load requirements. An actual IP65 poster-frame product may use 24V DC power, a PMMA light guide plate, sealing gaskets and a polycarbonate cover.
6. Classification by Frame Material
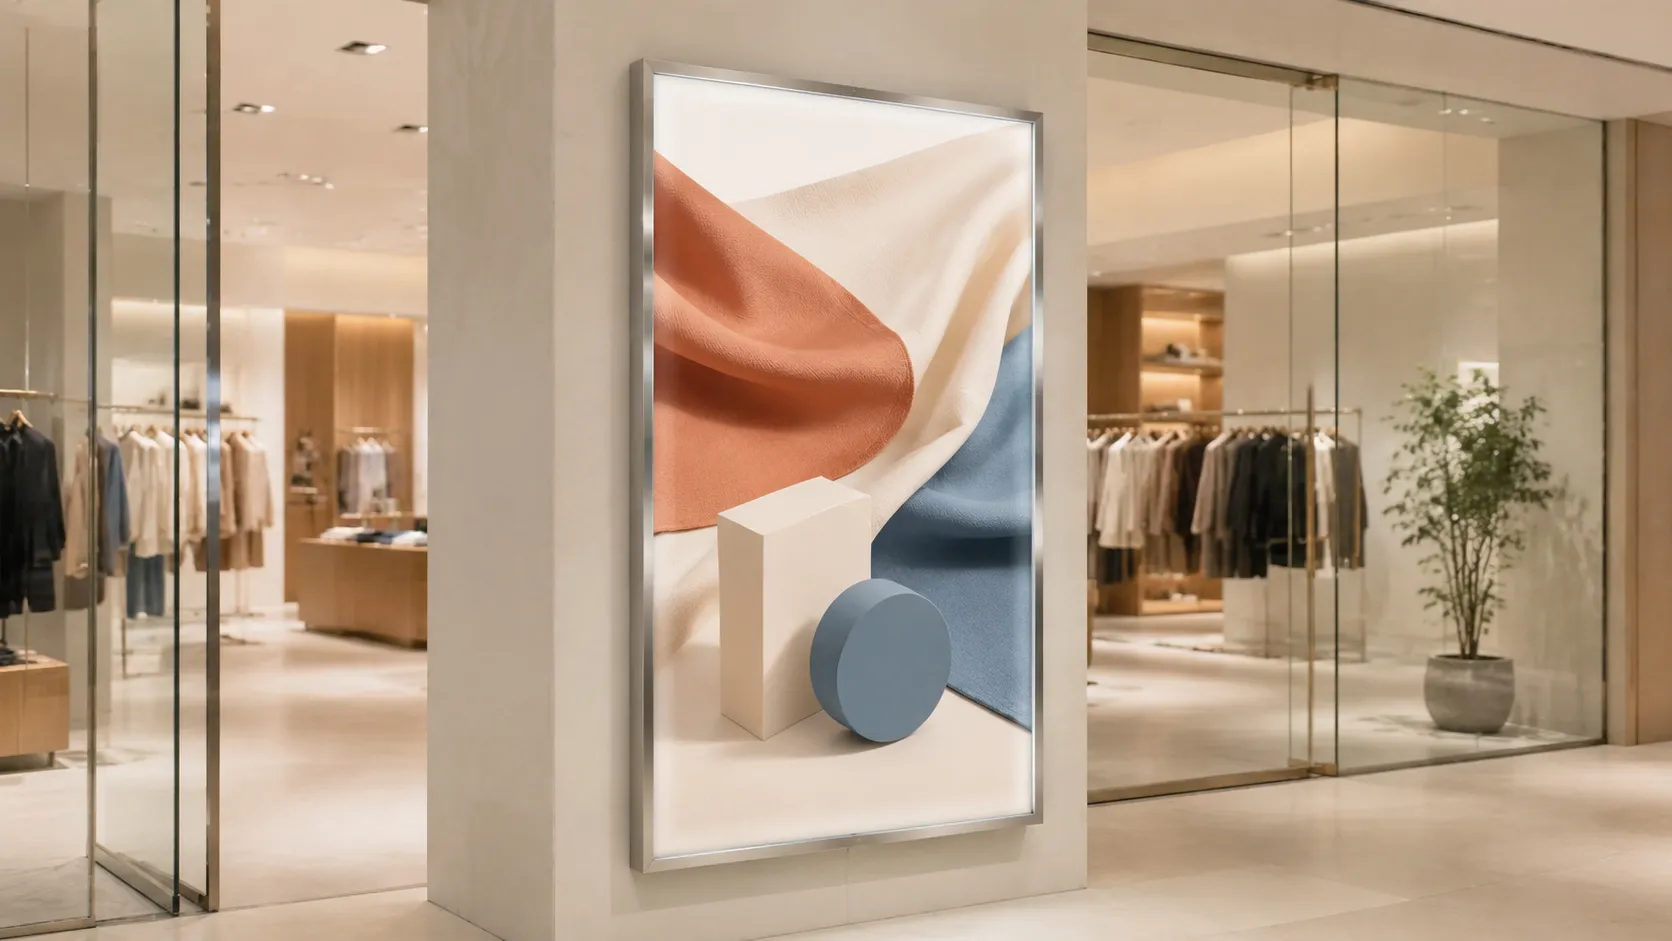
6.1 Aluminum-Alloy
Aluminum alloy is the mainstream material for slim LED poster frames because it combines reduced weight, corrosion resistance and straightforward fabrication.
Available finishes include anodized silver, black powder coating and customized colors. Suitable for wall-mounted, suspended and freestanding commercial displays.
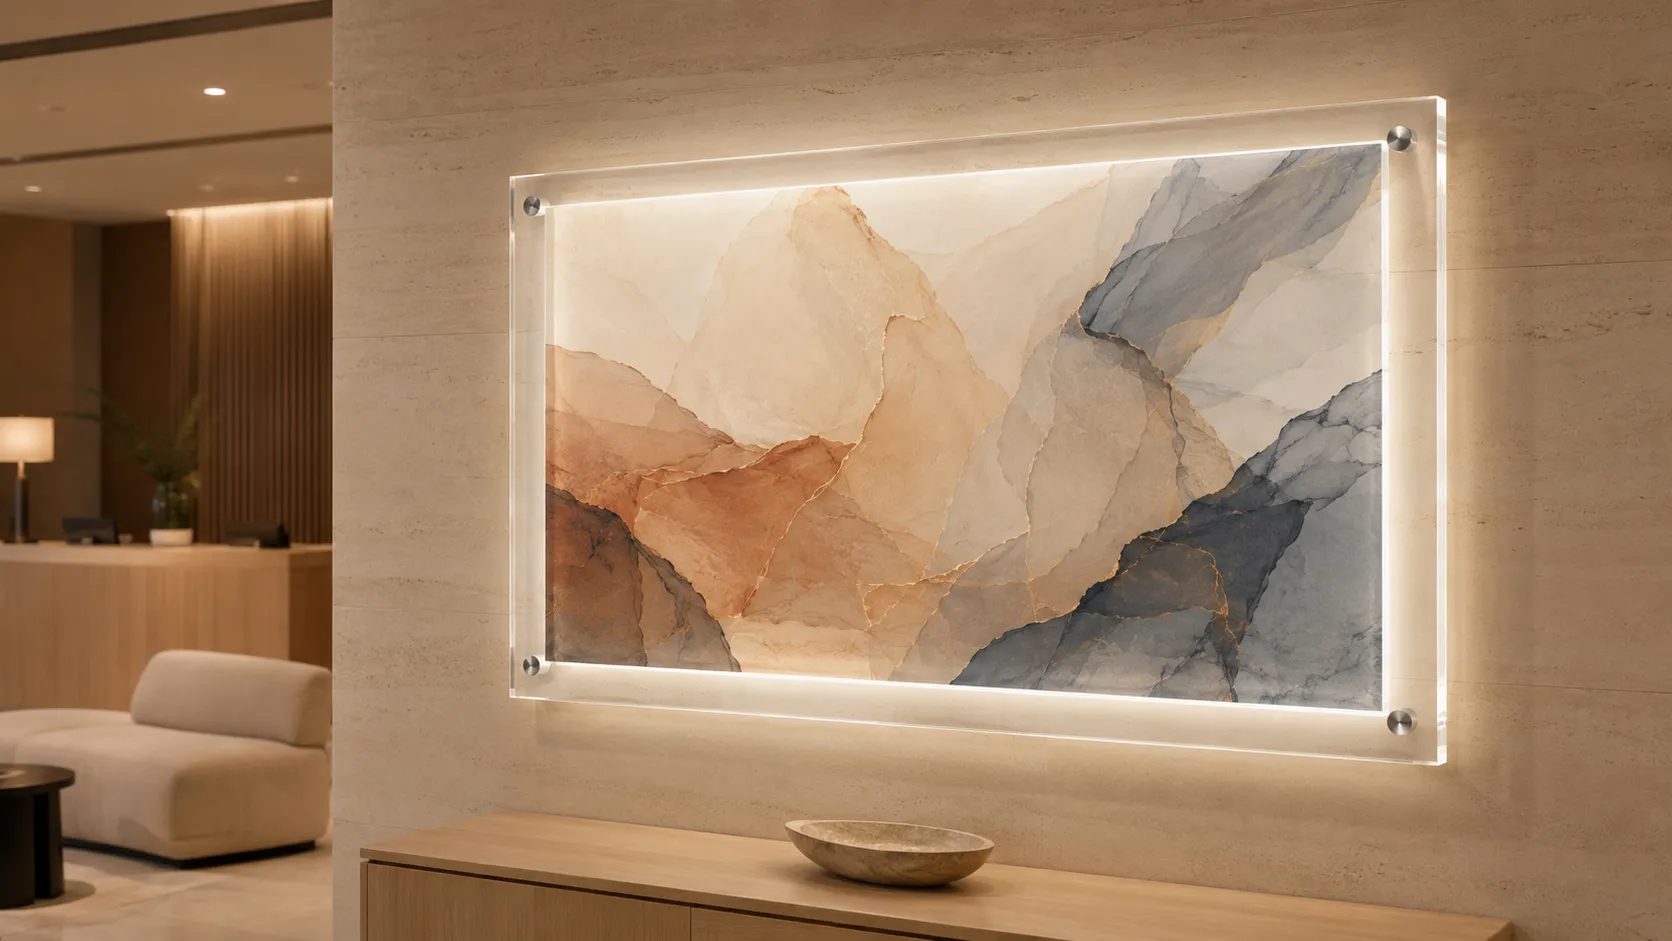
6.2 Acrylic Crystal
Uses a clear or polished acrylic border to create a frameless or crystal-edge appearance.
It is mainly selected for indoor wall-mounted displays in hotels, beauty salons, boutiques, galleries and corporate reception areas.
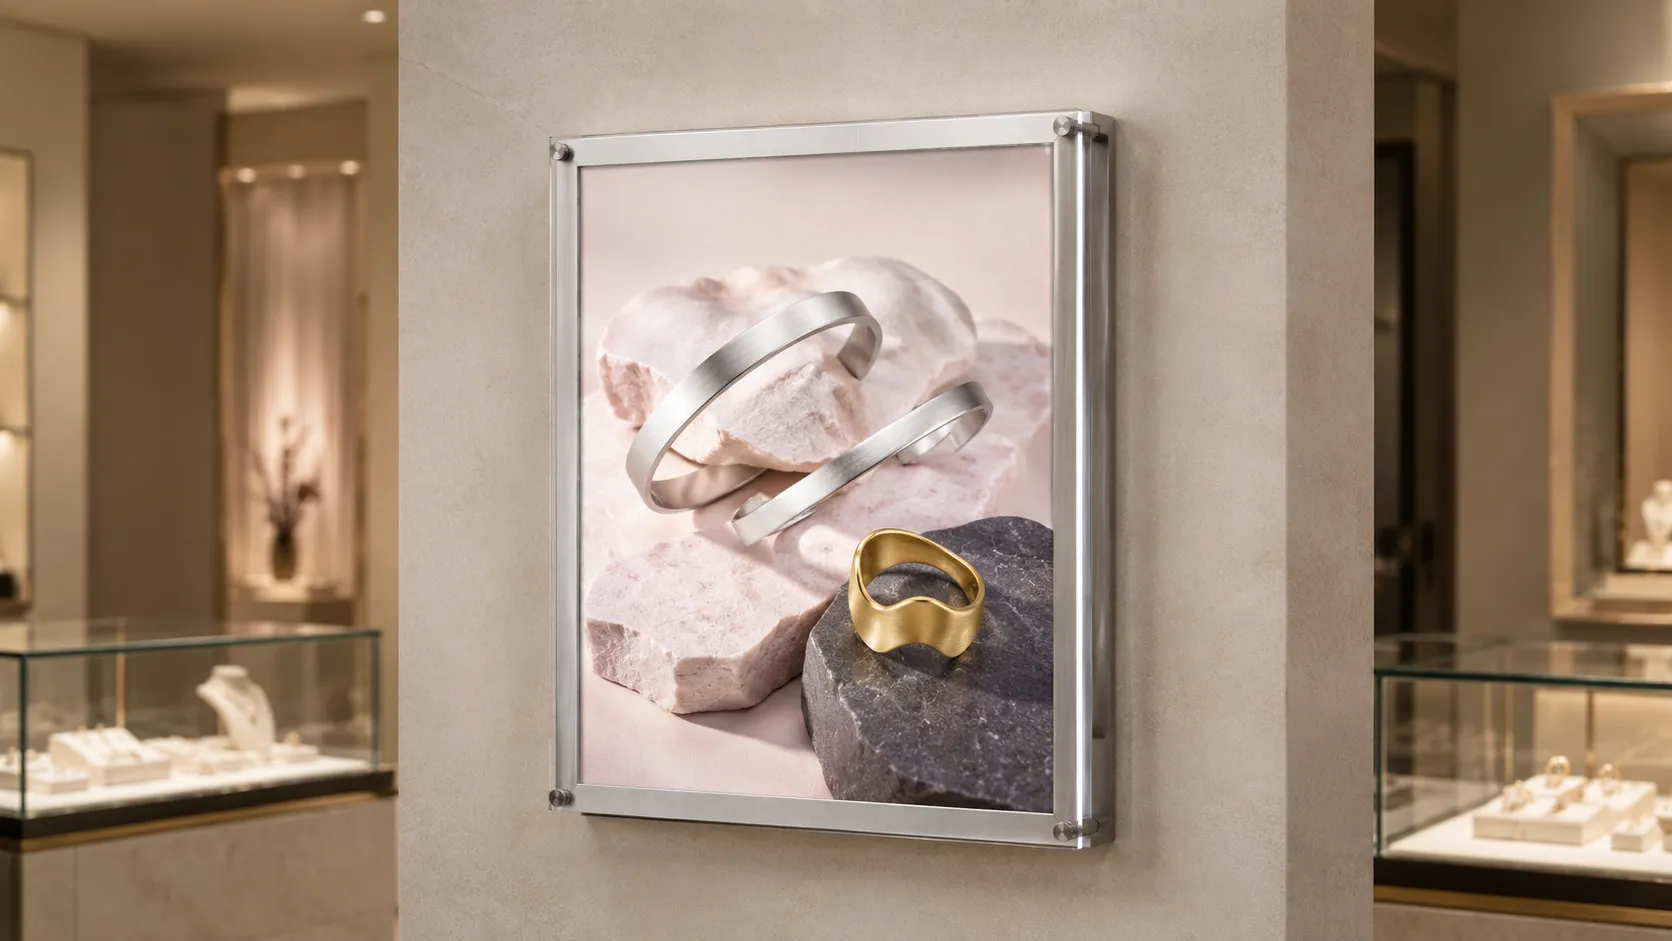
6.3 Stainless-Steel
Uses stainless-steel profiles or fabricated covers where additional structural strength, surface durability or corrosion resistance is required.
Grade 304 is suitable for most commercial applications, while Grade 316 can be considered for coastal or high-humidity environments. Impact resistance still depends on the front lens and complete enclosure structure.
7. Classification by Functional Features
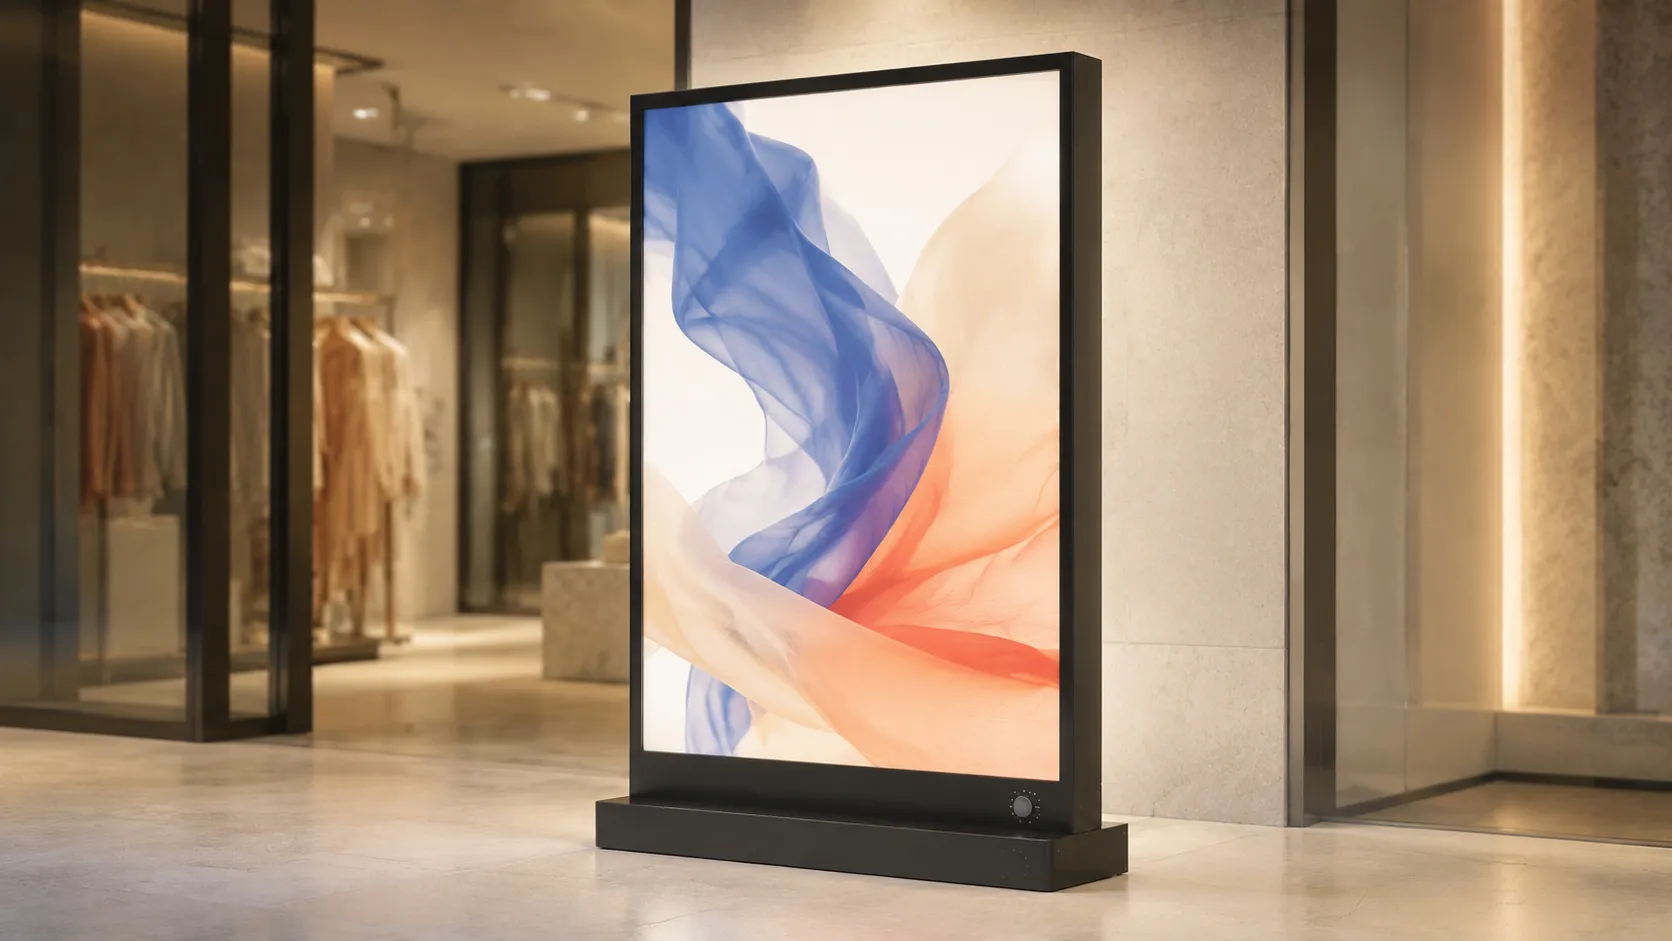
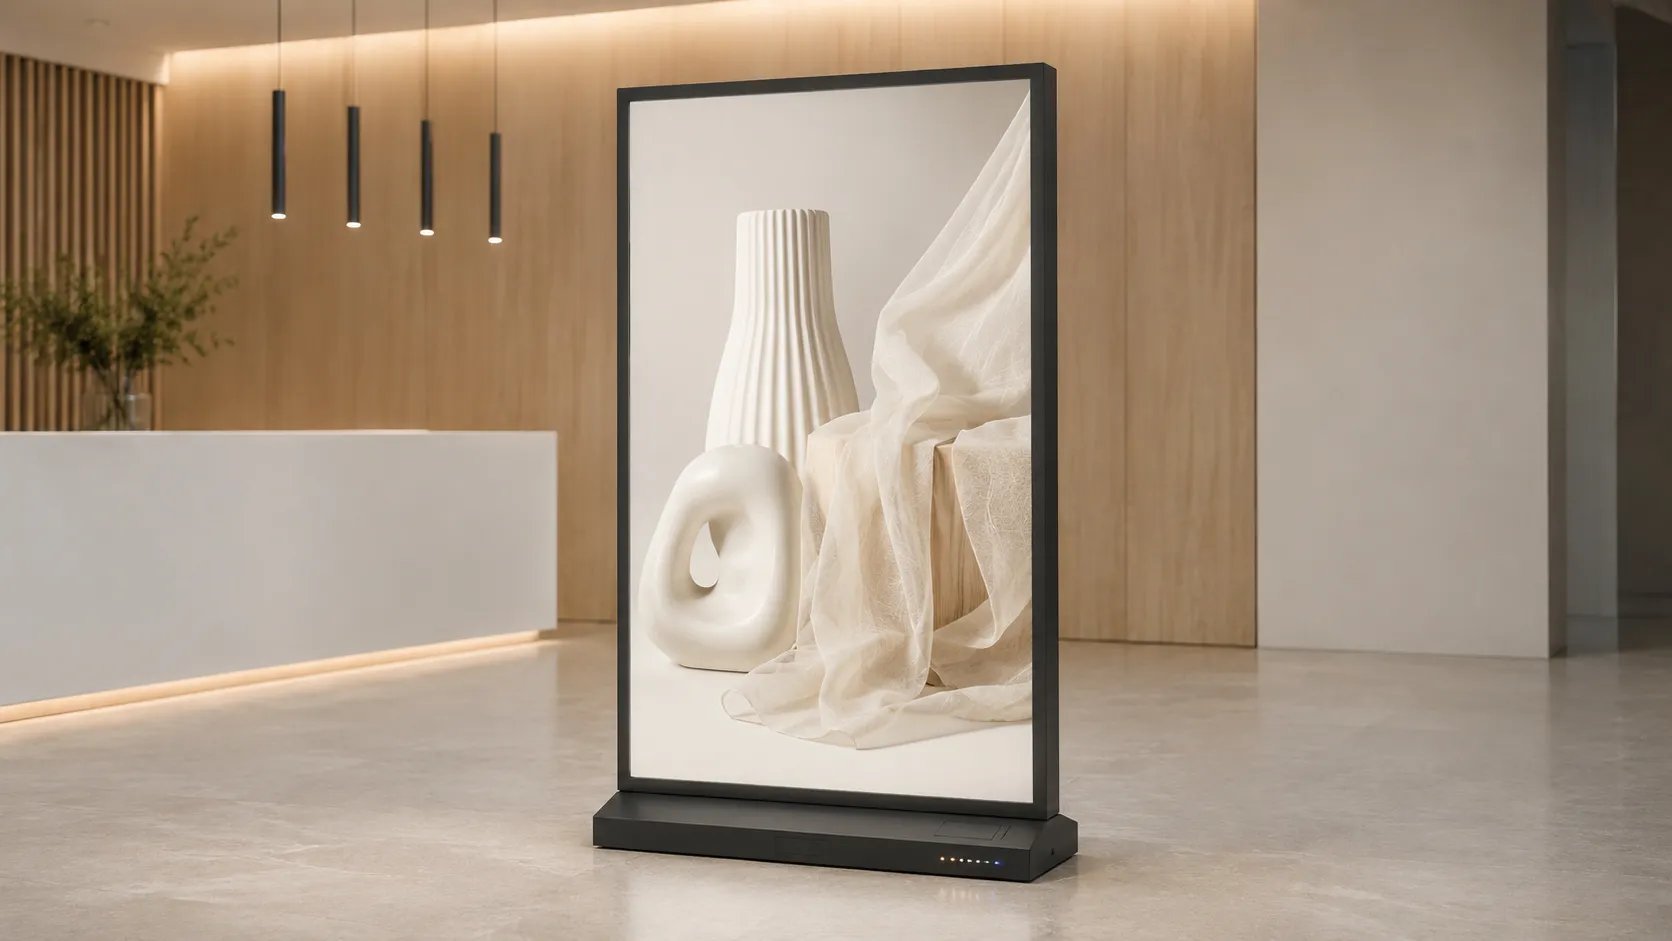
7.1 Dimmable
Equipped with a compatible dimmable driver or controller, allowing the brightness to be adjusted according to ambient lighting and display requirements.
The driver, dimmer and LED system must use compatible voltage and control specifications.
7.2 Tunable-White
Supports adjustable color temperature, such as warm white, neutral white and cool white.
It is suitable for projects where the display lighting must coordinate with different interior environments or brand presentation requirements.
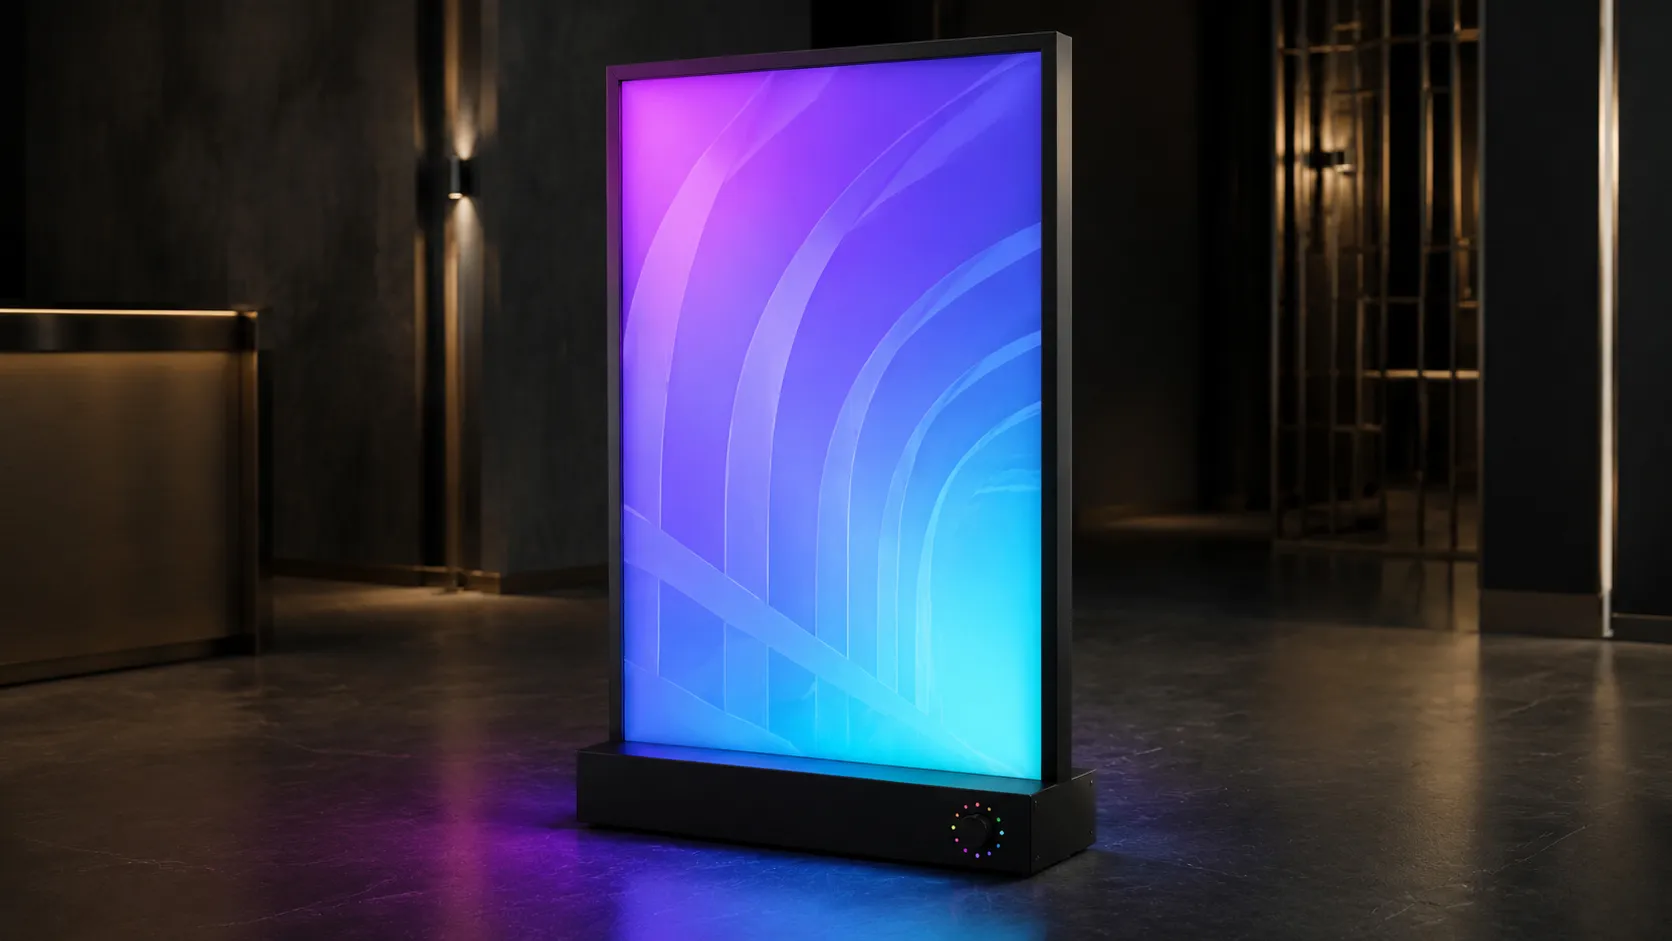
7.3 RGB Color-Changing
Uses RGB LEDs and a compatible controller to provide color-changing, gradient or programmed effects.
This option is mainly intended for decorative displays, bars, events and entertainment spaces. It is not recommended for projects requiring accurate reproduction of printed brand colors.
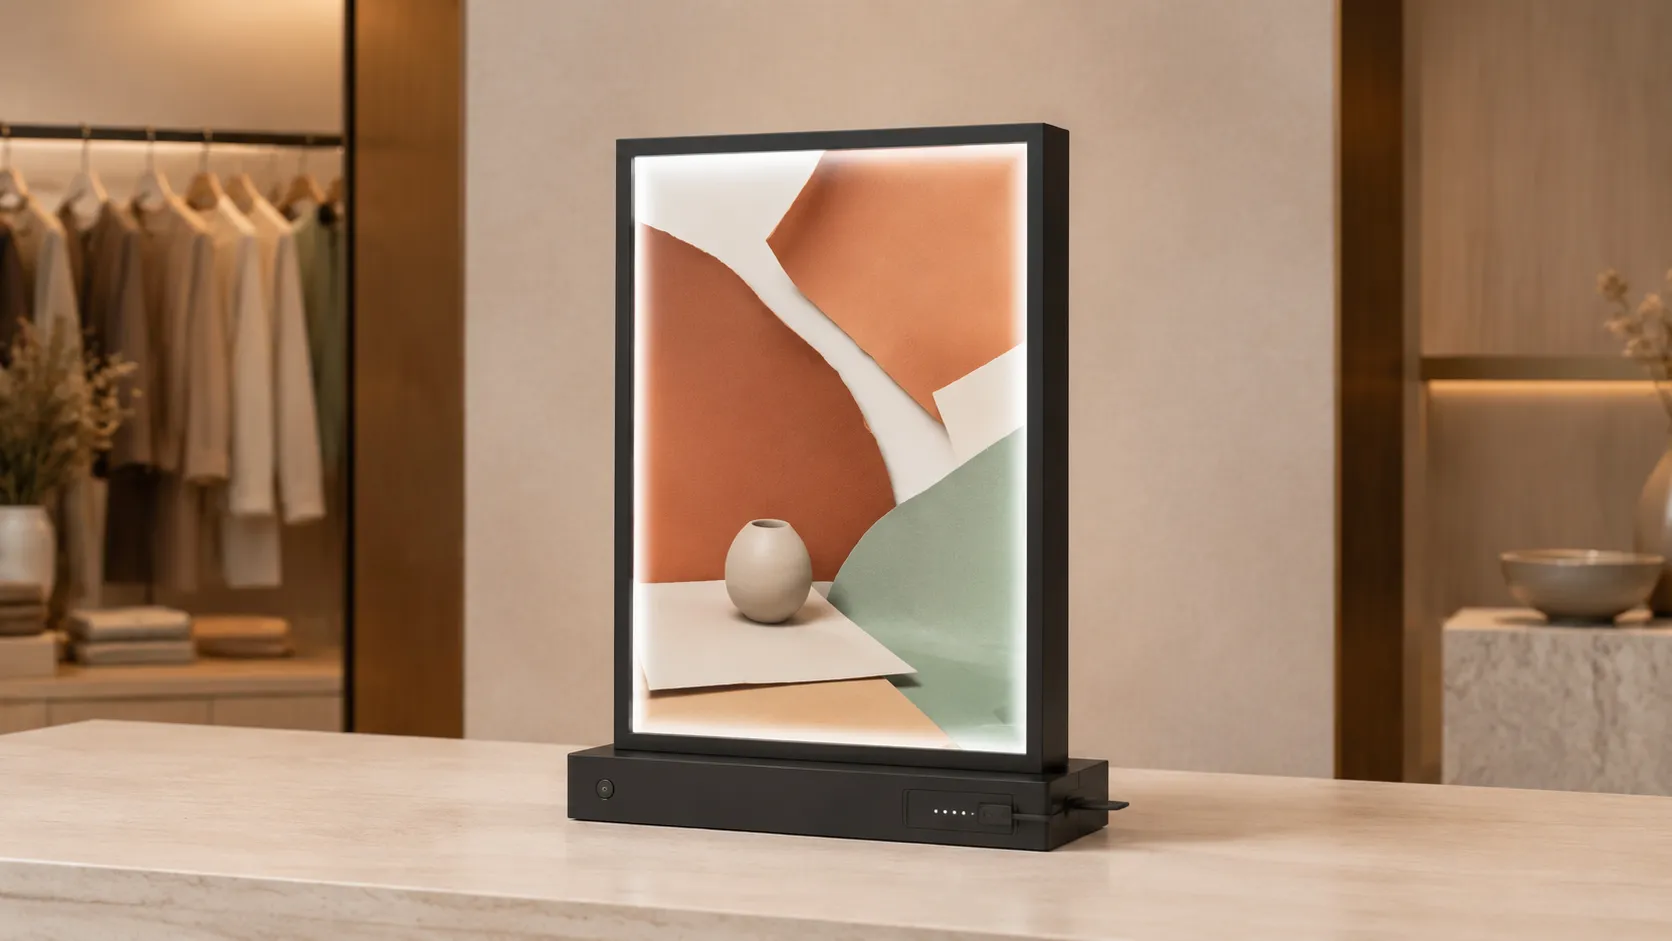
7.4 Rechargeable Battery
Includes a rechargeable battery for temporary cordless operation.
It is suitable for countertop units, pop-up stores, temporary exhibitions and movable displays. Operating time depends on battery capacity, frame size, LED power and brightness setting.
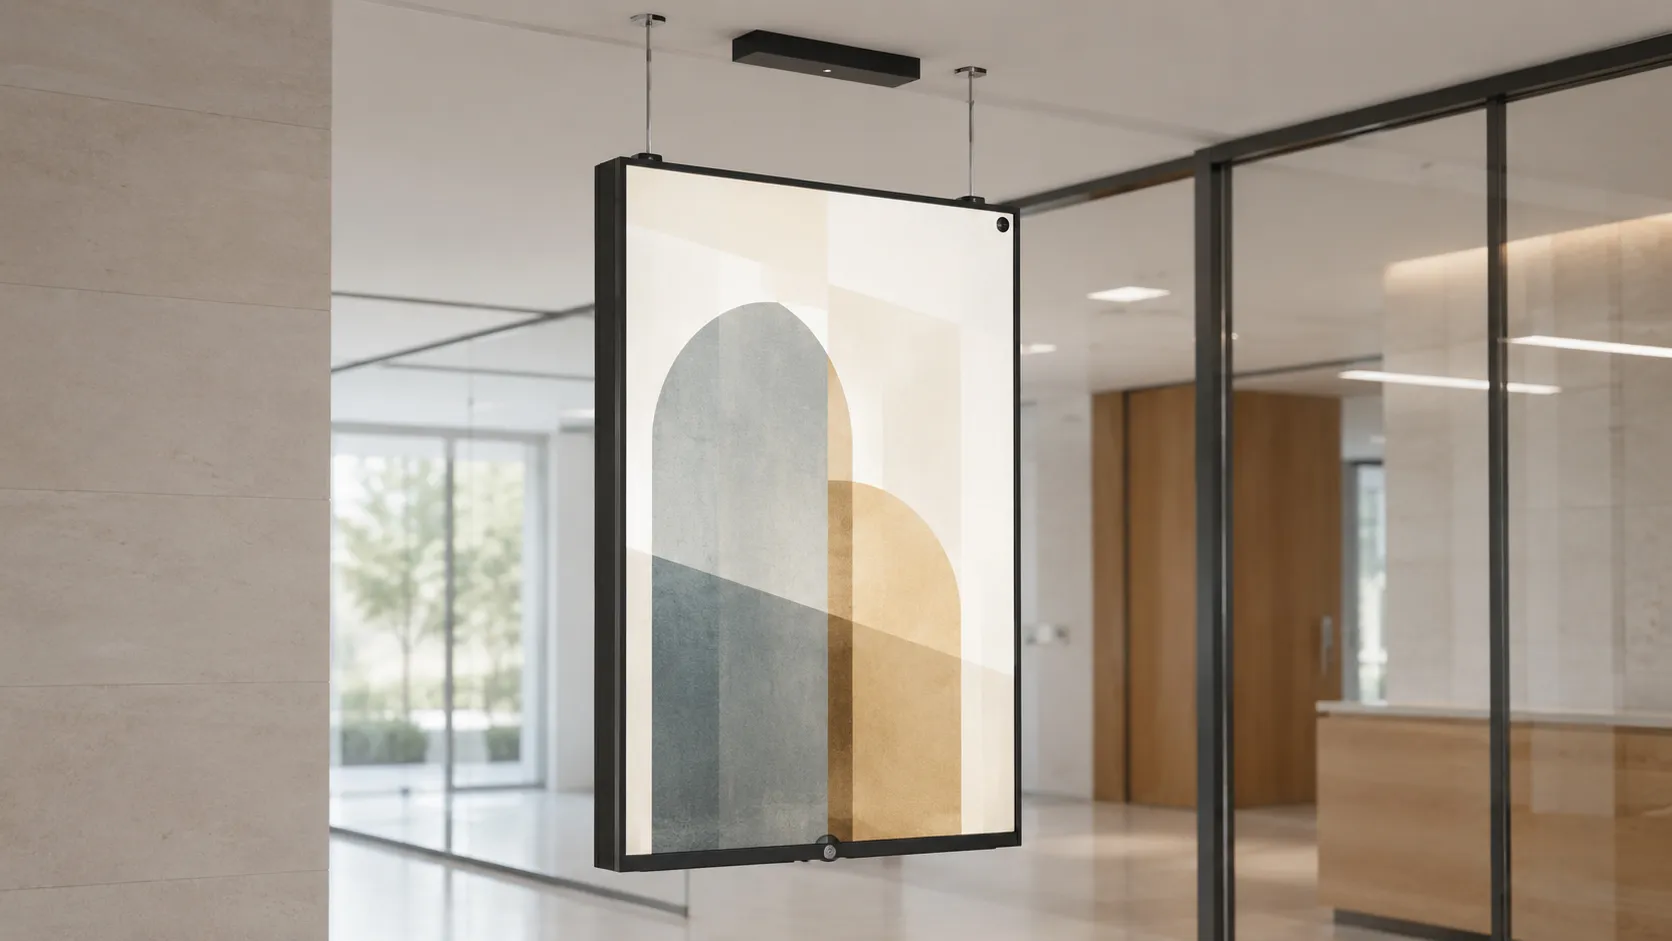
7.5 Timer / Sensor-Controlled
Can be integrated with a timer, motion sensor, daylight sensor or external control system.
This configuration helps automate operating hours in retail stores, office buildings and public display areas.
8. Standard Size Series
A-Series & Metric Sizes
A-Series Poster Sizes
- A0, A1, A2, A3 and A4
Common Metric Sizes
- 40 × 60 cm
- 50 × 70 cm
- 60 × 90 cm
- 70 × 100 cm
- 80 × 120 cm
Imperial & Cinema Sizes
Common Imperial Poster Sizes
- 11 × 17 inches
- 18 × 24 inches
- 22 × 28 inches
- 24 × 36 inches
Cinema Poster Size
- 27 × 40 inches — common modern U.S. one-sheet movie poster size
Custom Sizes
Custom dimensions can be manufactured according to the graphic size, installation space and project requirements.
Note: Buyers should confirm whether the specified measurement refers to the graphic size, visible area, frame opening size or overall frame size before production.
How an Ultra-Slim LED Poster Light Box Is Built
A Backlit LED Poster Frame is an ultra-slim edge-lit LED light box. LEDs are positioned on one or multiple sides of the frame. The PMMA light guide panel distributes this edge lighting evenly across the poster area. An optical diffuser reduces visible hotspots, while a reflective layer redirects light forward. The backlit film sits safely behind a protective panel, easily accessible via a snap or magnetic structure.
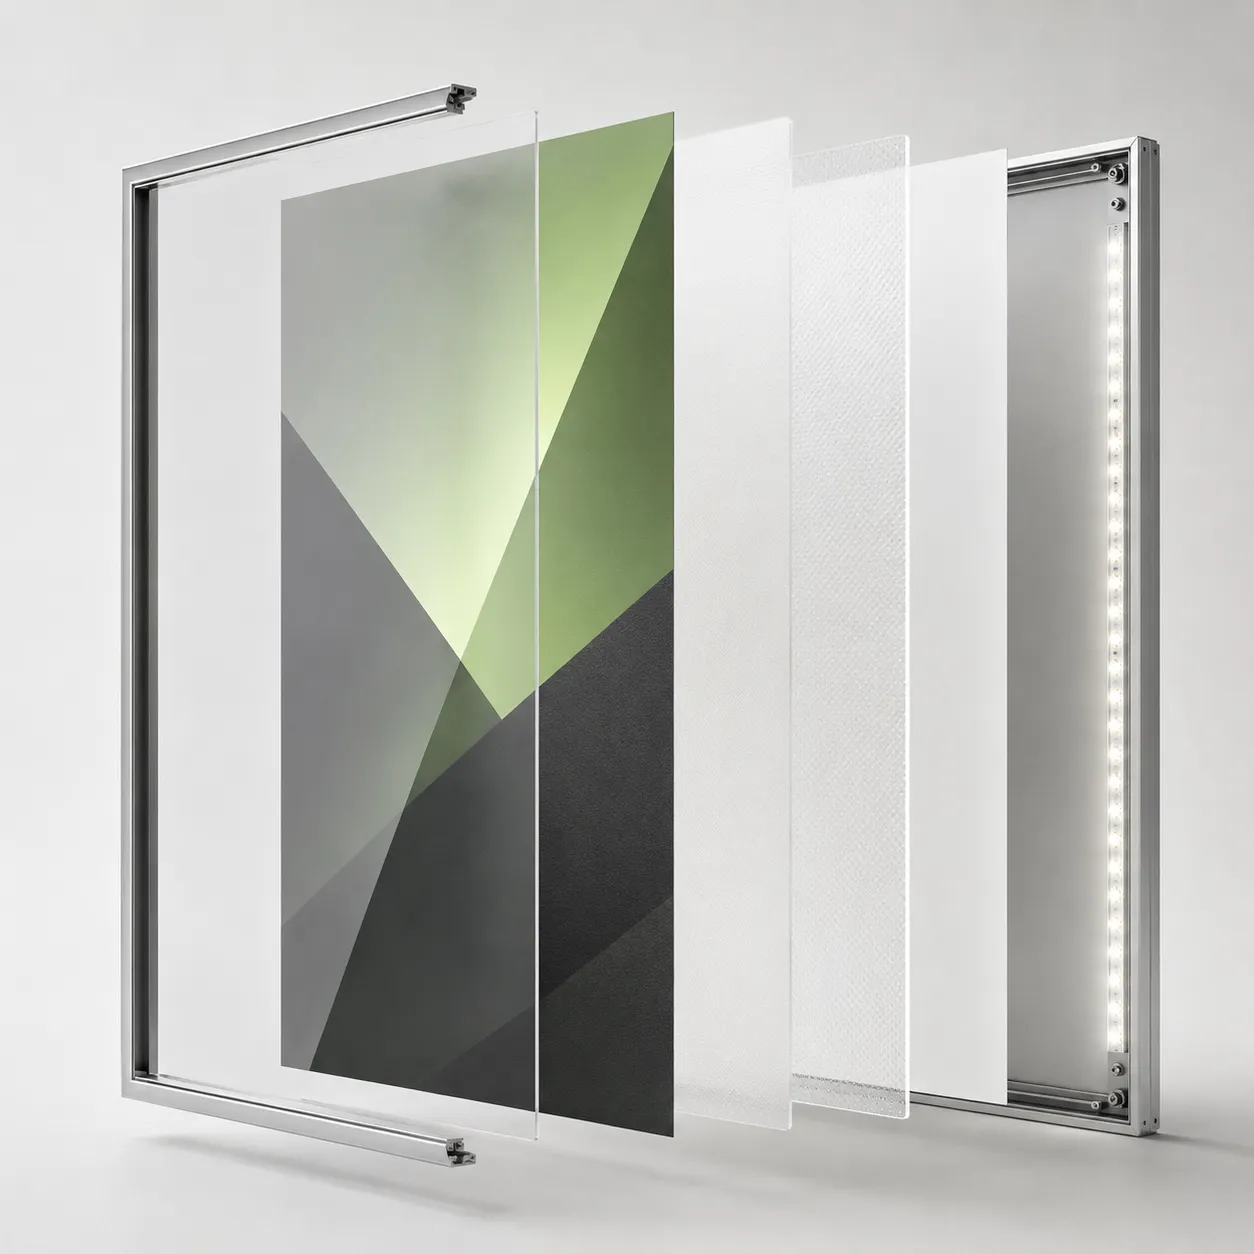
Protective cover
Clear acrylic or polycarbonate panel protecting the graphic from dust and scratches.
Backlit graphic
Translucent PET or backlit film printed for transmitted light.
Optical diffuser
Reduces visible hotspots and bright edges from the edge-mounted LEDs.
PMMA light guide panel
Laser-patterned or optically patterned acrylic that guides edge light to the poster surface.
Edge-mounted LED strip
12V or 24V DC lighting system integrated into the frame perimeter.
Reflective layer & Back panel
Redirects light forward and provides structural rigidity to the low-profile frame.
Aluminum frame
Slim wall-mounted structure with snap-open or magnetic front access.
Common Backlit LED Poster Frame Problems and Solutions
Choosing a commercial backlit LED poster frame involves more than matching a standard poster size. Buyers need to consider lighting uniformity, graphic replacement, custom dimensions, weather protection, wall installation and electrical maintenance. The following issues should be resolved before drawings and production specifications are approved.
Uneven Lighting and LED Hotspots
Project Impact: Bright edges, dark centers and visible LED dots reduce graphic clarity and weaken the overall advertising effect.
Recommended Configuration: Match the LED spacing, light guide plate pattern, diffuser and frame depth. Test the assembled frame for dark areas and visible light points before shipment.
Difficult Poster Replacement
Project Impact: Changing a promotion may require tools, extra labor or removal of the complete frame from the wall.
Recommended Configuration: Use a snap-open, magnetic or front-loading structure that allows staff to replace graphics without dismounting the frame.
Custom Size and Visible-Area Mismatch
Project Impact: Incorrect frame dimensions can crop logos, prices or important text around the edge of the artwork.
Recommended Configuration: Confirm the graphic size, visible area, frame opening and overall dimensions separately on the production drawing.
Water Damage in Outdoor Locations
Project Impact: Water, dust and condensation may damage the poster, LED system, connectors or power supply.
Recommended Configuration: Use an outdoor-specific housing with sealed joints, gaskets and protected cable entries. Confirm the required installation environment and protection rating before ordering.
Complex Wall Mounting and Leveling
Project Impact: Incorrect hole positions can result in tilted frames, damaged walls and additional installation labor.
Recommended Configuration: Confirm the mounting-hole layout, wall substrate, cable outlet and installation orientation. Provide mounting drawings or a positioning template for site installation.
Insufficient Brightness or Excessive Glare
Project Impact: Graphics may appear dull in bright retail spaces, while reflections can make menus and promotional content difficult to read.
Recommended Configuration: Select the lighting output according to ambient light and viewing distance. Dimming control and an anti-glare cover can be specified where required.
Graphic Color Distortion
Project Impact: Brand colors may appear washed out, oversaturated or different from the approved artwork after illumination.
Recommended Configuration: Use graphics designed for backlighting and select a consistent LED color temperature. Test a printed sample when accurate brand-color reproduction is required.
Visible Wiring and Power Adapters
Project Impact: Hanging cables and exposed adapters reduce the finished appearance of retail stores, hotels and office interiors.
Recommended Configuration: Specify rear or side cable exits according to the power-source position. Concealed wiring channels or junction-box connections can be planned before production.
LED Flicker and Power-Supply Failure
Project Impact: Flickering affects poster visibility, while failed electrical components increase maintenance costs across multiple locations.
Recommended Configuration: Match the LED load, operating voltage and power-supply capacity. Confirm certification requirements and perform continuous illumination testing before shipment.
Shipping Damage to Frames and Panels
Project Impact: Slim aluminum profiles may bend, while acrylic covers and light guide panels can crack or scratch during international transport.
Recommended Configuration: Apply protective film, reinforce corners, separate loose accessories and select packaging according to the frame size, quantity and shipping method.
What Buyers Should Confirm Before Ordering
Ensure these technical specifications are finalized to avoid costly revisions during production.
Poster Dimensions
- ■ Exact poster or graphic size
- ■ Visible graphic area
- ■ Overall frame dimensions
- ■ Frame border width and depth
- ■ Portrait or landscape orientation
Access Structure
- ■ Snap-open frame
- ■ Magnetic front panel
- ■ Front-loading or side-loading structure
- ■ Single-sided or double-sided display
- ■ Expected poster-replacement frequency
Lighting Requirements
- ■ Edge-lit or direct-lit structure
- ■ Required brightness
- ■ LED color temperature
- ■ Dimming requirements
- ■ Backlit film or translucent graphic material
Installation Environment
- ■ Indoor, semi-outdoor or outdoor use
- ■ Required waterproof configuration
- ■ Wall-mounted, ceiling-hanging or freestanding
- ■ Wall substrate and mounting position
- ■ Rear or side cable exit
Electrical Configuration
- ■ Destination input voltage
- ■ LED operating voltage
- ■ Plug type
- ■ Internal or external power supply
- ■ Timer, dimmer or remote-control requirements
Packaging & Project
- ■ Individual or bulk packaging
- ■ Shipping method
- ■ Replacement parts and OEM branding
- ■ Multi-location specifications
- ■ Quantity required for each size and finish
Actual Product Cases & Support
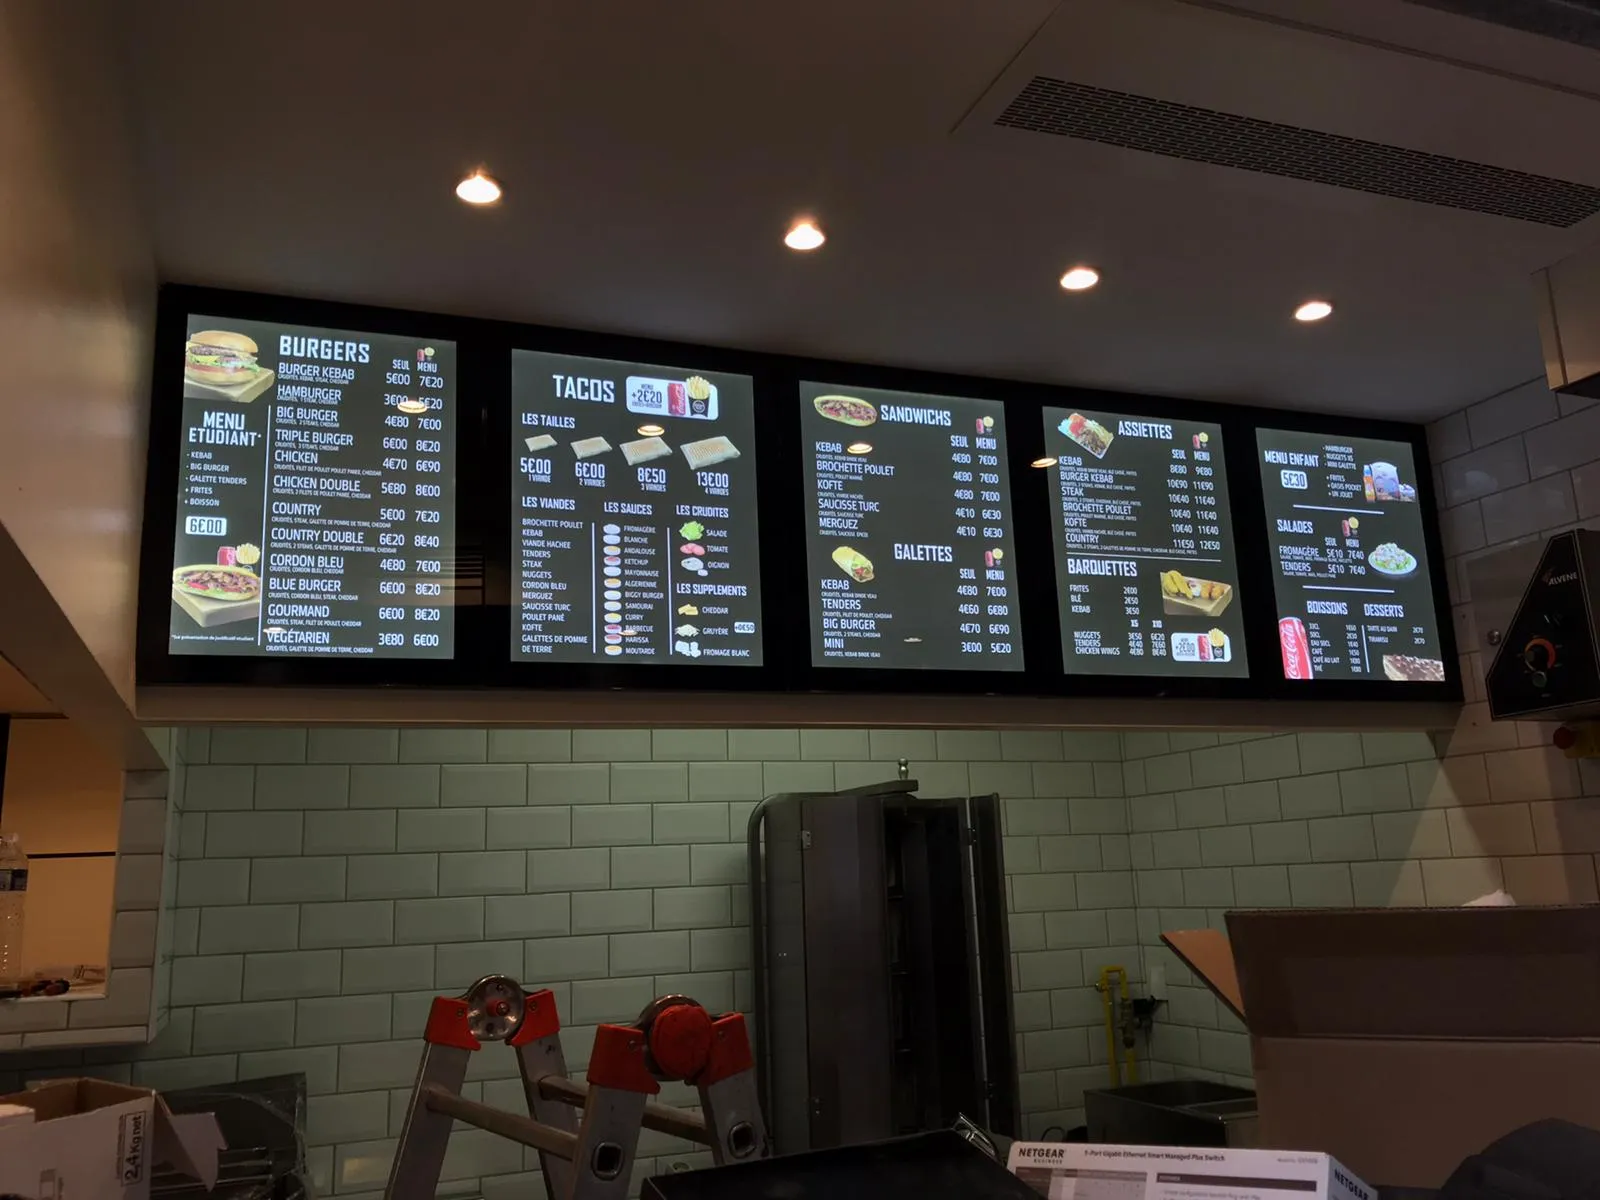
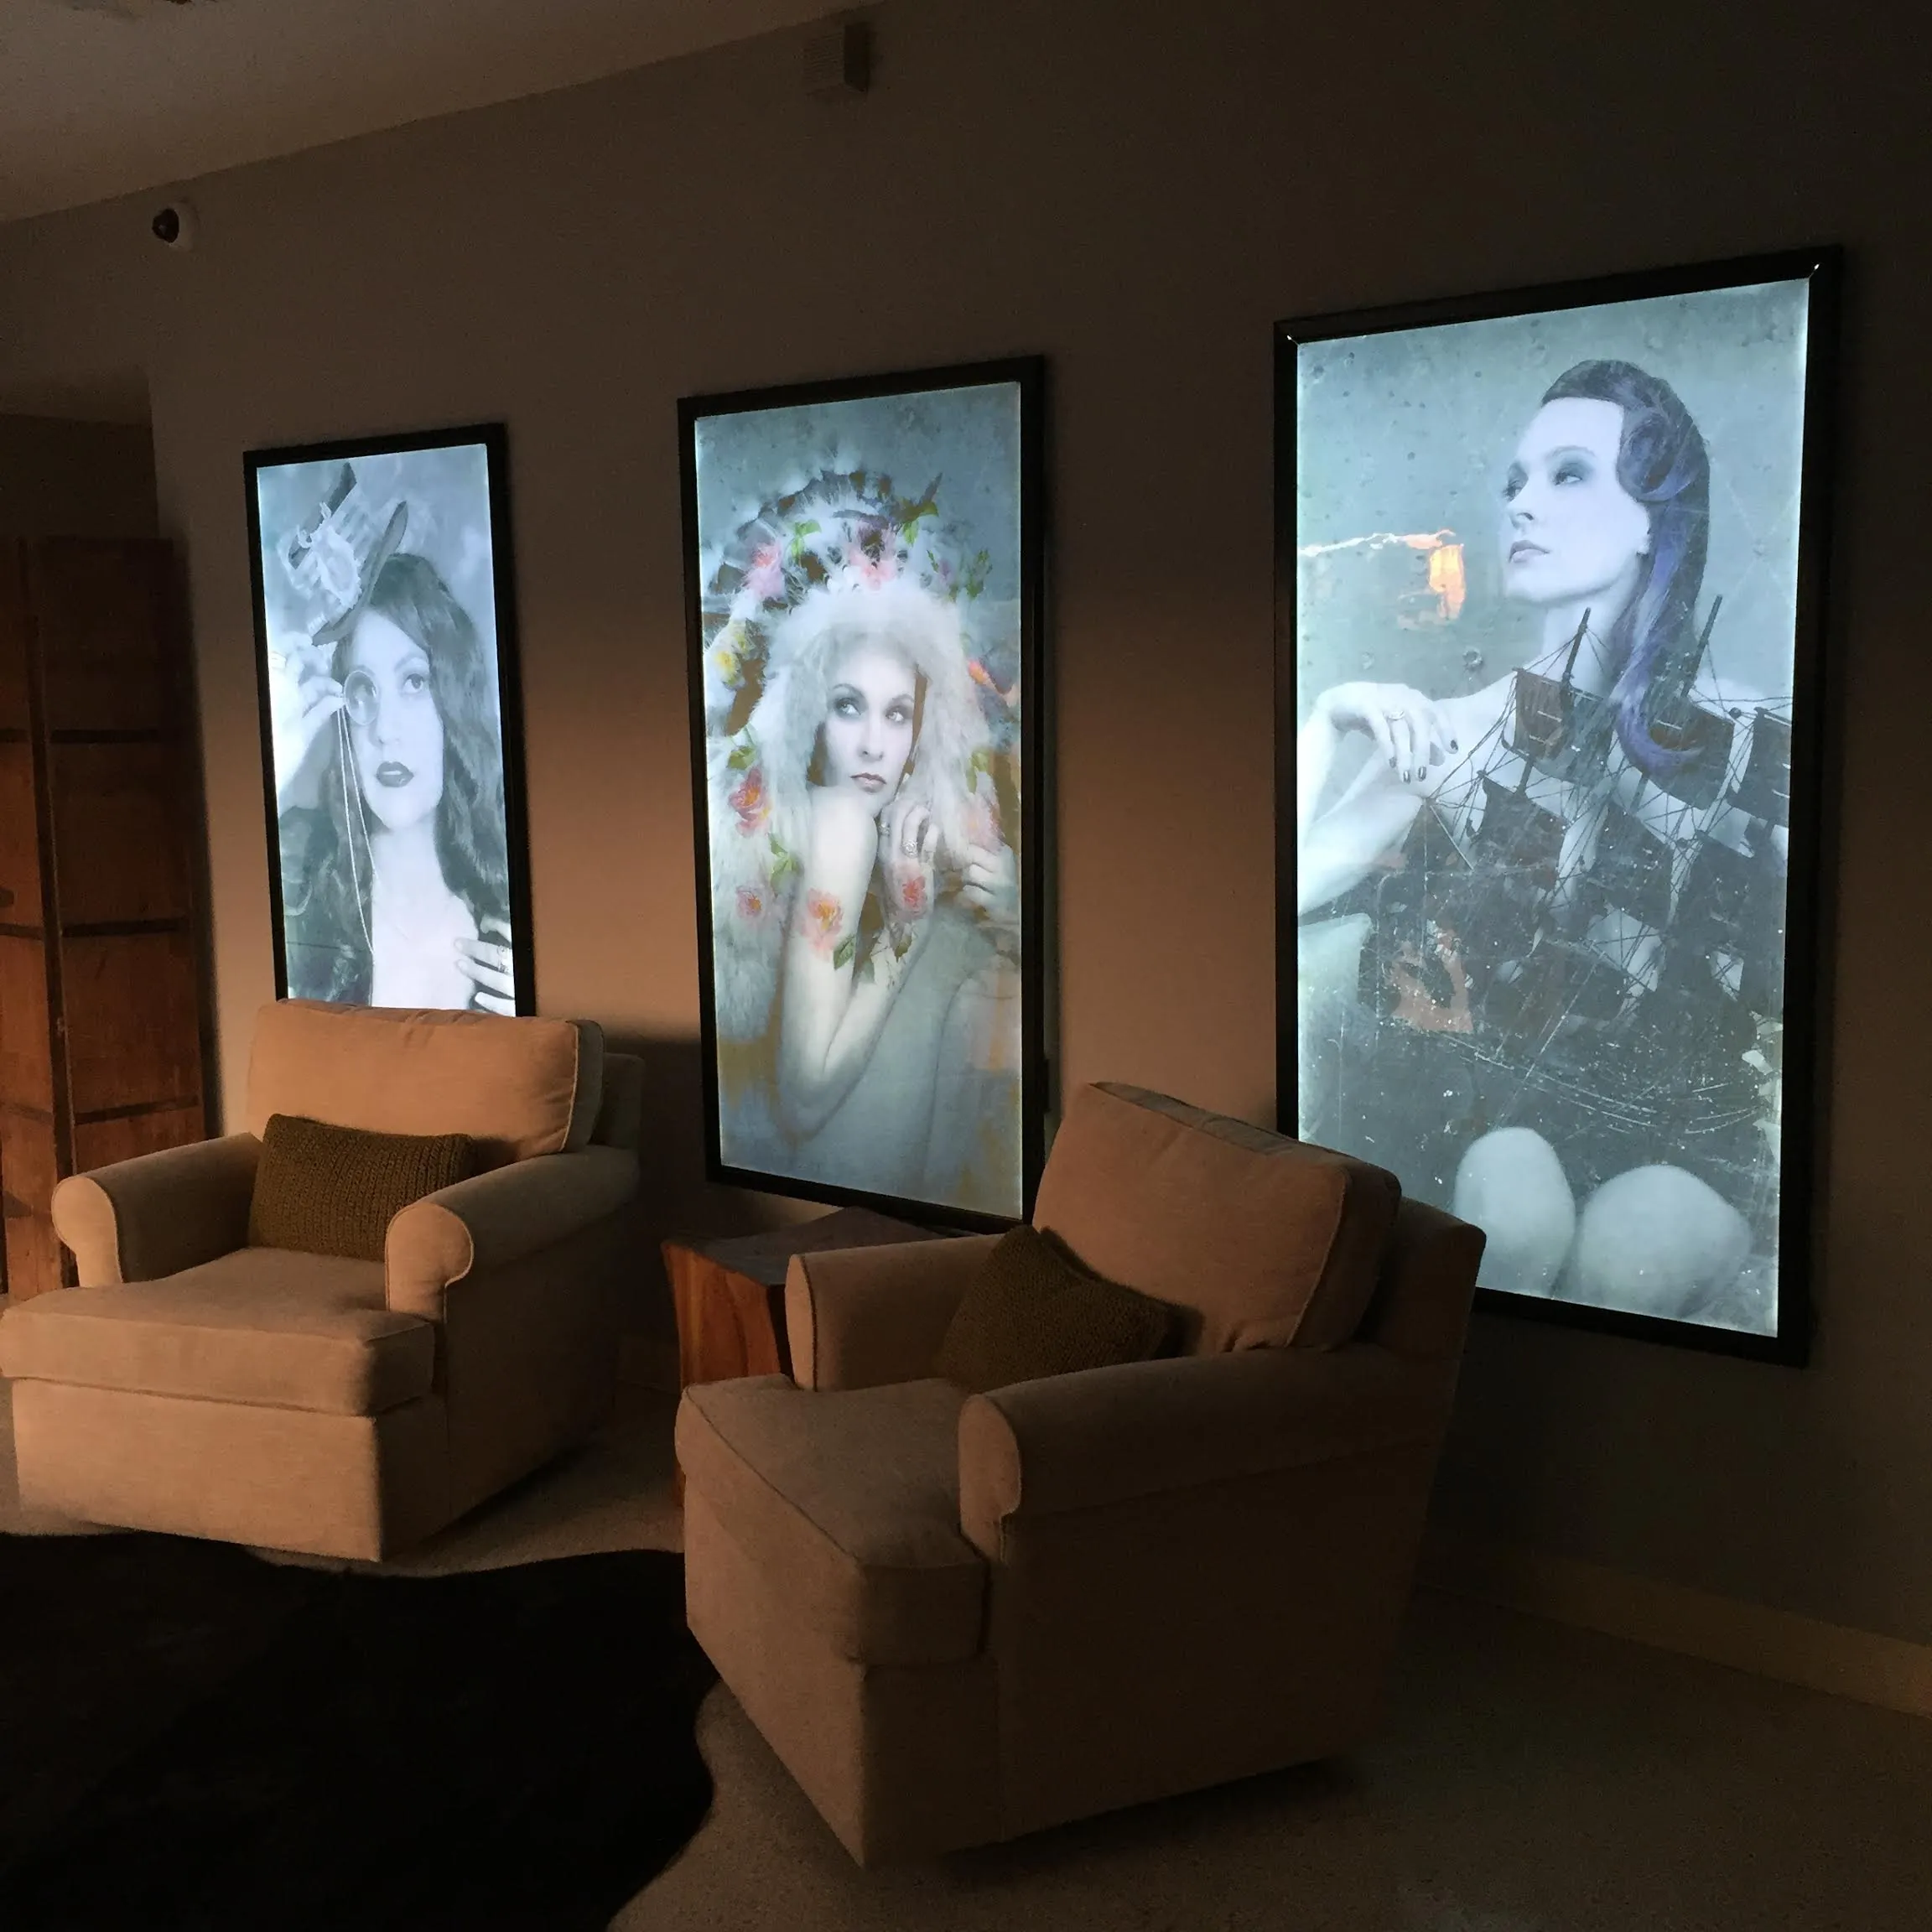
View the actual product appearance, illuminated graphic results, and aluminum frame details.
Project Customization
01Tailored dimensions and mounting holes engineered to fit your specific wall space perfectly.
Sample Approval
02Review frame depth and lighting uniformity rigorously before committing to bulk production.
Installation Kit
031:1 installation templates and comprehensive replacement accessories provided standard.
Commercial Application Scenarios
Application Scenarios for Backlit LED Poster Frames
Retail Stores
Used in shopping malls, boutiques and supermarkets to display product advertisements, discount campaigns and new-arrival promotions.
Hotels and Restaurants
Suitable for hotel lobbies, restaurants, cafés and bars as illuminated menu boards, welcome signs and promotional displays.
Public Facilities
Installed in airports, subway stations, hospitals and banks for wayfinding information, public notices and service instructions.
Offices & Commercial Buildings
Applied in reception areas, conference spaces and elevator halls to present company information, brand stories and event announcements.
Entertainment & Leisure Venues
Used in cinemas, gyms, beauty salons and exhibition halls for movie posters, membership offers, service promotions and event graphics.
Convenience & Service Outlets
Suitable for gas stations, pharmacies, convenience stores and chain outlets to display price lists, opening hours and promotional content.
Equipment and Manufacturing
Our manufacturing capabilities tailored for ultra-slim LED light box production.
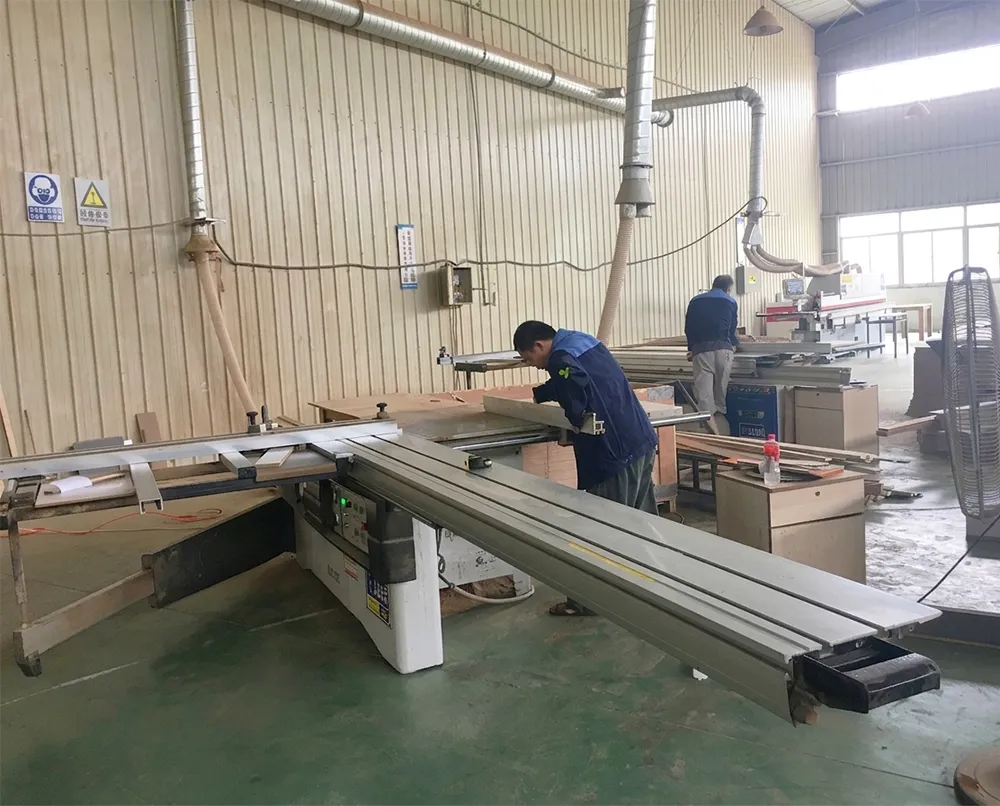
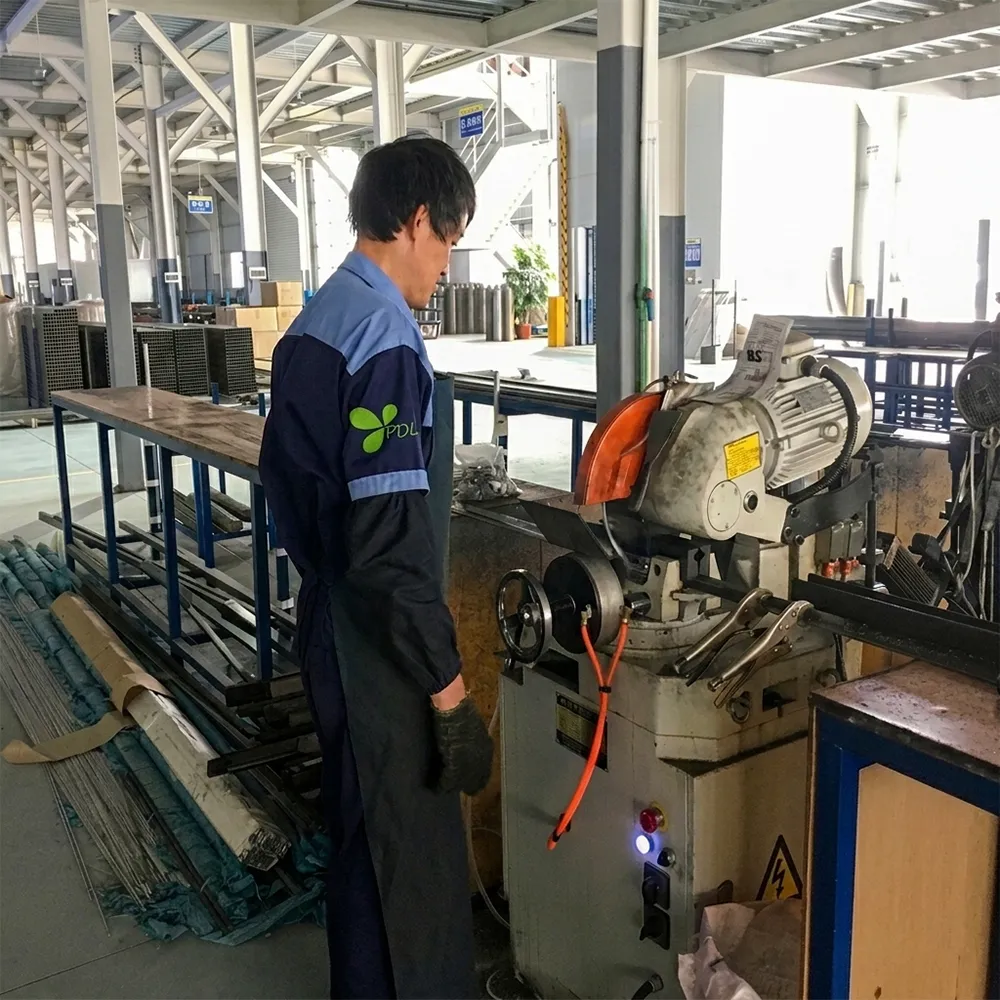
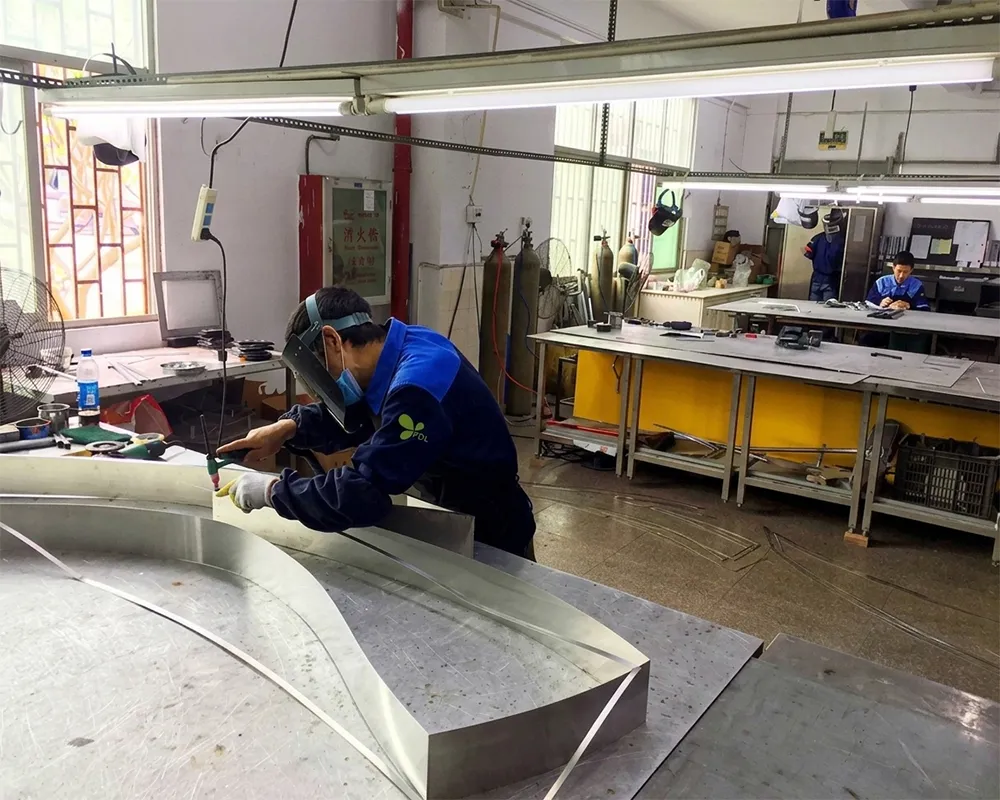
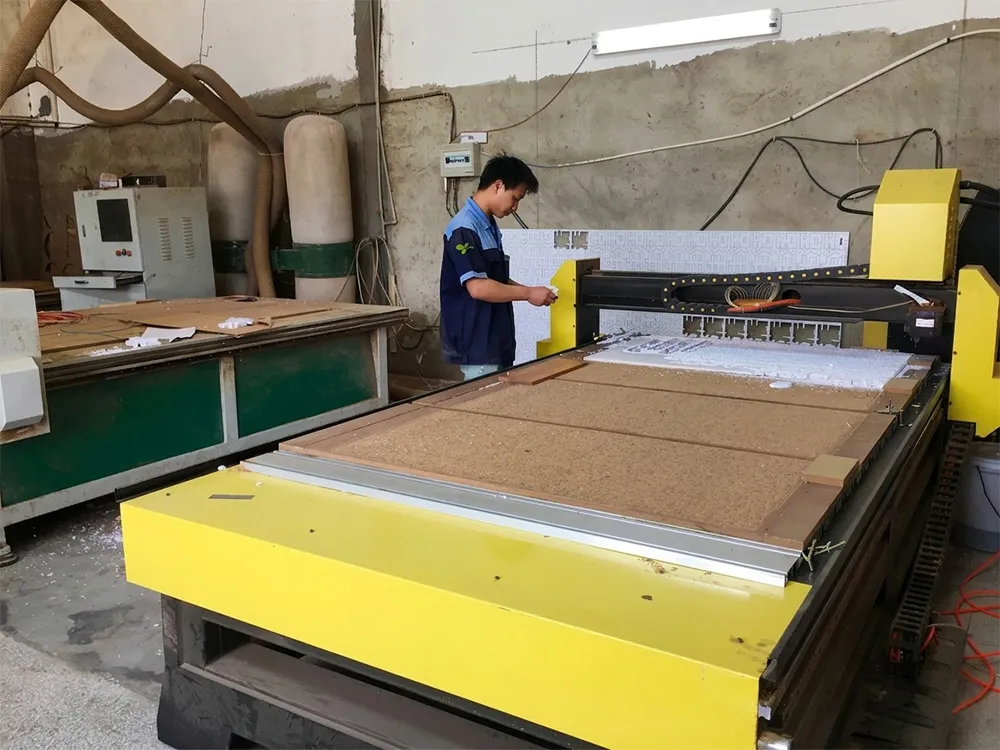
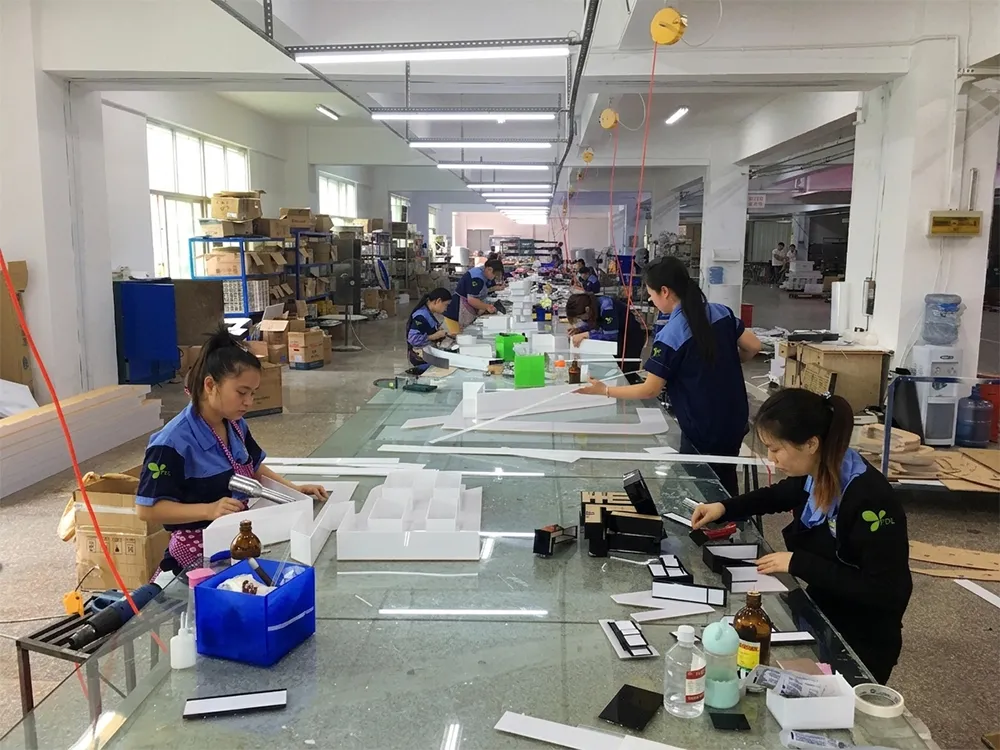
- • Aluminum profile cutting
- • CNC processing where required
- • Metal bending
- • Frame assembly
- • Laser welding for specified fabricated parts
- • Surface finishing
- • PMMA and diffuser preparation
- • LED integration
- • Wiring
- • Lighting inspection
- • Power-on aging
Note: 240°C powder coating is utilized specifically for projects requiring custom powder-coated surface finishes.
Backlit LED Poster Frame Installation Steps
Pre-Installation Check
- Confirm the frame dimensions, poster orientation, mounting method and required installation height.
- Check the wall, ceiling or floor structure and select suitable anchors for concrete, brick, drywall or metal substrates.
- Verify the LED operating voltage, power-supply location, cable route and required IP rating.
- Inspect the frame, driver, mounting brackets, cables and hardware before installation.
- Disconnect the power supply before beginning electrical work.
1 Mark the Mounting Positions
Position the installation template or mounting bracket against the installation surface.
Use a level and measuring tape to mark the fixing points, cable outlet and final frame position. Leave sufficient clearance for opening the frame and replacing the poster.
2 Install the Brackets or Anchors
Drill holes at the marked positions and install anchors suitable for the mounting substrate.
Secure the wall bracket, suspension hardware or supporting structure. Confirm that all fixing points can support the combined weight of the frame, poster and electrical components.
3 Mount and Secure the Frame
Lift the LED poster frame into position and align it with the installed bracket or mounting holes.
Tighten the fixing screws evenly without deforming the aluminum frame. Install safety screws or secondary safety cables where required.
4 Connect the Power Supply
Connect the frame to the specified 12V or 24V DC driver and verify the correct polarity.
Place the power supply in a ventilated and accessible location for future maintenance. Hardwired connections should be completed by a qualified electrician according to local electrical regulations.
For outdoor models, use sealed cable glands, a weatherproof junction box and a drip loop. Do not block drainage or ventilation openings designed into the frame.
5 Insert the Poster Graphic
Switch off the power before opening the frame.
Open the snap profiles, remove the magnetic cover or slide out the graphic holder according to the frame structure. Position the backlit film or poster evenly without wrinkles, folds or trapped dust.
Replace the protective cover and close all frame edges securely.
6 Test the Illumination
Switch on the power and inspect the complete display.
Check for:
- Uniform illumination
- Correct color temperature
- Flickering or dark areas
- Visible LED hotspots
- Secure poster positioning
- Proper dimmer, timer or sensor operation
Adjust the poster, diffuser or electrical connections if uneven illumination is detected.
7 Complete the Final Inspection
Confirm that the frame is level, securely fixed and easy to access for future poster replacement.
Clean the front cover using a soft, non-abrasive cloth. Remove installation debris and record the driver location, voltage and maintenance-access method for the project handover.
Installation Notes by Mounting Type
Wall-Mounted Frame
Use fixing points appropriate for the wall material. Maintain enough side or front clearance for graphic replacement.
Ceiling-Suspended Frame
Use load-rated ceiling anchors and suspension cables. A secondary safety cable is recommended for public areas.
Freestanding Frame
Assemble and tighten the base before installing the frame. Check stability and use additional counterweight or anti-tip fixing when required.
Countertop Frame
Place the unit on a stable, level surface. Route the power cable away from customer-access areas and countertop edges.
Outdoor Frame
Confirm the tested IP rating of the complete assembly. Seal cable entries and junction boxes while keeping factory drainage paths unobstructed.
Protective Packaging and Shipping
Ultra-slim light boxes face specific transport risks: slim aluminum profiles may bend, acrylic covers may scratch, PMMA light guide panels may crack, frame corners may be damaged, and loose accessories may move. Our export packaging process mitigates these risks.
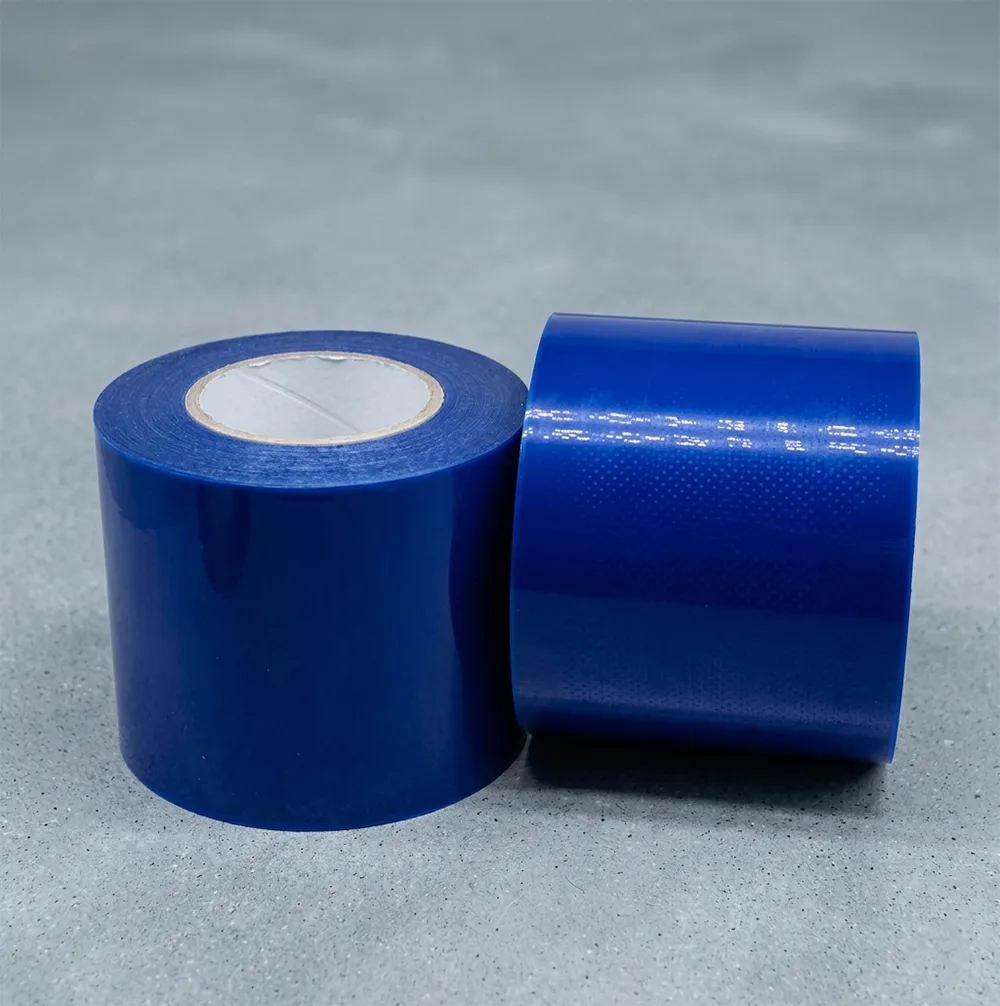
1. Protective surface film
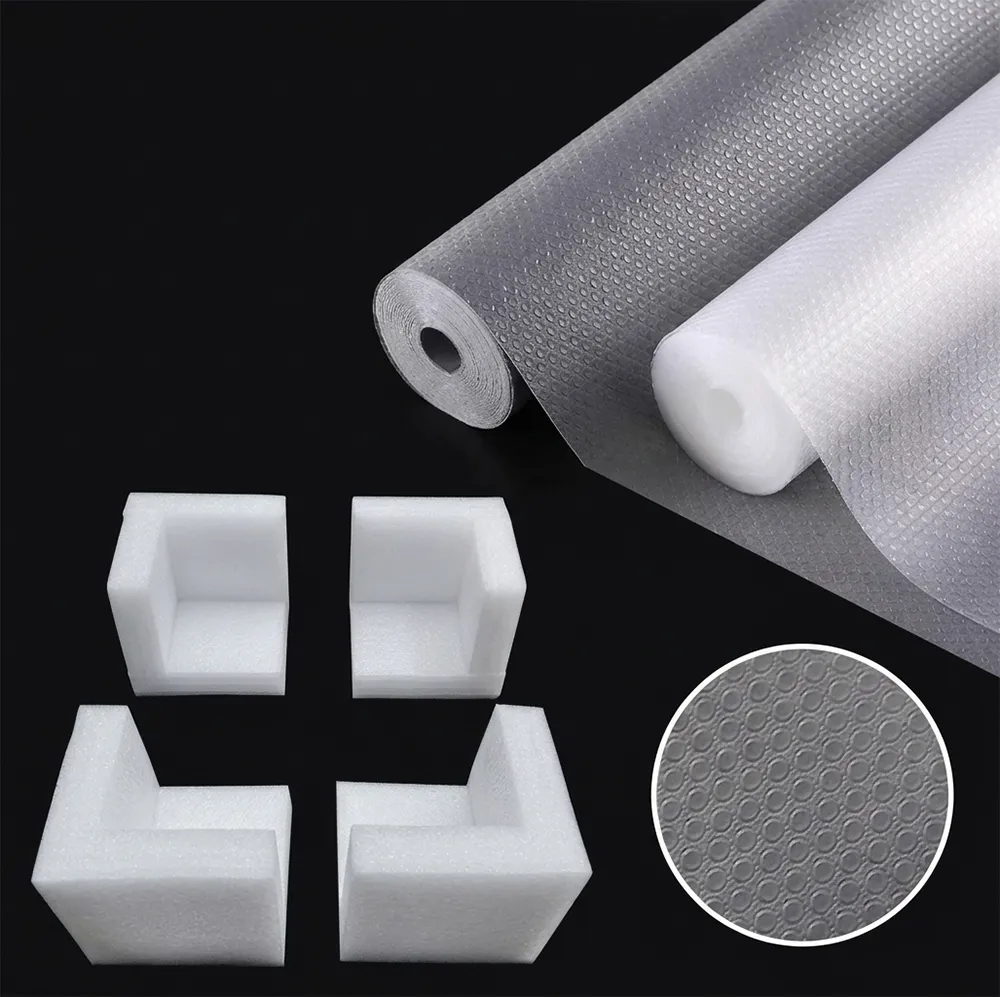
2. EPE foam corner protection
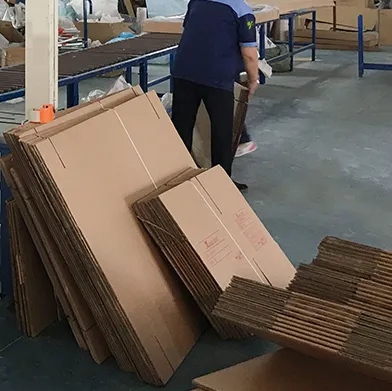
3. Cartons for different sizes
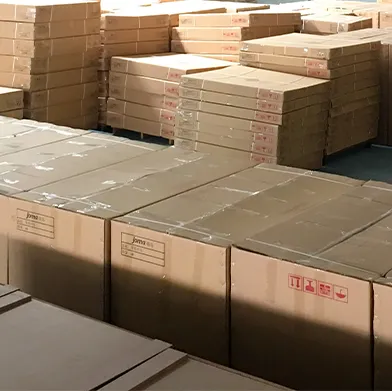
4. Final packing
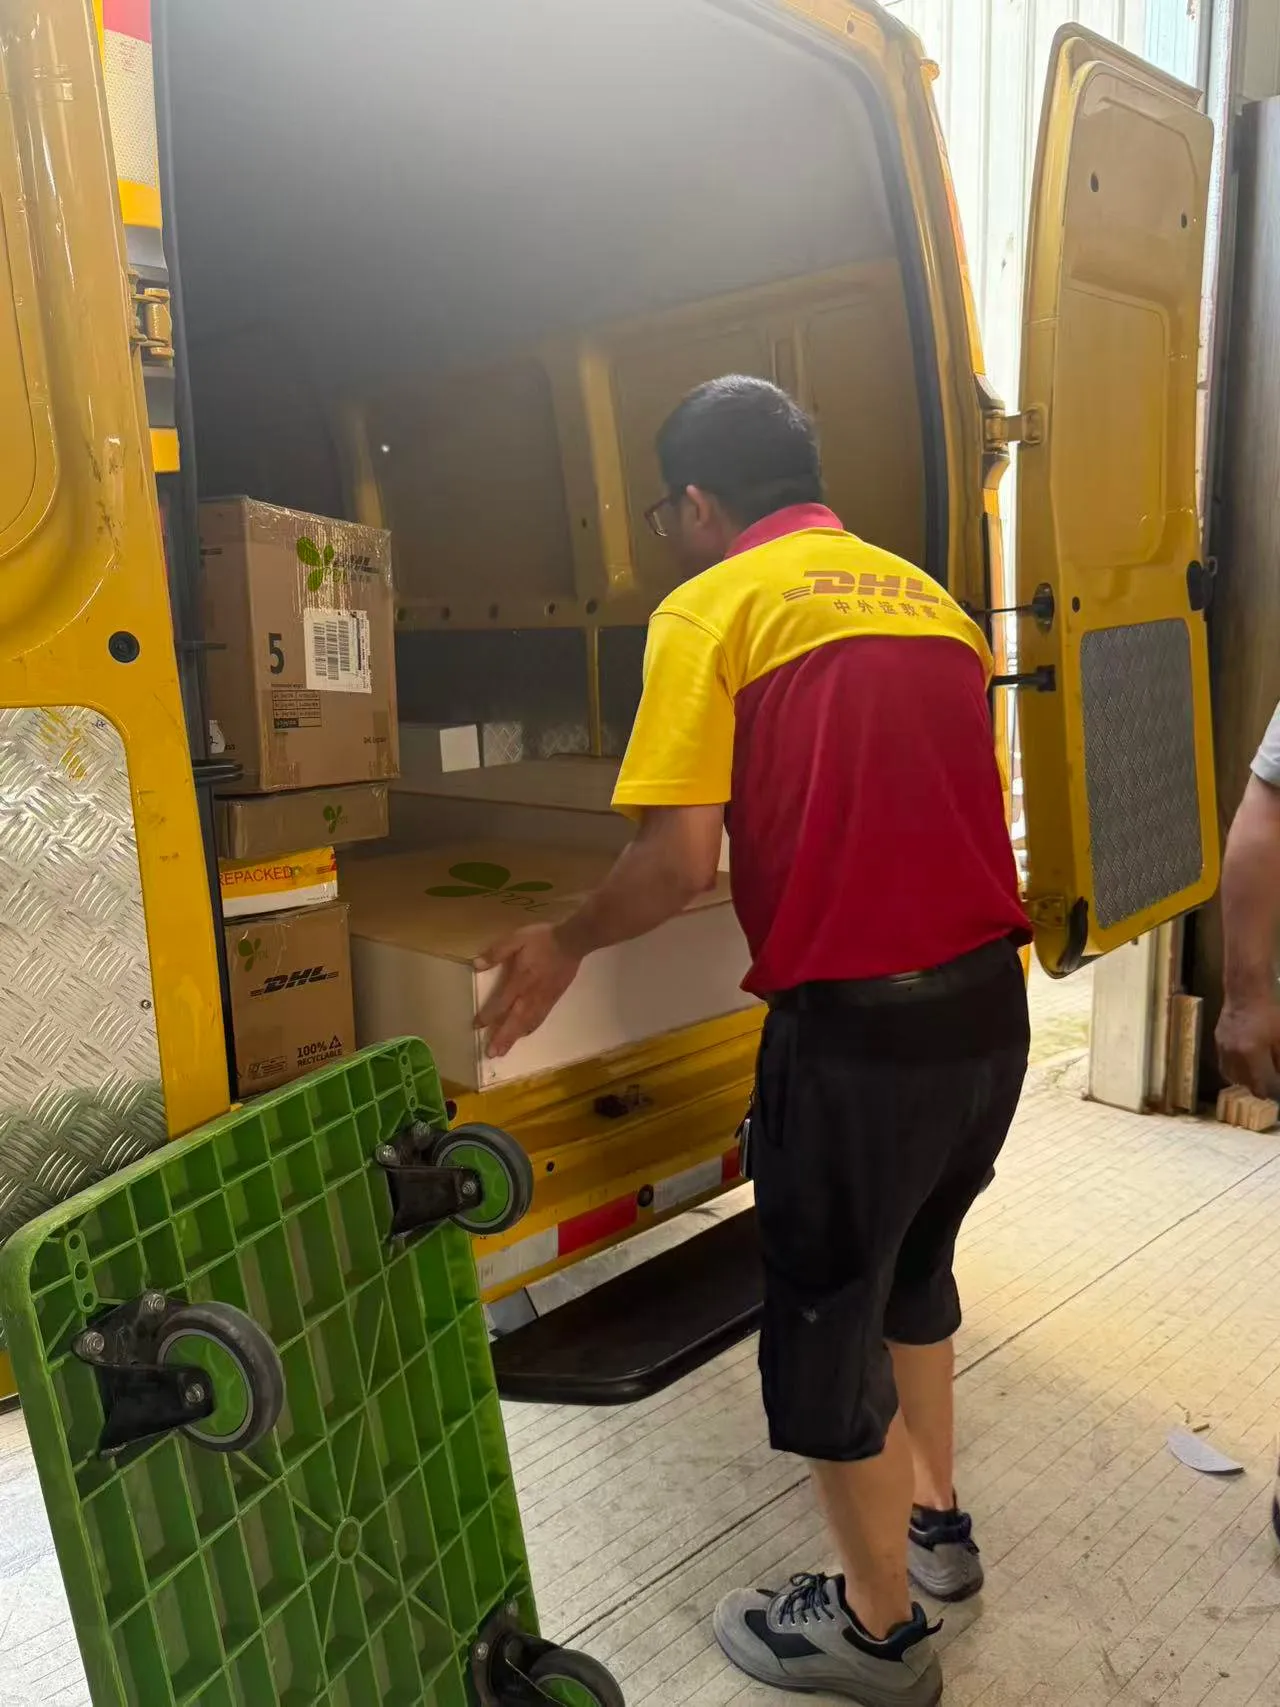
5. Loading

6. Shipping
Export wooden-crate packaging is applied for large custom dimensions to prevent bending.
Commercial Buying Guide for Backlit LED Poster Frames
Before comparing suppliers, commercial buyers should confirm the total purchasing cost, document scope, shipment acceptance method and warranty responsibilities.
How Do I Compare Backlit LED Poster Frame Prices?
Do not compare the factory unit price alone. Confirm whether each quotation includes the same commercial scope.
| Cost Item | What to Confirm |
|---|---|
| Product Price | Order quantity, currency and quotation validity |
| Included Components | Power supply, cables, controls and required accessories |
| Packaging | Individual carton, pallet or reinforced export packaging |
| Shipping | EXW, FOB, CIF, DAP or DDP with a named destination |
| Import Costs | Duties, taxes, customs clearance and local delivery |
| After-Sales Cost | Replacement parts, claim-related freight and local labor |
"A lower unit price may cost more after excluded components, freight and destination charges are added."
How Do I Verify Product Certificates?
A certificate for an LED driver or another internal component does not automatically cover the complete assembled poster frame. Before approval, check:
- Manufacturer or certificate-holder name
- Covered product model & Referenced standard
- Report or file number & Issue date and current status
- Electrical ratings & Tested product configuration
- Component-level or complete-product scope
For EU projects, review the applicable Declaration of Conformity and supporting product information.
When UL documentation is required, verify the company, file number, model and product category.
For an IP-rated frame, confirm that the report covers the supplied enclosure, seals and cable entries.
What Should Be Checked Before Shipment?
Agree on the inspection method before production begins. The inspection should use the approved order, drawing and specification as its reference. The shipment review should confirm:
Request inspection photographs, an operating video and packaging records when the order cannot be inspected in person.
The buyer and supplier should also agree on how defects will be corrected and whether reinspection is required before shipment approval.
What Should the Warranty Cover?
The warranty should state more than its duration. Confirm:
- When the warranty period begins & Which components are covered
- Which operating conditions are excluded
- Whether the remedy is repair, parts replacement or unit replacement
- Who pays replacement-part freight & Whether local labor is included
- What evidence is required for a claim & How replacement parts are matched
For repeat orders, keep the approved model number and drawing revision so future replacement parts remain compatible.
Request a Commercial Project Review
Send the quantity, destination and required delivery schedule to confirm quotation scope, documentation and warranty terms before ordering.
Backlit LED Poster Frame FAQ
Comprehensive technical guidelines and installation answers for professional display projects. Ensure optimal light uniformity, correct material selection, and reliable deployment across retail, hospitality, and outdoor environments.
01 LED Hotspots & Uniformity
How do you prevent LED hotspots and dark areas?
Uniform backlighting depends on the complete optical structure, including:
- LED spacing and position
- Light guide plate pattern
- Diffuser performance
- Frame depth
- Distance between the LEDs and graphic
- Internal reflective surfaces
The assembled frame should be illuminated and inspected for visible LED dots, bright edges and dark areas before shipment.
What brightness and LED color temperature should I choose?
Brightness should be selected according to the ambient light, viewing distance, poster material and installation position.
- Bright storefronts and shopping malls: Higher lighting output may be required to prevent washed-out graphics.
- Indoor retail and menu displays: Balanced brightness helps maintain readability without excessive glare.
- Hotels and office interiors: Lower brightness or dimming may provide a more comfortable viewing experience.
Common color-temperature choices include:
- 3000K Warm White: Hospitality and ambient interiors
- 4000K Natural White: Retail and office environments
- 6000–6500K Cool White: Advertising and information displays
When brightness is critical, request a face-luminance test using the intended poster material.
02 Poster Replacement & Materials
How is the poster replaced, and are tools required?
The replacement method depends on the frame structure:
- Snap-open frame: The aluminum sides open from the front for tool-free poster replacement.
- Magnetic frame: The front panel is removed using a notch, handle or suction tool.
- Front-loading frame: The graphic can be accessed without removing the complete frame from the wall.
The expected replacement frequency should be confirmed before selecting the access structure.
Can I use regular paper in a backlit LED poster frame?
Regular paper can be inserted, but it may absorb too much light and produce a dull or uneven image.
For better illuminated results, use:
- Backlit film
- Translucent PET
- Backlit vinyl
- Graphics printed specifically for transmitted light
A printed sample is recommended when accurate brand colors, skin tones or product images are important.
How do I prevent the poster from wrinkling or moving?
Confirm the poster thickness and ensure that the graphic sits flat between the protective cover and internal panel. The edges should be retained evenly without excessive pressure or loose gaps.
03 Size & Visible Area
What is the difference between poster size, visible area and outer frame size?
These measurements should be confirmed separately:
- Poster Size: The complete physical dimensions of the inserted graphic.
- Visible Area: The portion that remains exposed after the frame border covers the graphic edges.
- Outer Frame Size: The total exterior dimensions of the frame housing.
Logos, prices and important text should remain inside the confirmed visible area.
How can I prevent important artwork from being cropped?
Keep critical text, logos and QR codes away from the artwork edges. Request the confirmed visible area before preparing the final print file and include a safe margin in the graphic layout.
04 Outdoor Protection
Can a backlit LED poster frame be installed outdoors?
Only an outdoor-specific frame should be used in locations exposed to rain, dust or humidity. Standard indoor snap frames should not be installed outdoors.
An outdoor structure may require:
- Sealed housing joints
- Silicone or rubber gaskets
- Protected poster-access edges
- Waterproof cable entries
- Weather-resistant connectors
- Corrosion-resistant finishes
- Drainage or moisture-control
The required protection level should be confirmed through the product specification and available test documentation.
Can the same poster frame be used indoors and outdoors?
Not necessarily. Indoor frames prioritize a slim profile and convenient poster replacement. Outdoor frames require additional sealing, drainage and electrical protection.
The installation location should be identified as:
- Indoor
- Covered outdoor
- Semi-outdoor
- Fully exposed outdoor
05 Installation & Wiring
What mounting options are available?
Common installation methods include:
- Wall mounting
- Ceiling suspension
- Hanging cable installation
- Freestanding floor display
- Countertop installation
- Window display
- Recessed installation
The mounting method should be selected according to the frame dimensions, weight, viewing direction and supporting structure.
How is a wall-mounted LED poster frame installed?
Depending on the frame size and structure, installation may use rear keyholes, mounting plates, brackets or a support frame.
Before installation, confirm:
- Wall substrate
- Frame orientation
- Mounting-hole positions
- Power-source location
- Cable exit
- Required maintenance access
Anchors and fixing hardware should be selected according to the actual wall material.
How can the power cable be concealed?
A rear cable exit can align with a concealed wall outlet or junction box. A side cable exit can be used when power is supplied from an external socket.
The outlet position should be confirmed before production so the cable does not interfere with the mounting brackets or frame edges.
06 Electrical & Ordering
What electrical information should be confirmed before ordering?
Confirm the following details:
- Destination input voltage
- Required plug type
- Indoor or outdoor installation
- Power-supply position
- Cable exit position
- Dimming or timer requirements
- Local compliance requirements
The selected power supply should match the LED load and destination-market requirements.
Can brightness control or a timer be added?
Dimming and timer functions are available when compatible drivers and controllers are used. The control method should be confirmed before the electrical layout is finalized.
What information is required for an accurate quotation?
Please provide the following project details:
- Poster size or required visible area
- Order quantity
- Single-sided or double-sided structure
- Portrait or landscape orientation
- Indoor or outdoor installation
- Wall-mounted, suspended or freestanding installation
- Required LED color temperature
- Destination voltage and plug type
- Delivery country and postal code
- Artwork or project drawings, if available
Need Project-Specific Guidance?
Our engineering team is ready to assist with custom specifications, structural drawings, and bulk manufacturing quotes for your next enterprise rollout.
Our Certificates
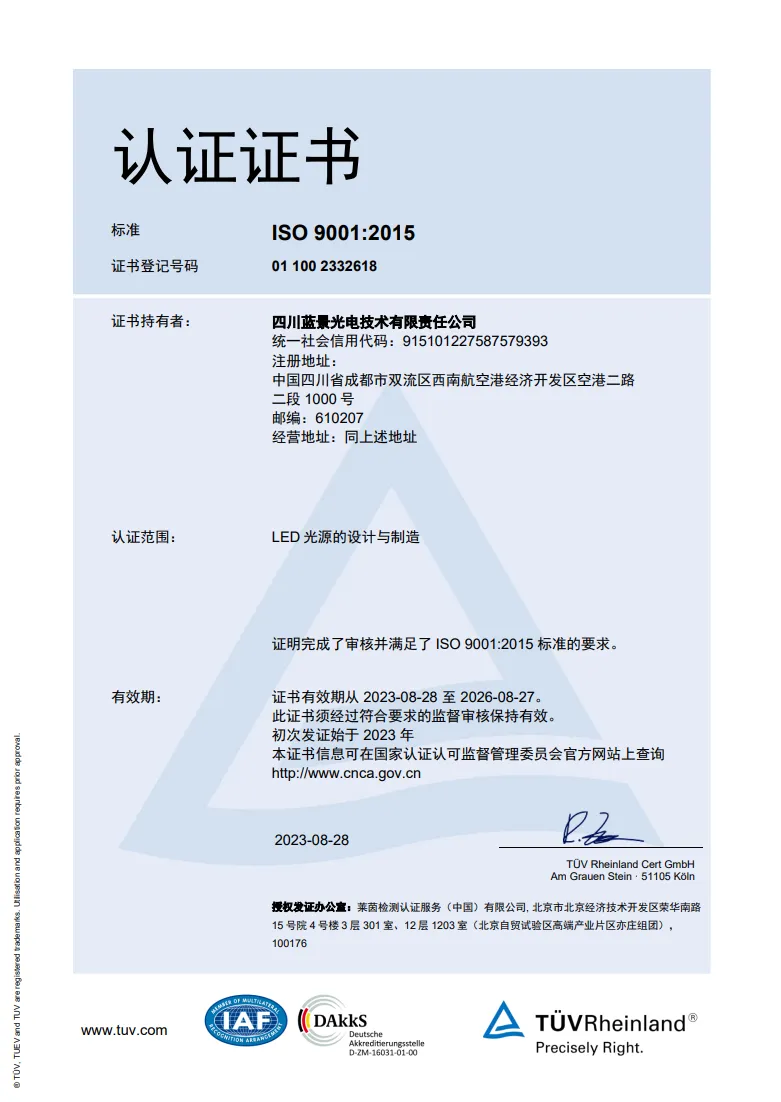
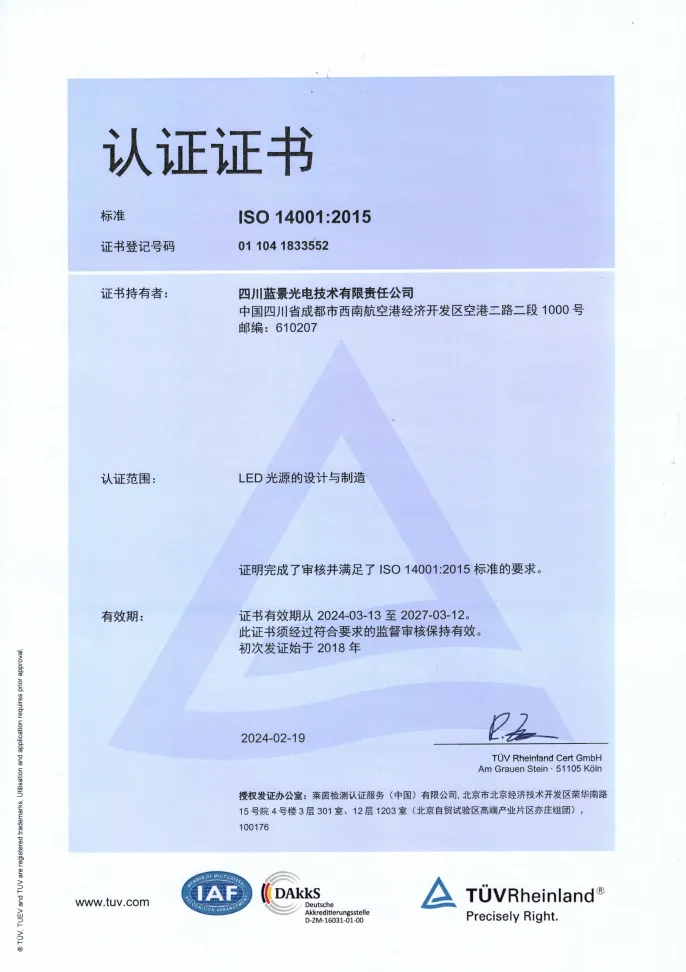
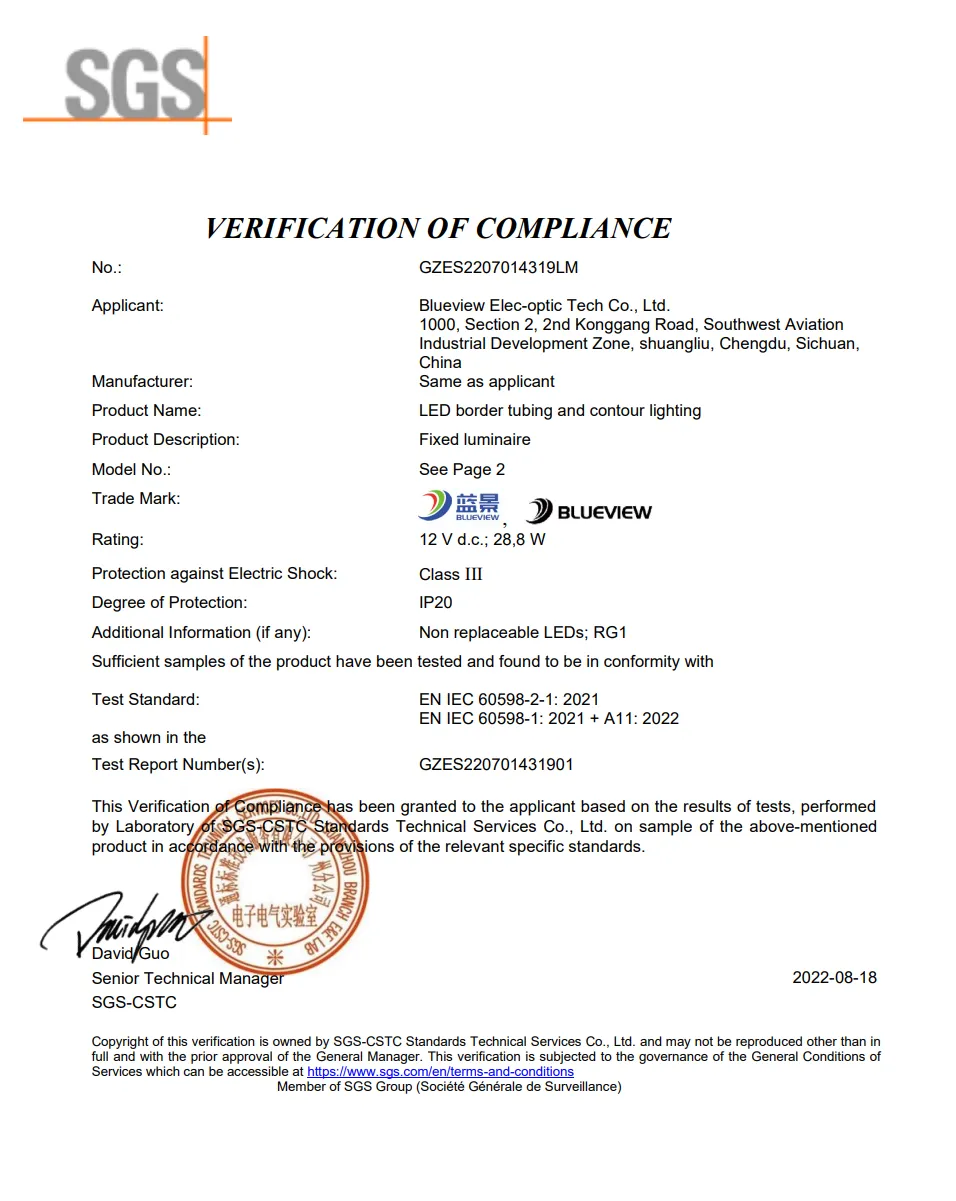

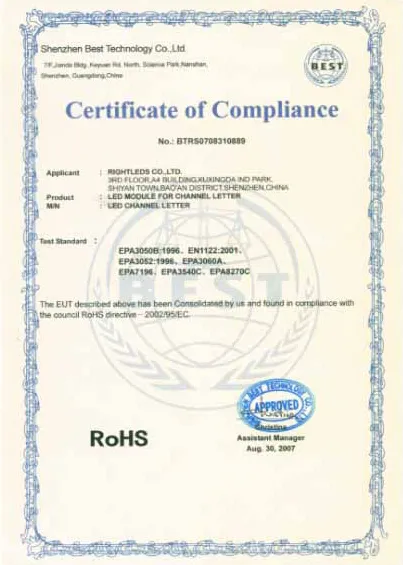
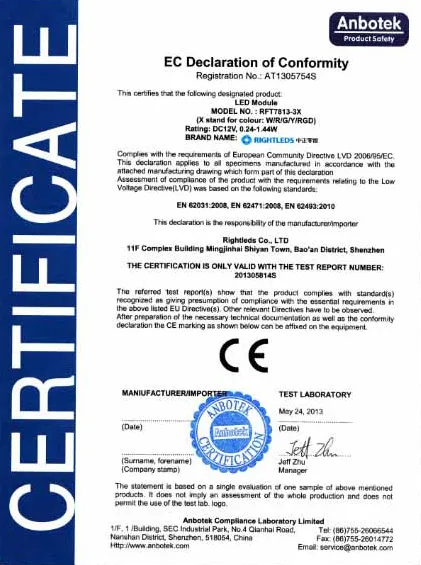
Available certifications and compliance: CE, RoHS, ISO 9001:2015, ISO 14001:2015, SGS Verified / Gold Plus Supplier. UL-recognized components are available for specified configurations.
Note: A component certificate does not automatically certify the complete assembled Backlit LED Poster Frame.
Technical Knowledge for
Backlit LED Poster Frames
Understanding the product structure helps commercial buyers write clearer specifications, select compatible graphics, estimate operating costs and coordinate installation before issuing a purchase order.
How Does a Backlit LED Poster Frame Work?
A backlit LED poster frame passes light through a translucent printed graphic. Its final appearance depends on how the optical, electrical and structural components work together.
Backlit LED Poster Frame VS Digital Poster Display
The choice depends primarily on how frequently the content changes and whether moving content is required.
Backlit LED Poster Frame
- Content Format Printed static graphic
- Content Updates Manual poster replacement
- Update Frequency Periodic or campaign-based
- Network Req. Not normally required
- Operating Complexity Lighting and printed media
- Maintenance Focus Graphic, LED system and power supply
- Procurement Priority Graphic visibility and simple operation
Digital Poster Display
- Content Format Images, video and animated content
- Content Updates Local or remote software update
- Update Frequency Frequent or scheduled
- Network Req. May require a media player, network or CMS
- Operating Complexity Screen, software, media player and connectivity
- Maintenance Focus Display panel, electronics, software and network
- Procurement Priority Rapid content changes and multimedia presentation
Buyer Decision Matrix
Select a backlit poster frame when static graphics remain in place for a defined campaign period. Select a digital display when content must change frequently, play video or be controlled remotely.
⚠️ Costs and power consumption should be compared using the actual frame size, screen model, operating schedule and local electricity rate—not generic market averages.
Edge-Lit vs Direct-Lit LED Poster Frames
Edge-Lit Structure
- LED Position: Along one or more edges
- Light Distribution: Through a light guide plate
- Frame Profile: Generally slimmer
- Common Format: Slim wall-mounted poster frames
- Critical Component: Light guide plate pattern
- Maintenance Access: Usually from the frame edge or rear
- Specification Risk: Dark center or bright edges if the optical design is mismatched
Direct-Lit Structure
- LED Position: Behind the graphic
- Light Distribution: Through internal depth and a diffuser
- Frame Profile: Generally deeper
- Common Format: Larger or higher-output display structures
- Critical Component: LED spacing and cabinet depth
- Maintenance Access: Depends on the rear lighting layout
- Specification Risk: Visible LED dots if spacing and depth are insufficient
Which Graphic Media Is Suitable?
Not every translucent graphic belongs in the same frame system.
Backlit Film
Snap-open or magnetic poster frame
Suitable for detailed advertising and frequent replacement.
Translucent PET
Poster frame & rigid light-box
Confirm thickness and print compatibility before use.
Standard Paper
Non-illuminated frame
May appear dull or patchy when backlit. Not recommended.
Backlit Vinyl
Larger flex-face light boxes
Requires a compatible tensioning system.
SEG Fabric
Fabric light boxes
Requires a silicone-edge frame channel.
Rigid Translucent Panel
Cabinet or rigid-face light box
Not intended for standard snap-frame replacement.
Lights-On Proofing
Printed graphics can look different when illuminated. Ink density, LED color temperature and media translucency all affect the final result.
For brand-sensitive projects:
- Print a small graphic sample on the intended media.
- Illuminate it using the specified LED color temperature.
- Review the sample in conditions similar to the installation site.
- Approve the illuminated result before the complete print run.
Pantone or CMYK references provide a print target, but they do not by themselves guarantee an identical illuminated appearance.
Artwork Handover Checklist
Before releasing artwork to the printer, the buyer, frame supplier and design team should confirm the same dimensional drawing.
Required Dimensions
- Poster or graphic size
- Visible graphic area
- Outer frame dimensions
- Covered edge area
- Portrait/landscape orientation
Artwork Requirements
- ▪ Final output dimensions
- ▪ Required bleed
- ▪ Safe area for text and logos
- ▪ Image resolution at output size
- ▪ Printer-requested color profile
- ▪ Print direction
- ▪ QR-code size & scan distance
- ▪ File format required
How to Estimate Electricity Costs
Use the rated power of the approved frame rather than an estimated value from a similar product.
Core Formulas
Illustrative Calculation
For ten frames rated at 25 W and operated for 12 hours per day:
This example explains the calculation method only. Replace the example values with the rated power, quantity, operating schedule and electricity rate for the actual project.
💡 Timers and dimming may reduce consumption, but the saving depends on the programmed schedule and brightness settings.
Pre-Installation Planning Checklist
Installation should be coordinated before the cable exit and mounting-hole layout are approved. There is no universal mounting height or access clearance for every site. Confirm these dimensions using the actual viewing conditions and frame-opening method.
Viewing Position
Viewing direction, distance and mounting height
Ambient Lighting
Windows, spotlights and possible reflections
Wall Structure
Concrete, brick, drywall, timber or metal
Power Source
Outlet or junction-box location
Cable Routing
Rear or side exit and concealed-wiring requirements
Graphic Access
Space needed to open or remove the front panel
Electrical Access
Driver and connector maintenance position
Public Contact
Fixing security and front-cover protection
Outdoor Exposure
Rain, dust, humidity and corrosion conditions
Maintenance Planning for Commercial Projects
Maintenance requirements should be considered before the frame is installed, especially for chain stores and multi-location projects.
Routine Inspection
- Check for flicker, dim areas and color differences.
- Inspect cables, connectors and mounting points.
- Remove dust from poster-access edges.
- Keep drainage or ventilation openings clear.
- Replace damaged graphics and protective covers.
- Confirm that the power supply remains accessible.
Cleaning the Front Cover
- Disconnect power before cleaning.
- Use a soft microfiber cloth.
- Use clean water or mild soapy water where permitted.
- Test the cleaning method on a small area first.
- Dry the surface with a clean, non-abrasive cloth.
Caution: Avoid ammonia-based cleaners, solvents, abrasive pads and unknown chemicals on acrylic or polycarbonate covers. Always follow the cover manufacturer’s cleaning instructions.
Evaluating Service Life
Do not assess service life using LED-rated hours alone. The actual operating period is also affected by:
For procurement comparison, request the rated specifications and warranty terms for the LED system, power supply, front cover and frame structure separately.
Get a Quote for Your Backlit LED Poster Frame
Tell us your poster size, quantity and installation location. Our team will help confirm a suitable slim-frame configuration and prepare your quote.

on WhatsApp

on WhatsApp
Office Address
Building 1, Tahoe Plaza, No.339 Baodao Middle Road, Hubin Street, Shishi City, Fujian Province, China